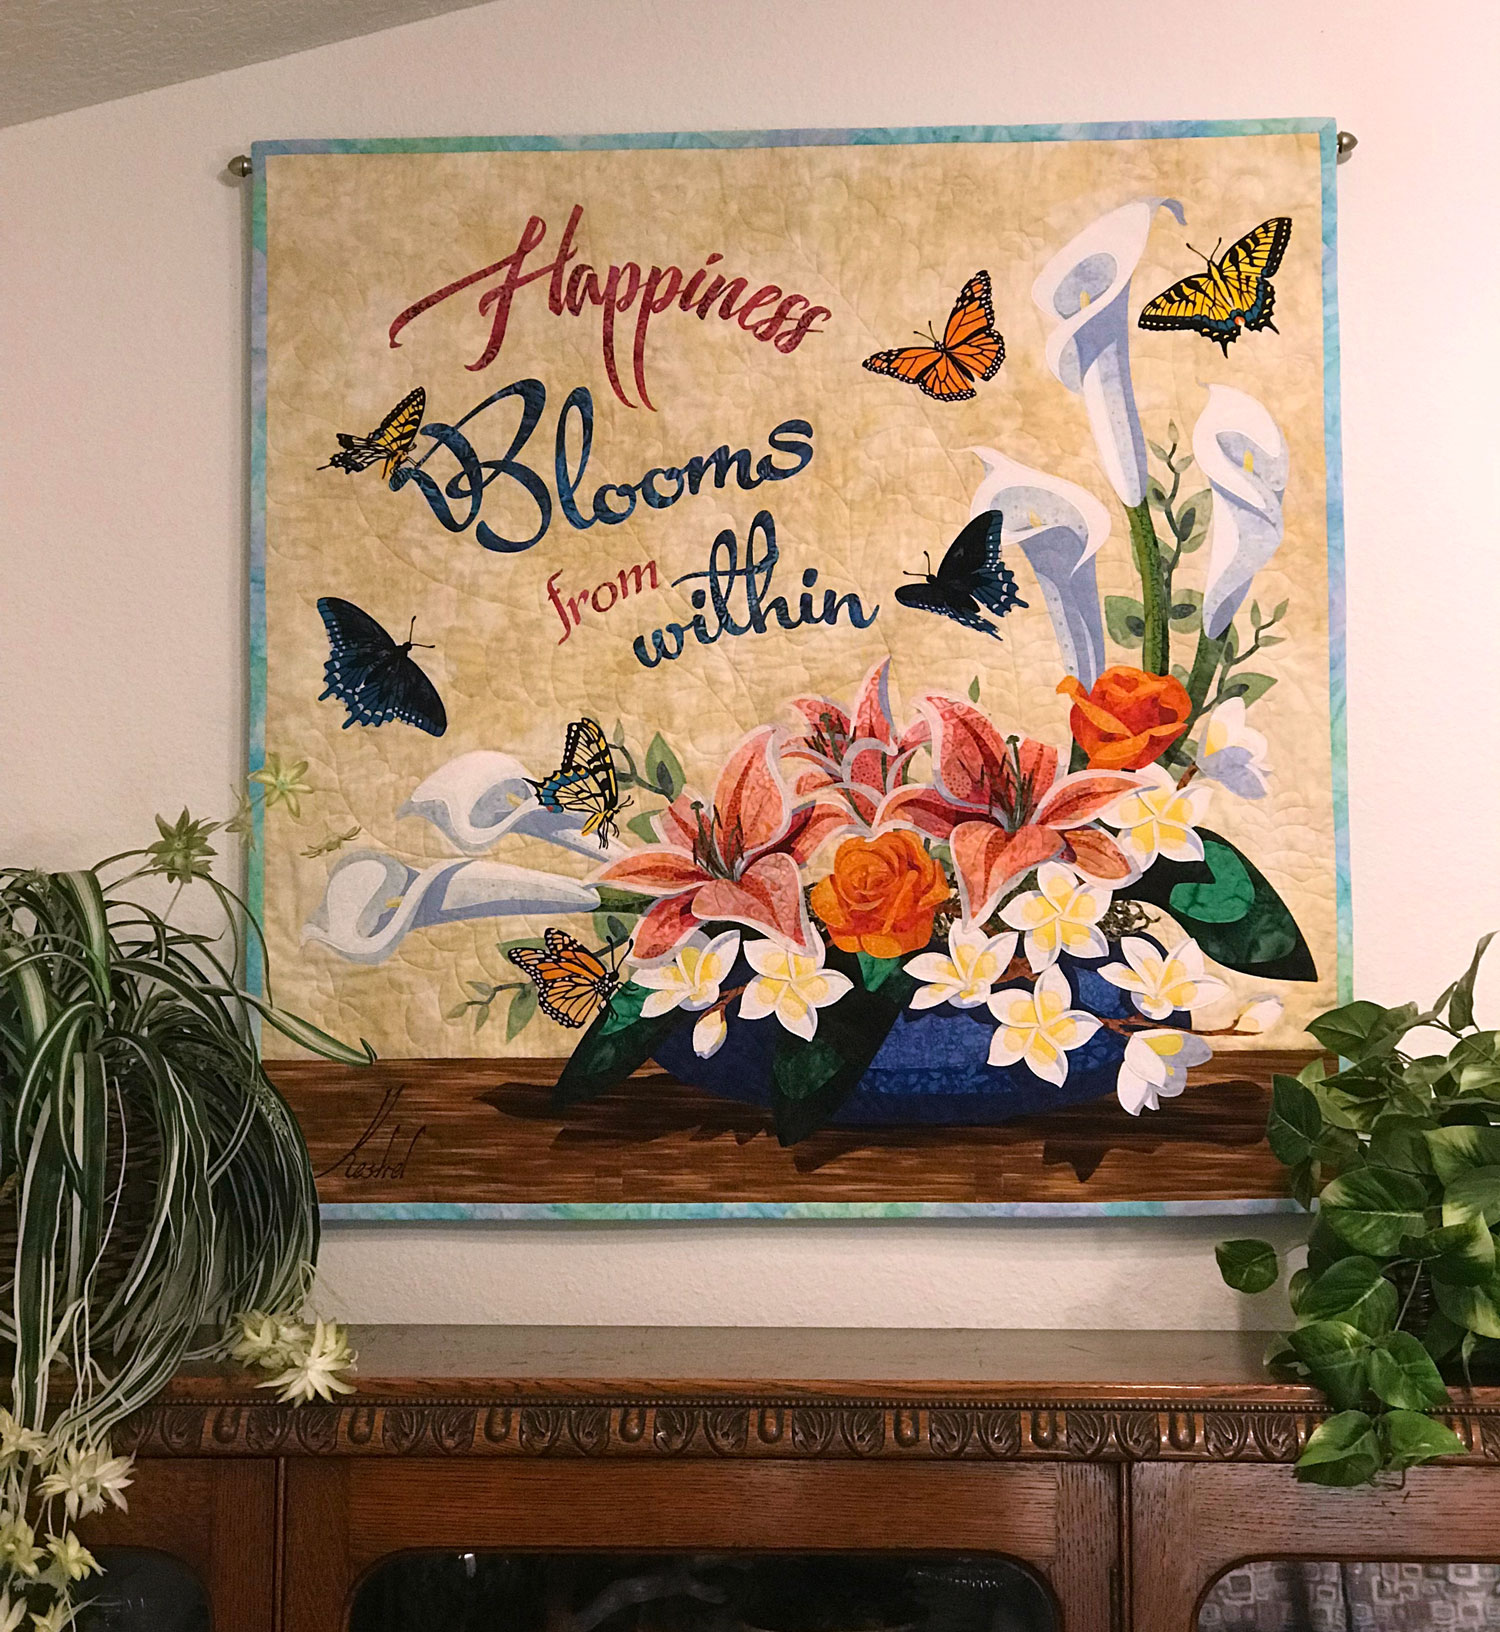
Happiness Blooms From Within Process
- Published:
- Length: 1053 words
- Reading Time: 6 minutes
I just finished my latest quilt, Happiness Blooms From Within. It's the biggest picture I've ever made, at 36" square and containing 978 pieces of fabric.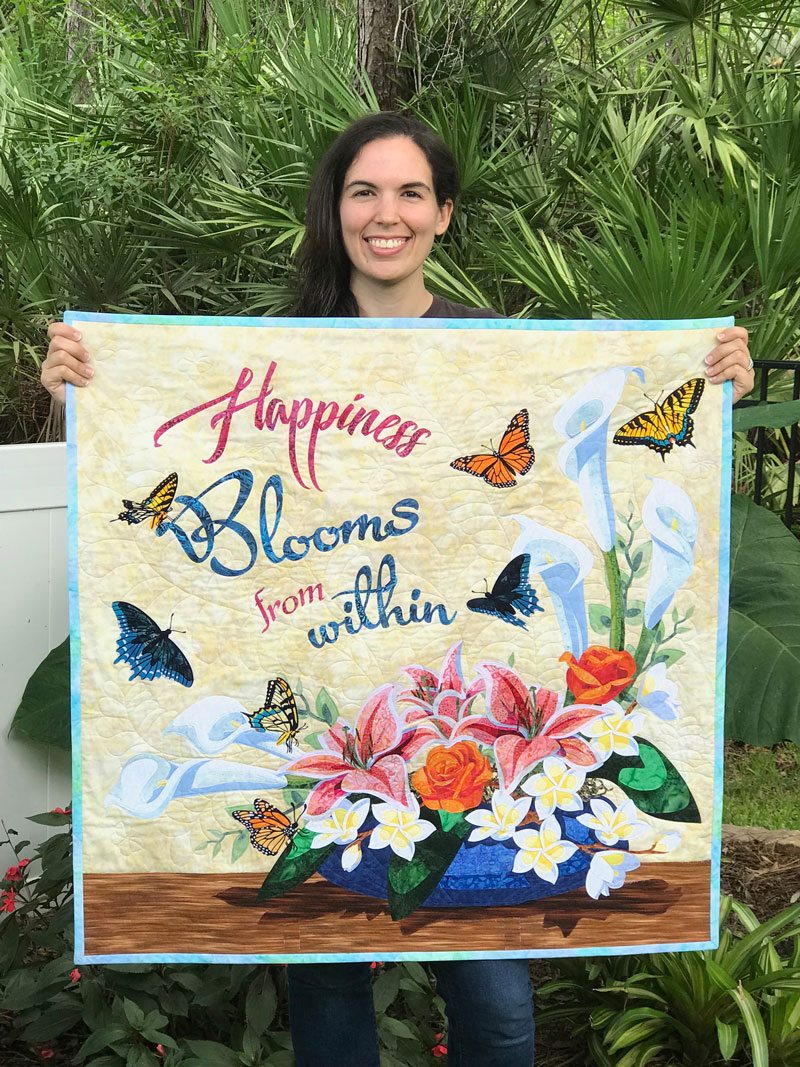
This post is about my process for creating it.
Step 1: Draw the Design
This picture started as a drawing on my iPad in an app called Concepts. It doesn't look like much, yet, because it's just a bunch of outlines stacked on top of each other.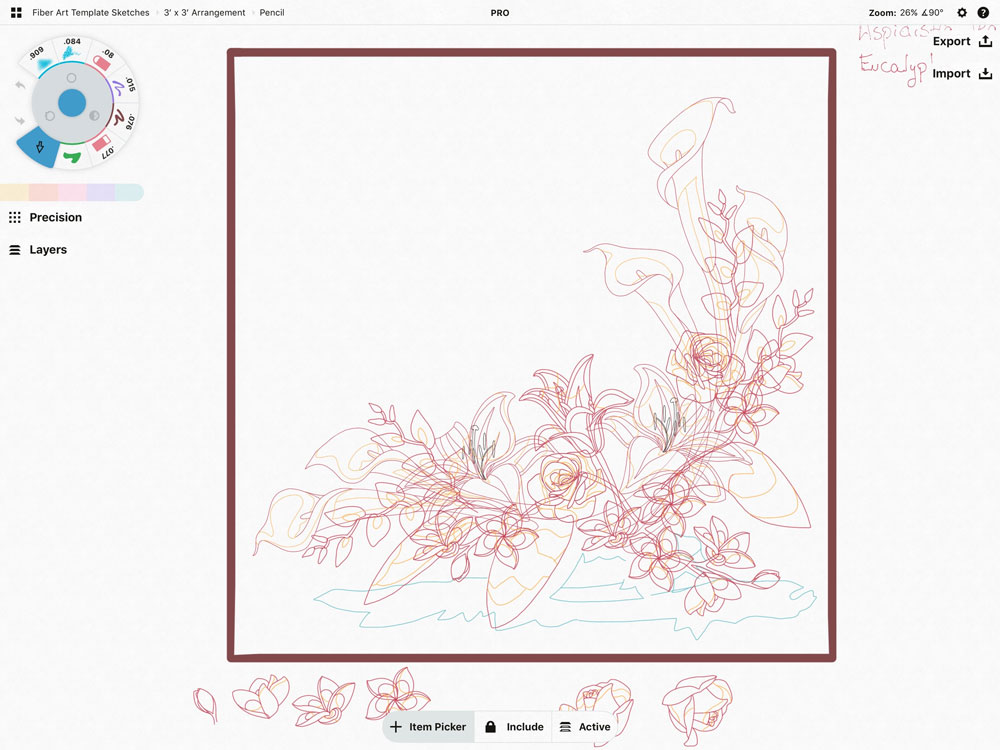
Step 2: Create a Template
Next, I turn my drawing into a finished, colored template in Adobe Illustrator. I remove extra points, connect lines, and generally clean up the drawing before adding fill color.
Here is what my drawing looked like as I was creating the template. I also spent some time figuring out the text.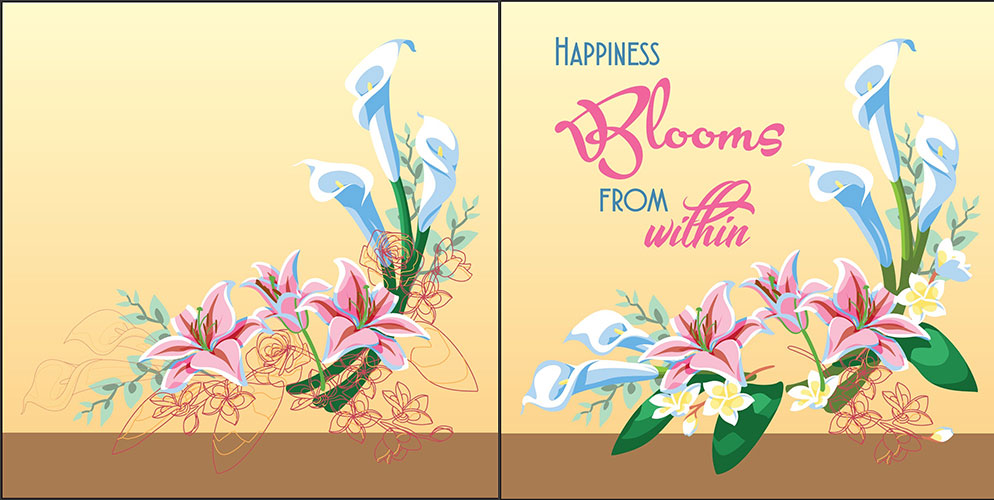
And the finished template: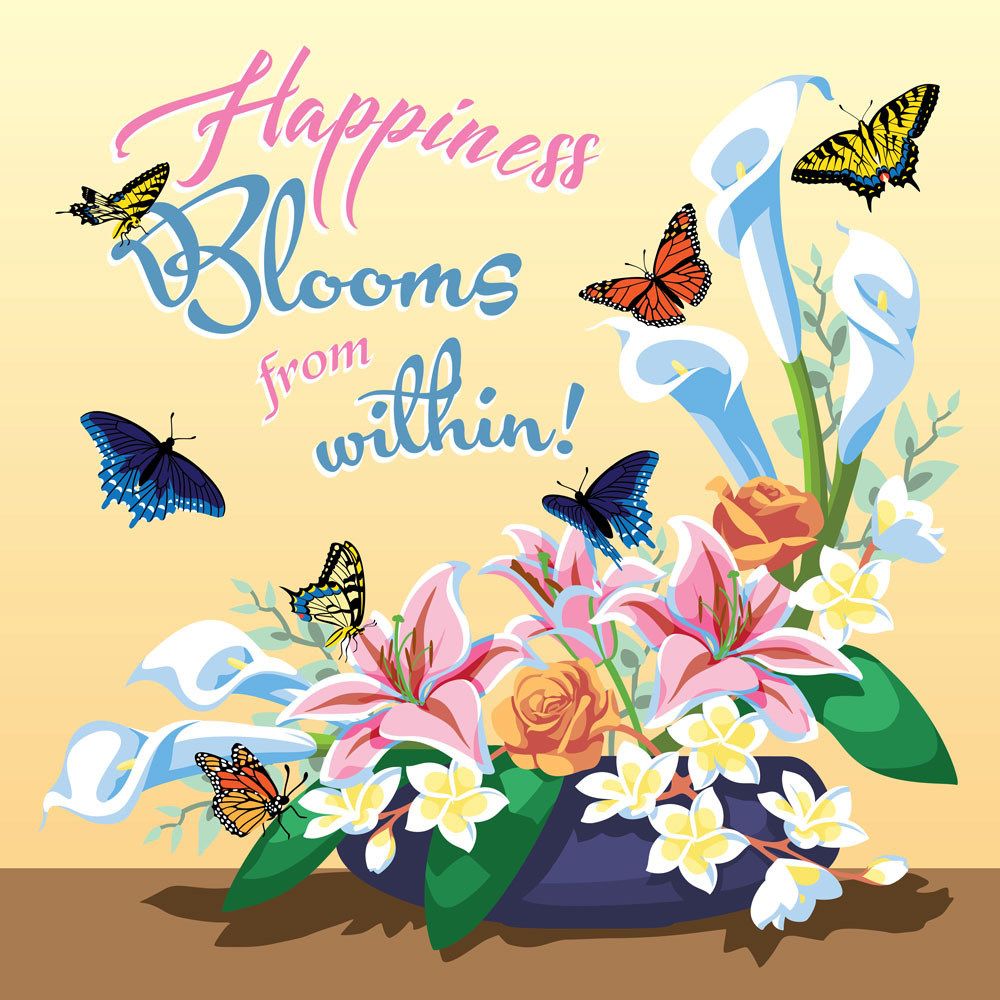
Step 3: Figure Out Overlap
Each filled area of the template ends up being one piece of fabric. The pieces that are underneath other pieces get overlap (so that the pieces on top will be able to fuse to the pieces below).
During this process, each piece also gets its own number so I know where it goes after it's cut. The flowers overlap so much that I ended up putting each on its own page for easy printing. Here is the template for one of the Plumeria branches.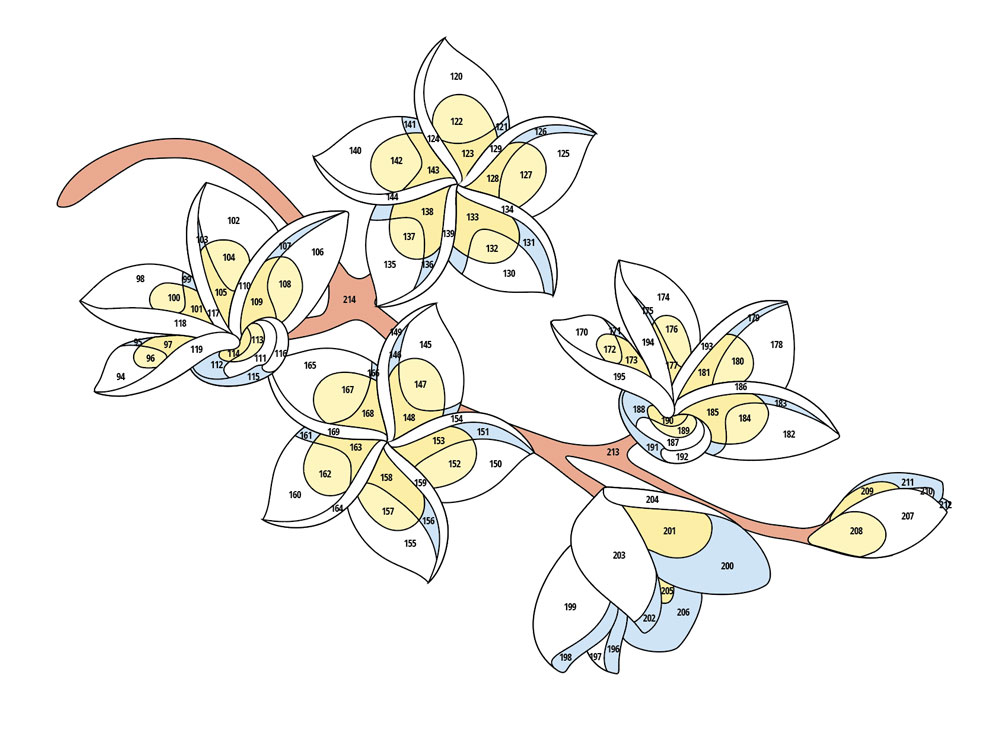
Then I arrange every piece on 10" x 23.5" artboards for easy cutting on my Cricut. This is what my Cricut-ready layouts look like when ready to be cut: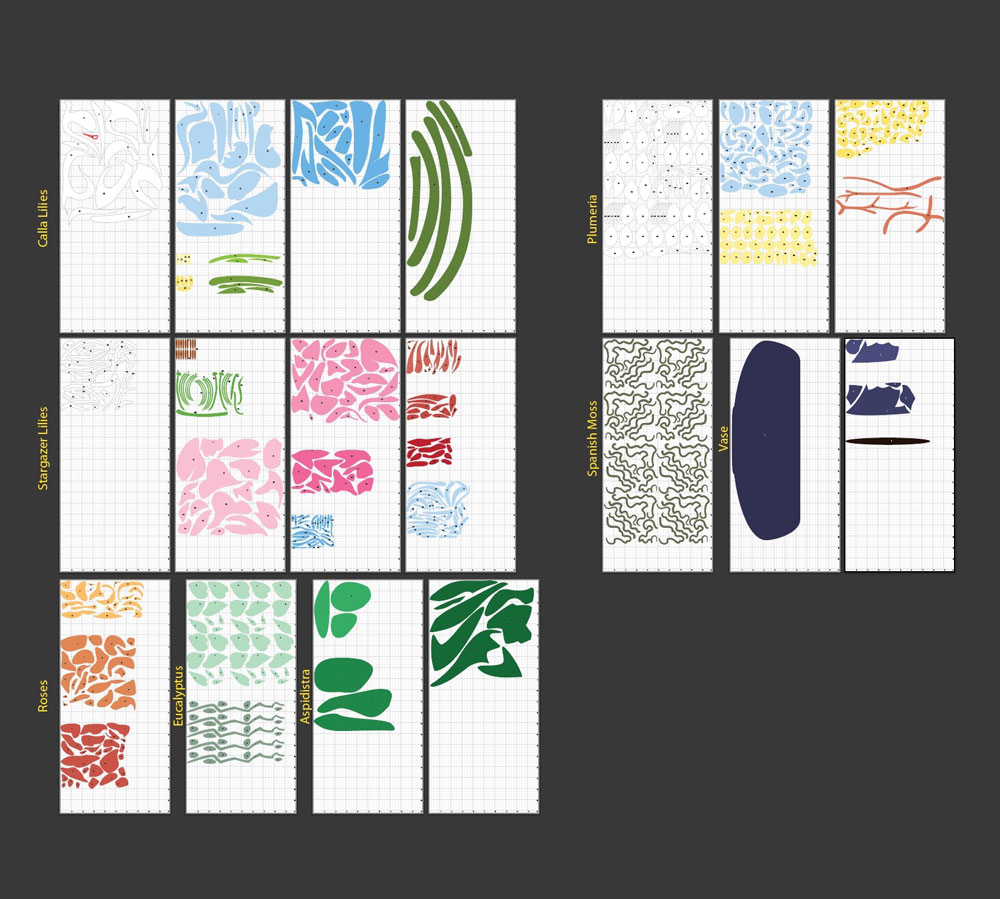
Step 4: Cut Everything!
Each artboard in the above picture gets exported as an SVG and uploaded to the Cricut software. Every SVG is one sticky mat that gets sent through my Cricut for cutting.
Before I can cut, though, I need to pick my fabric. Here are most of the fabrics that ended up going into the final picture. (Notably absent is the tabletop material, which required a trip to my local quilt shop to buy.)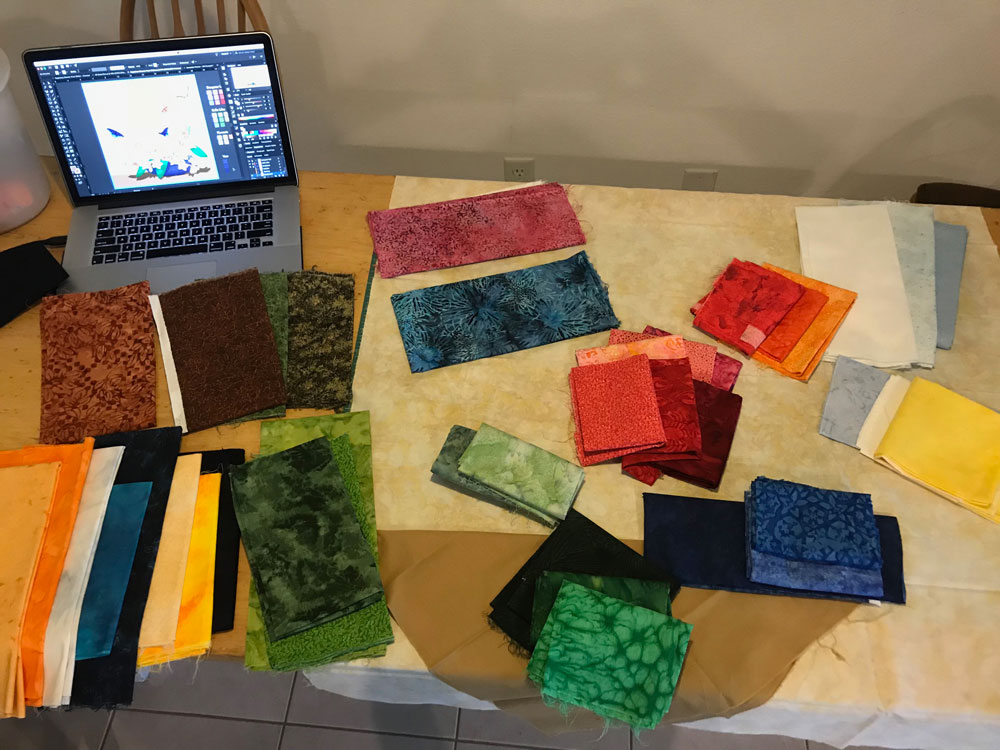
Unfortunately, I completely forgot to take a photo of me cutting this quilt on my Cricut, However, here is my typical cutting set-up from a previous quilt. Our kitchen table the largest table surface in the house, so it's my go-to spot for cutting days: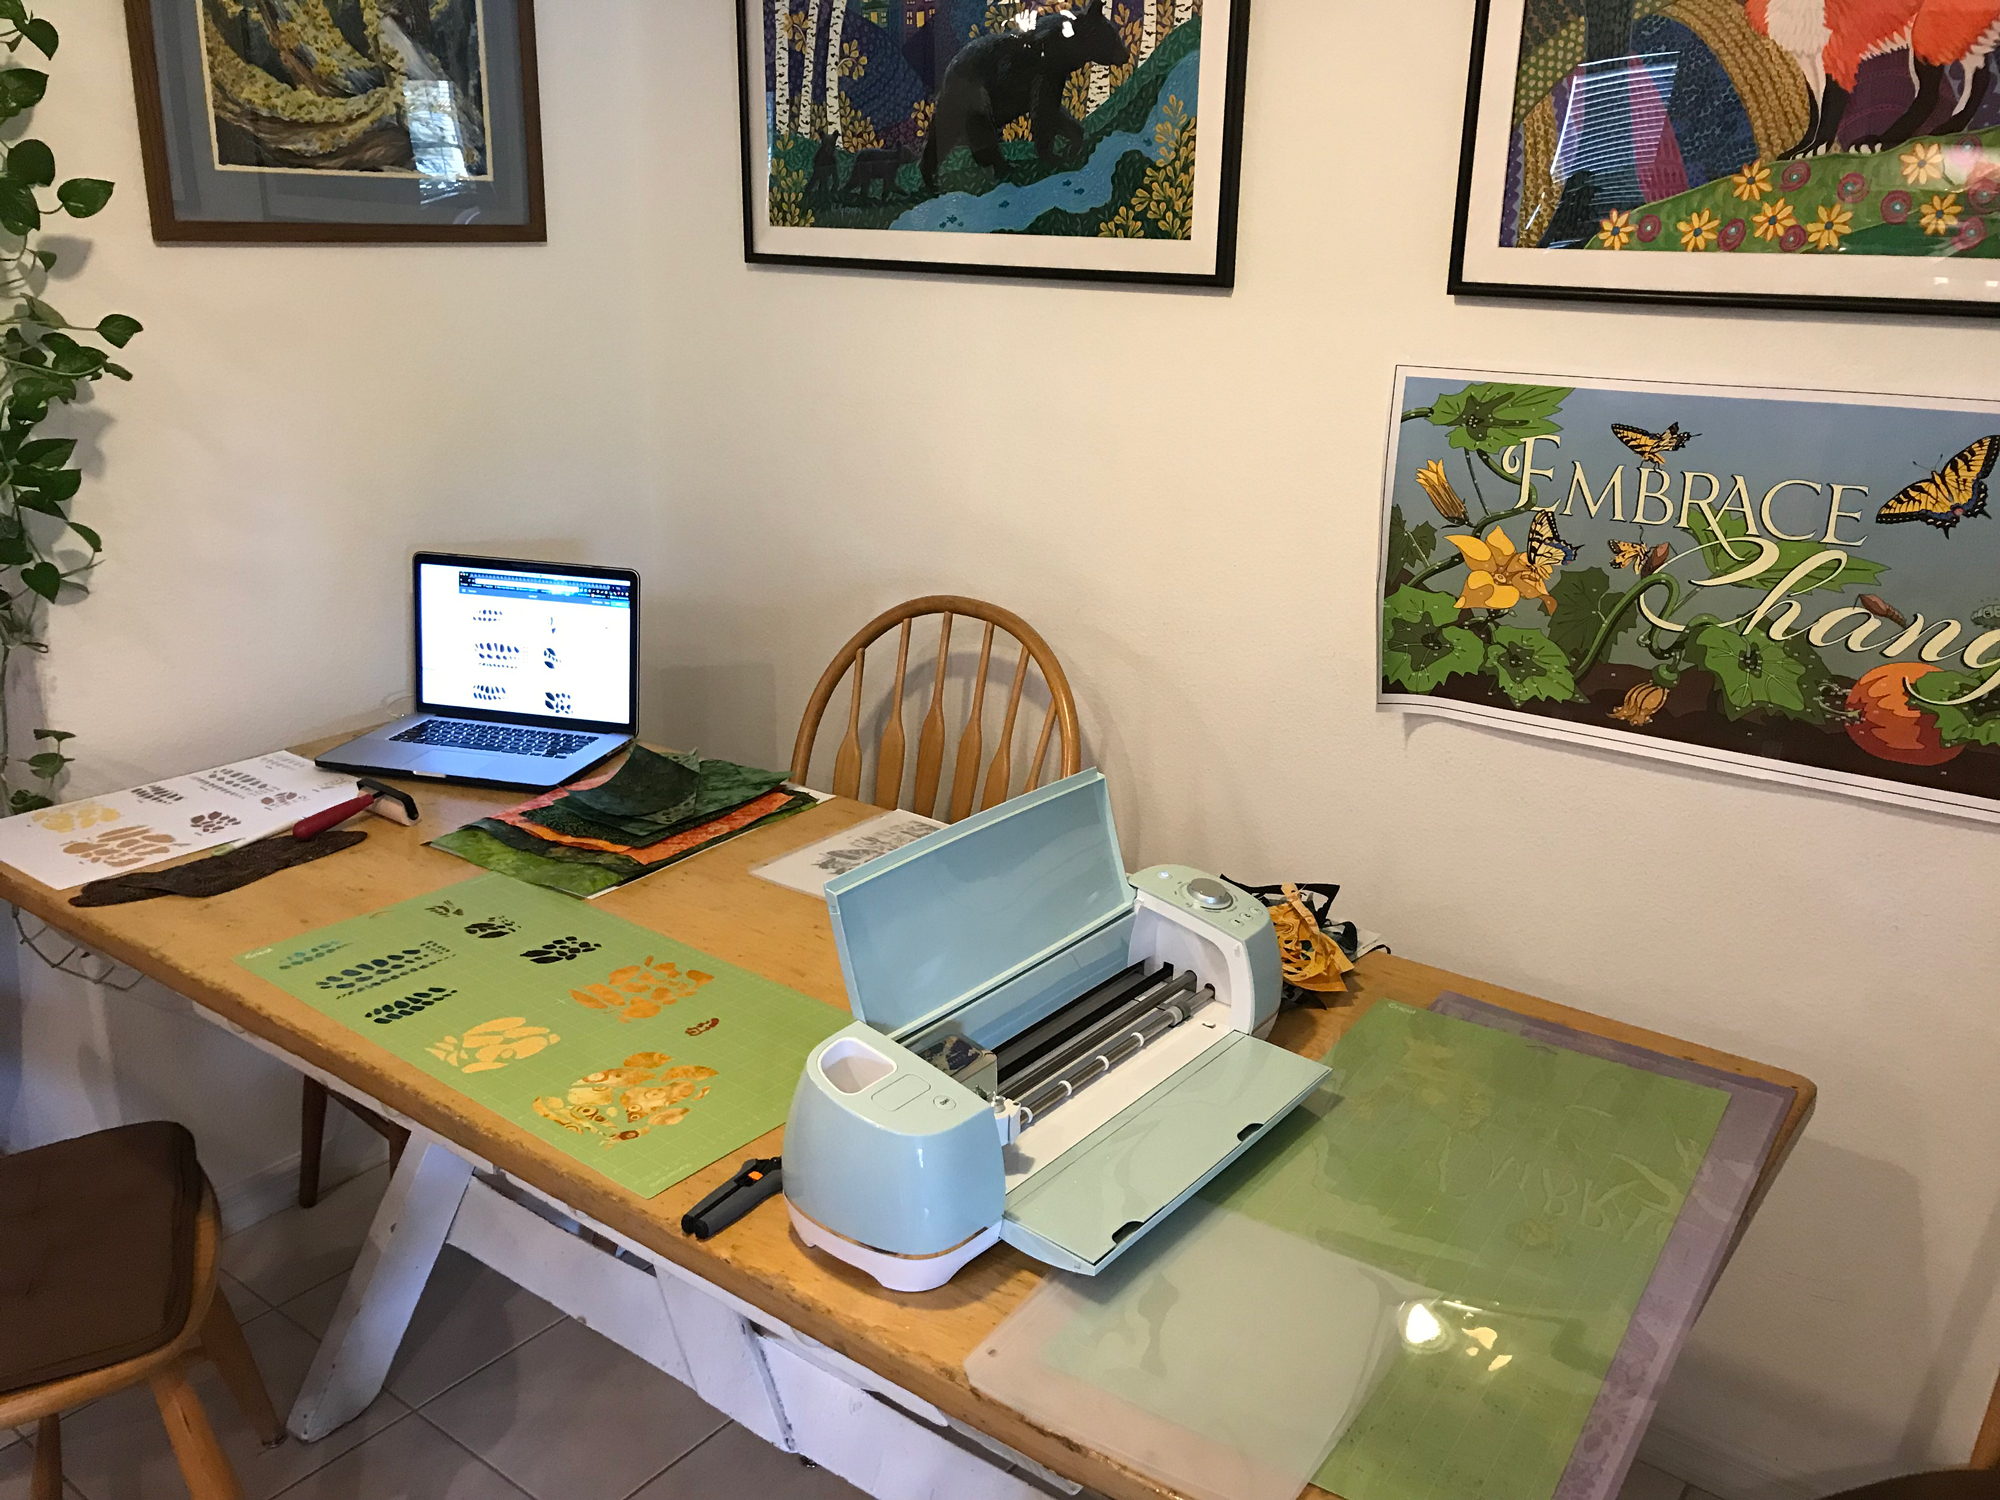
Step 5: Assemble the Pieces
Because I planned ahead to stitch this quilt, I didn't want everything ironed together into the finished arrangement right away. Instead, I assembled each flower separately and stopped there (for now).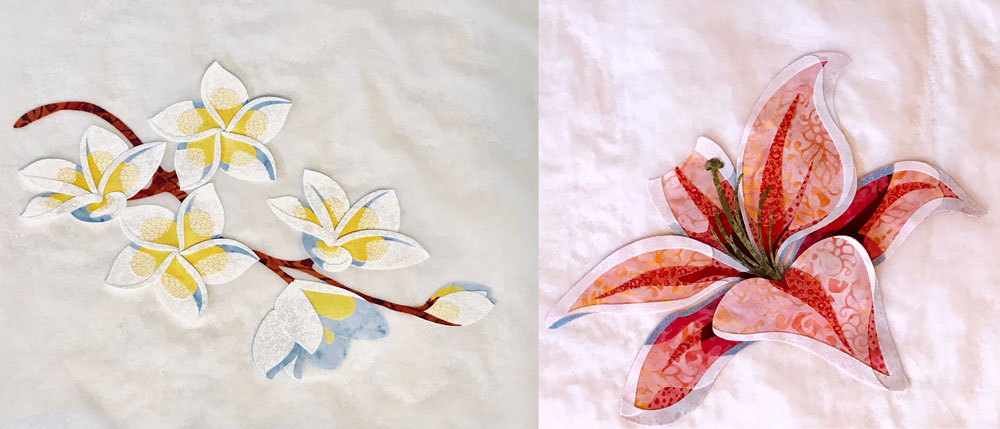
I also assembled each butterfly: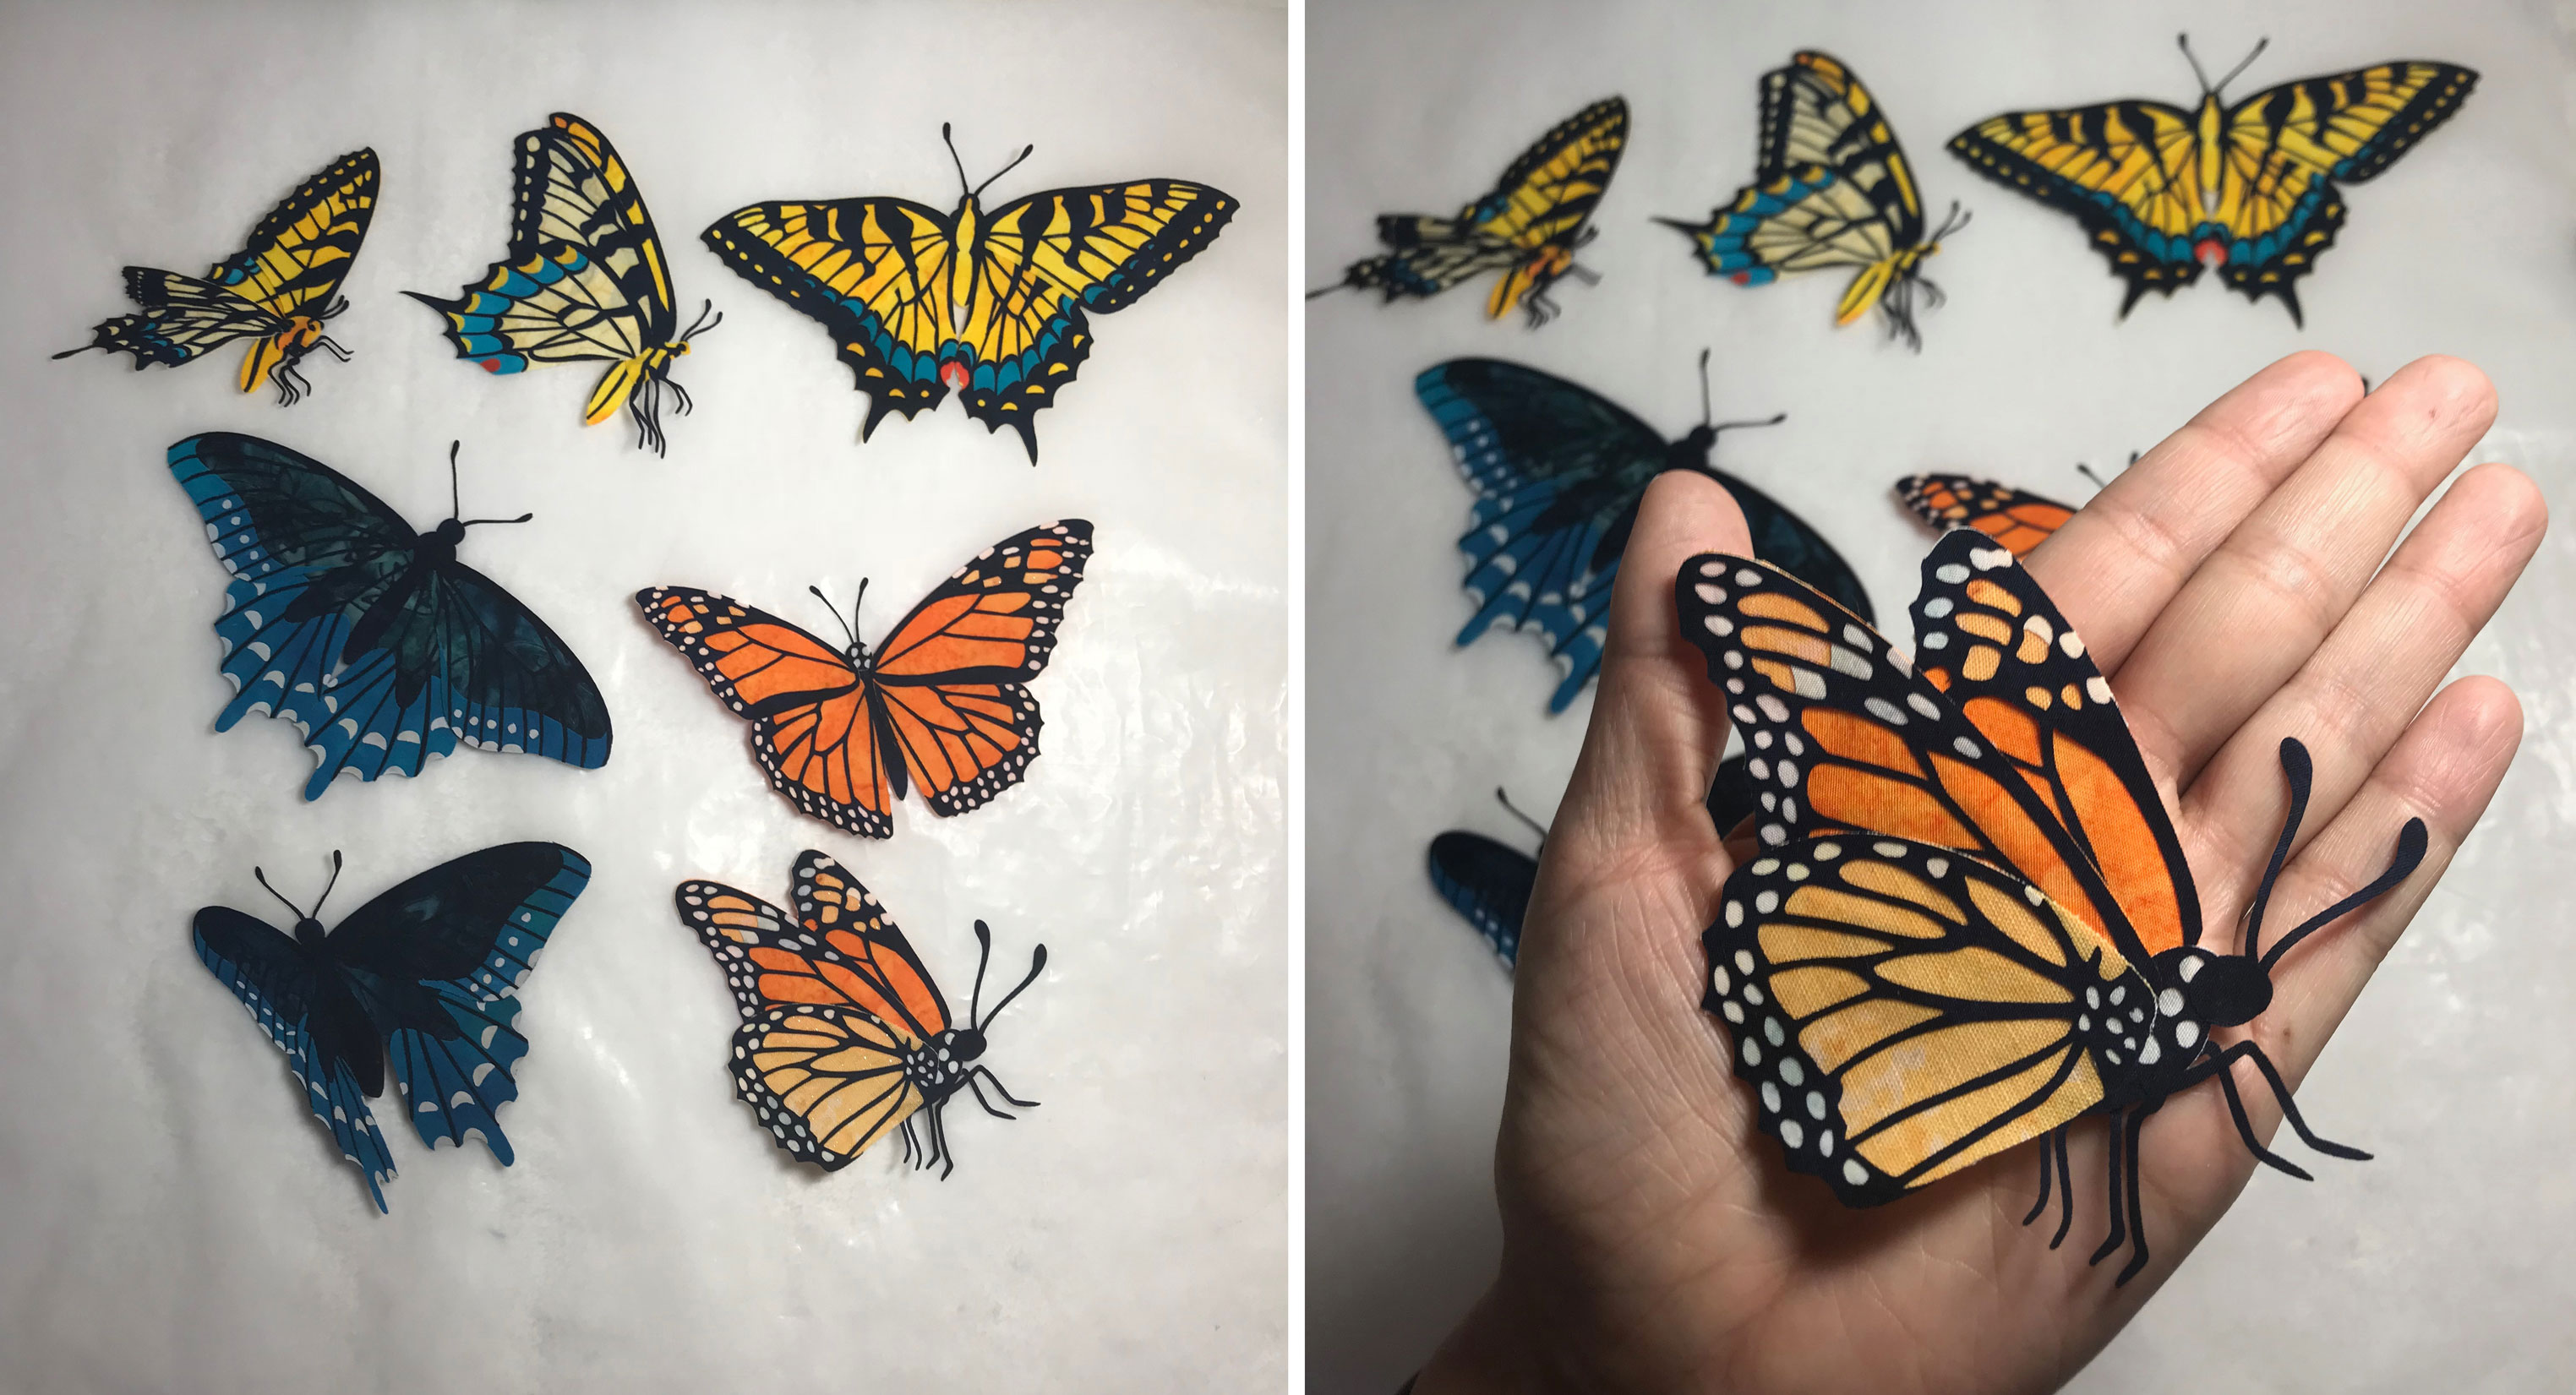
Step 6: Pick A Background
Usually I don't pick a background fabric until the rest of the picture is put together. However, I lucked out and found the perfect material while I was at a sewing class at my local quilt shop a few weeks prior. So in this case, I got to skip the "Pick A Background" step and move on to stitching.
Step 7: Stitch It!
I sew in layers using a primarily raw-edge applique technique. I do that because it's far easier for me to sew under an object when it's not yet on the quilt than to have to sew around it later on.
I wanted to have big feathers in the background behind my flower arrangement. Feathering was new for me, so I did some practice drawing on my iPad to get the hang of it before putting needle and thread to my quilt.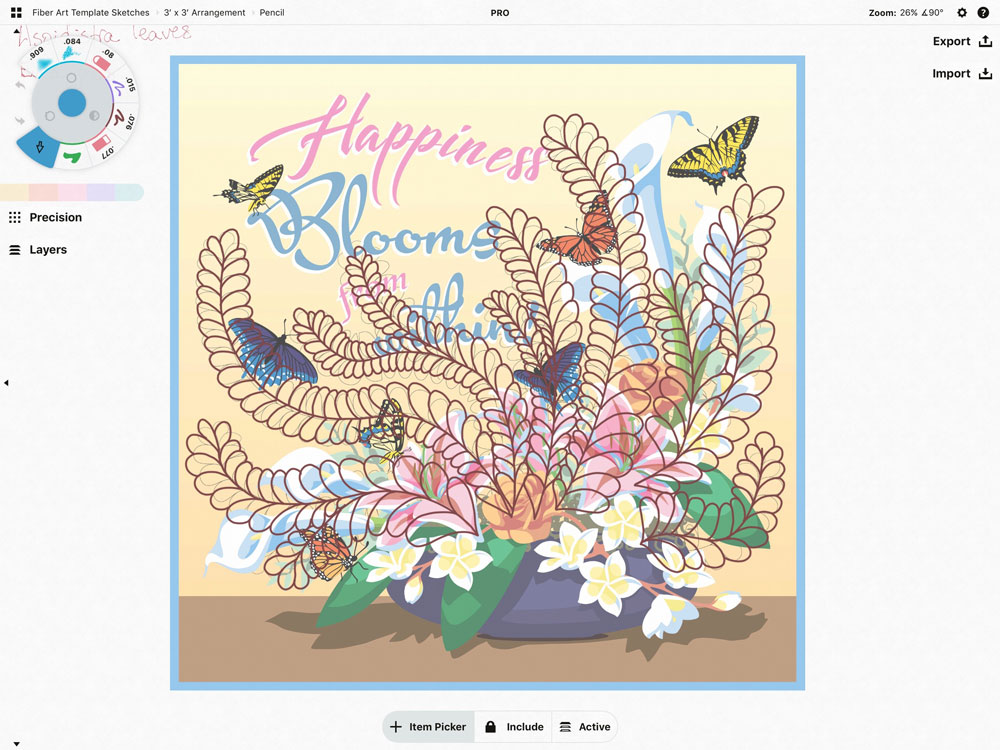
The feathers and the texture on the tabletop were the first things to get sewn. In this photo, I've laid some of the floral components on top of my stitching to line them up in their correct places. You can see the feathering underneath.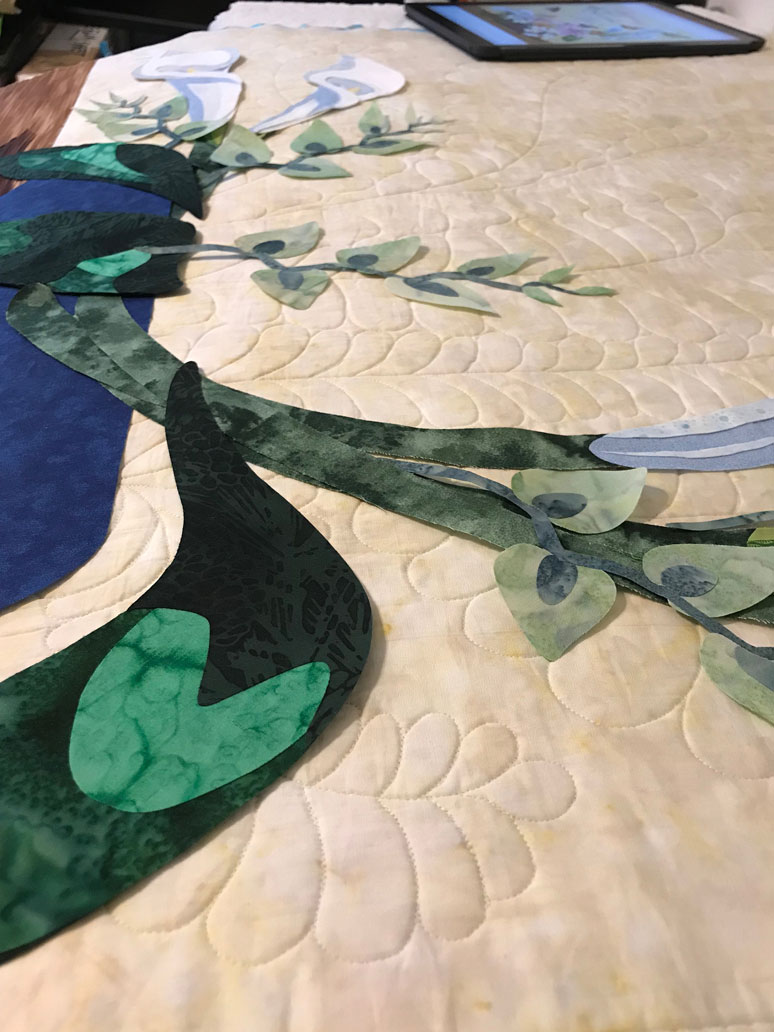
The Eucalyptus went down next, folowed by the Calla Lilies and the Stargazer Lily starting to open. (Those all go "inside" the vase.)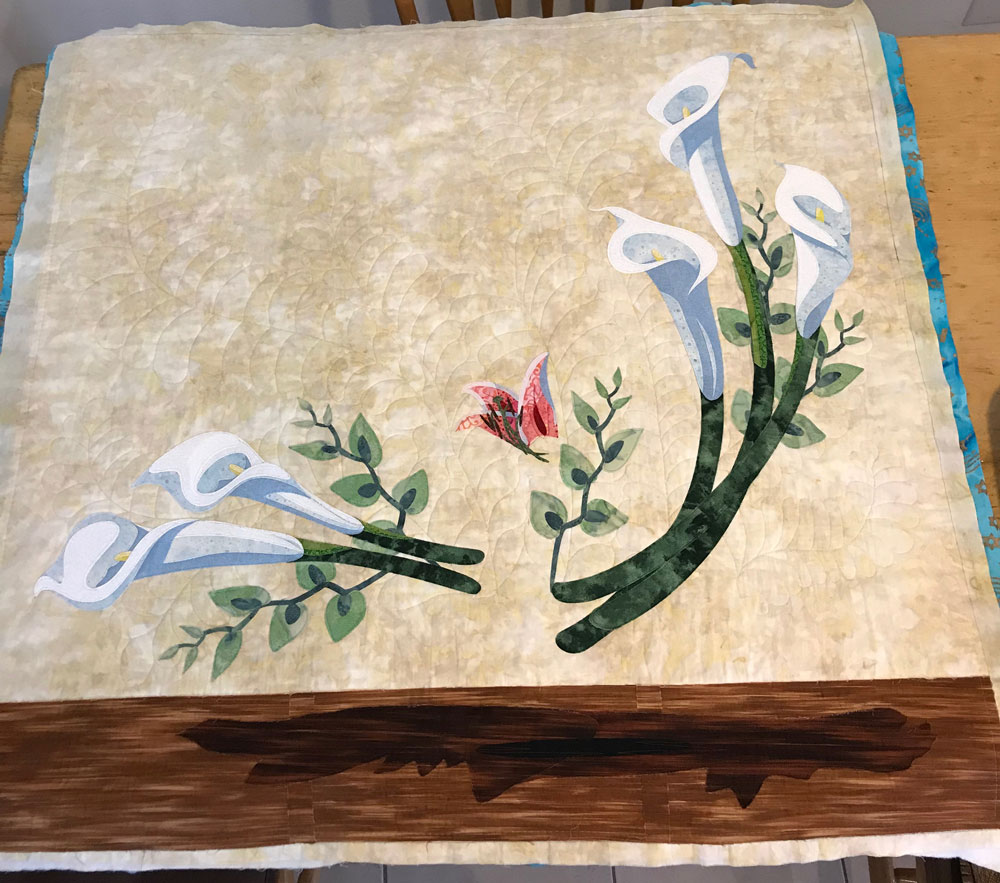
Next to get stitched was the vase, followed by the Spanish Moss, Aspidistra leaves, and Plumeria.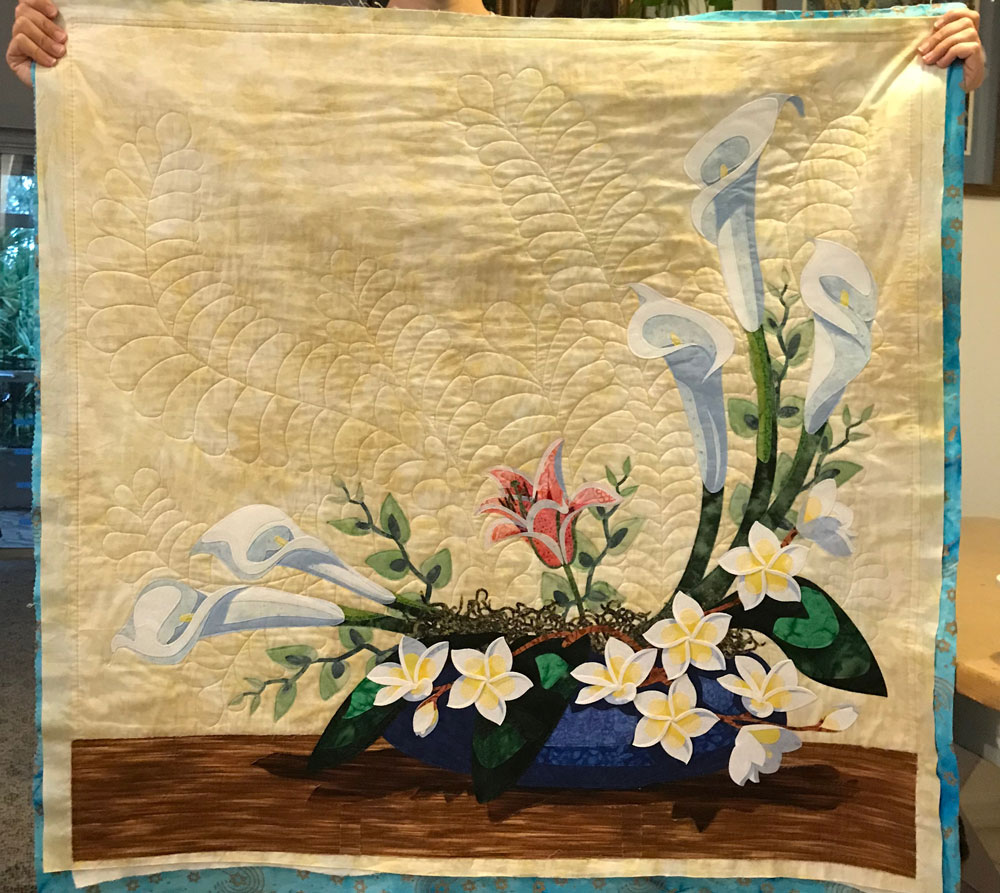
Last to get stitched were the Roses, Stargazer Lilies, Text, and Butterflies. I also added a handful of small, free-motion-stitched butterflies in some of the remaining gaps just to hold the batting in place (see along the top of the quilt).
This pic is after all the stitching was finished, but before I added the binding.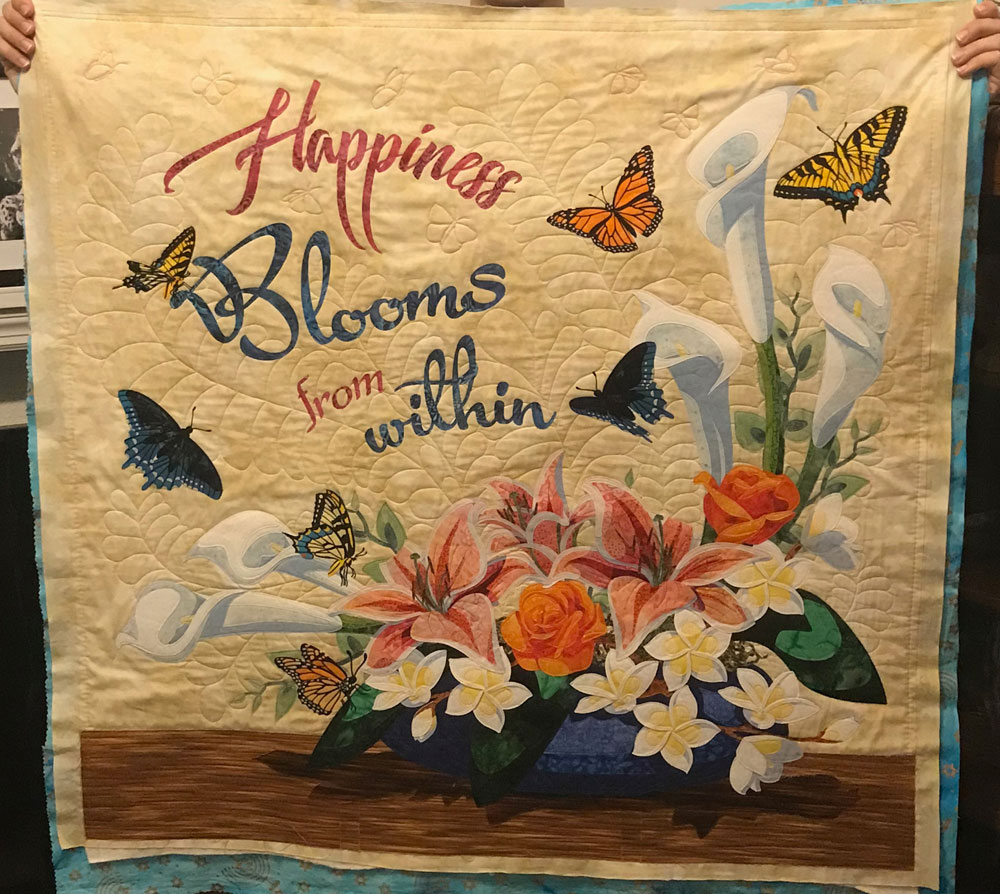
Step 8: Binding & Hanging Sleeve
Last but not least, I finished the edges with a light blue binding and added an 4" sleeve to the back. Here's Happiness Blooms From Within hanging on my living room wall.