Link Meets the Deku Tree Process
- Published:
- Length: 557 words
- Reading Time: 3 minutes
My gift for my husband, Alex's, birthday in January was an offer to make an art quilt for him. The subject could be anything he wanted.
He chose a scene from one of his all-time favorite video games, The Legend of Zelda: Ocarina of Time. The specific scene was when Link met the Deku Tree near the beginning of the game. This is a screenshot from the game.
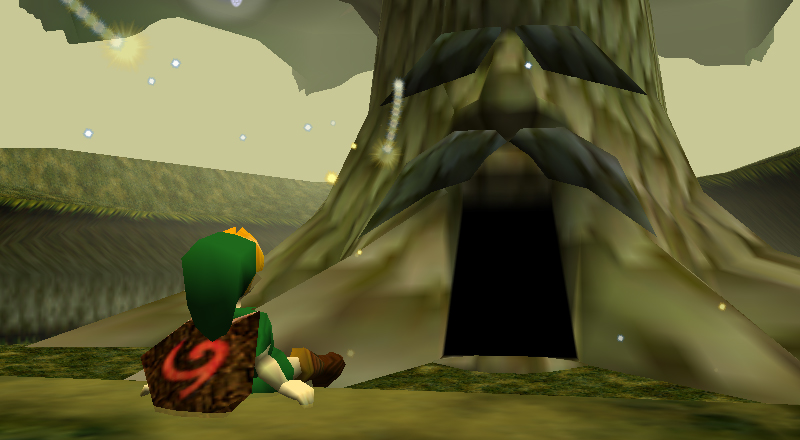
As you can tell, Ocarina of Time is a very low-poly game because it was released almost 20 years ago in November, 1998. (Yikes.) Not a lot of detail there. "Okay," I said to myself, "Time for a bit of creative license."
I redrew the scene in my own style, and this was the result:
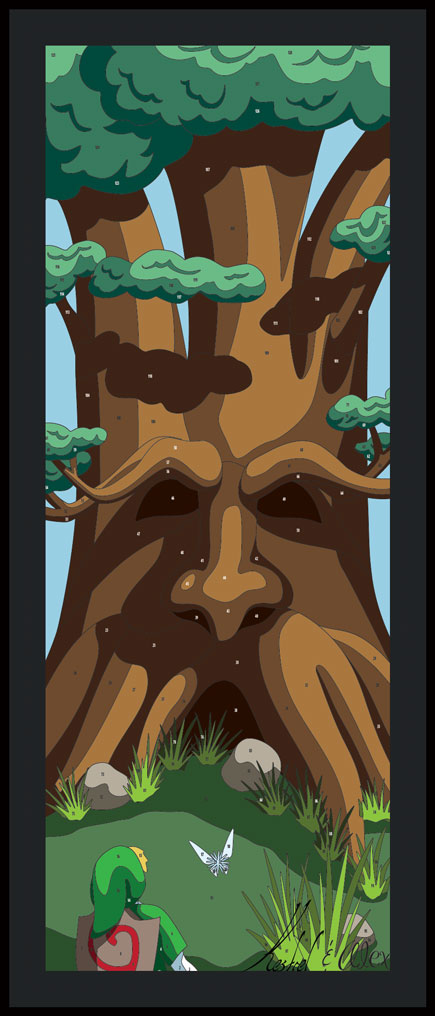
Alex approved the design, and from there I did my usual work of separating each color block into its own piece and laying everything out for cutting on my Cricut. This is a screenshot of the Cricut artboards.
I pre-cut all my wonder under swatches, but stopped before going any further because Alex had a second request. Since this project was actually a birthday gift, he wanted to assemble it with me.
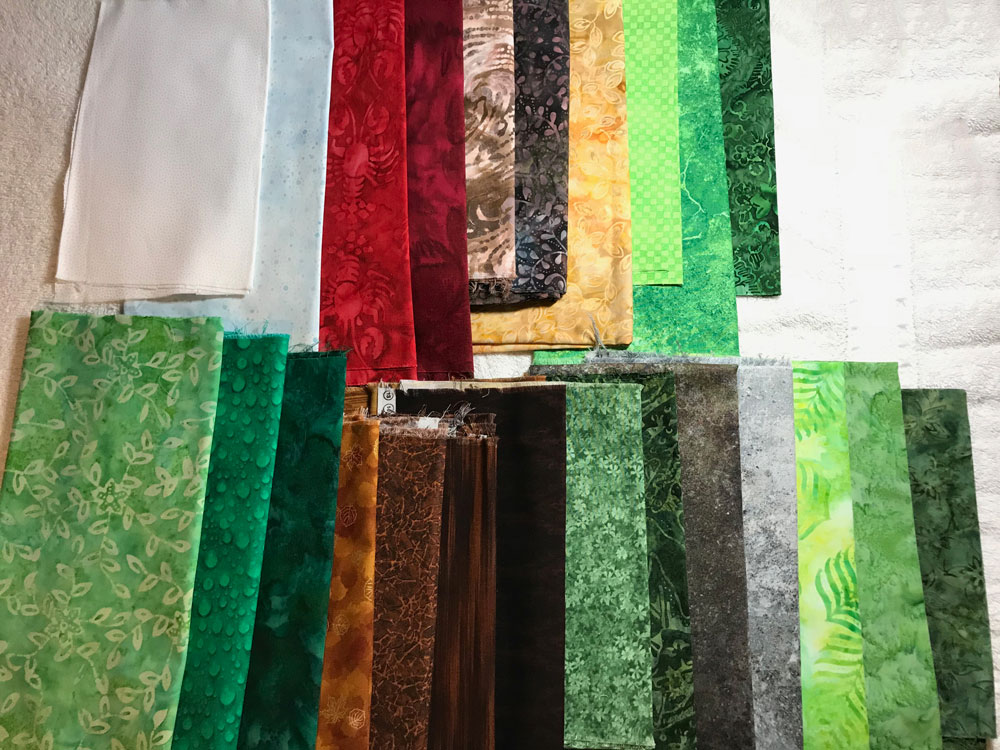
Once Alex had some free time from work, we sat down in front of my fabric drawers together and chose our colors. Here are the fabrics we chose:
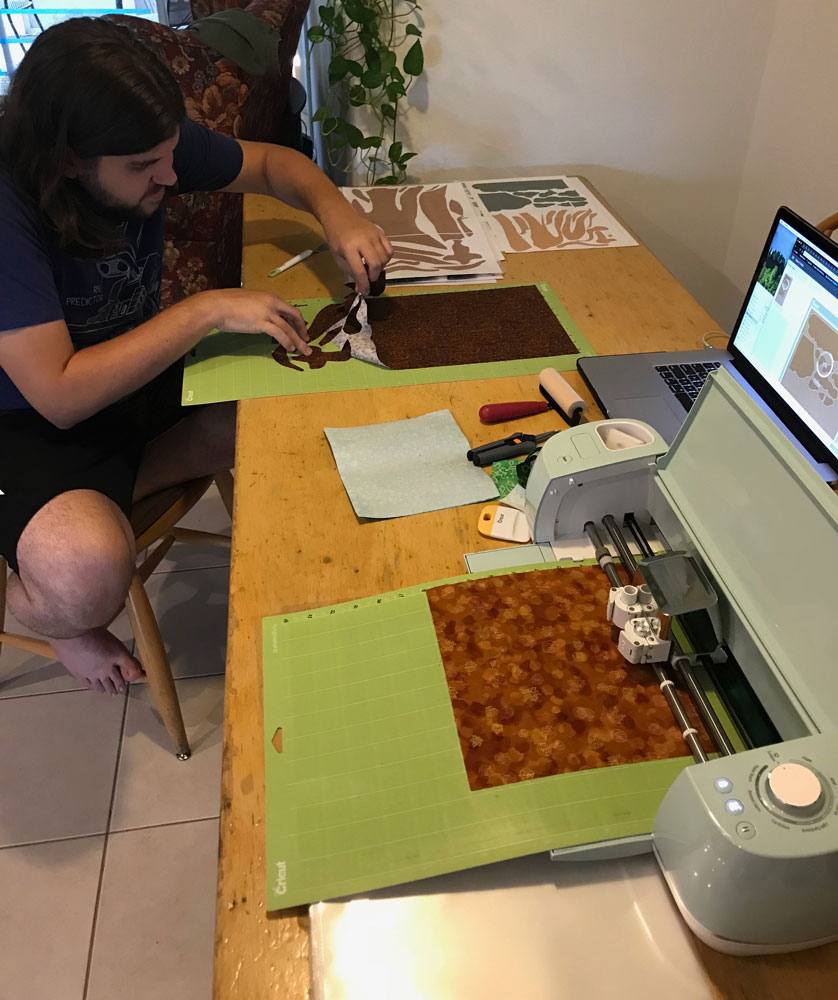
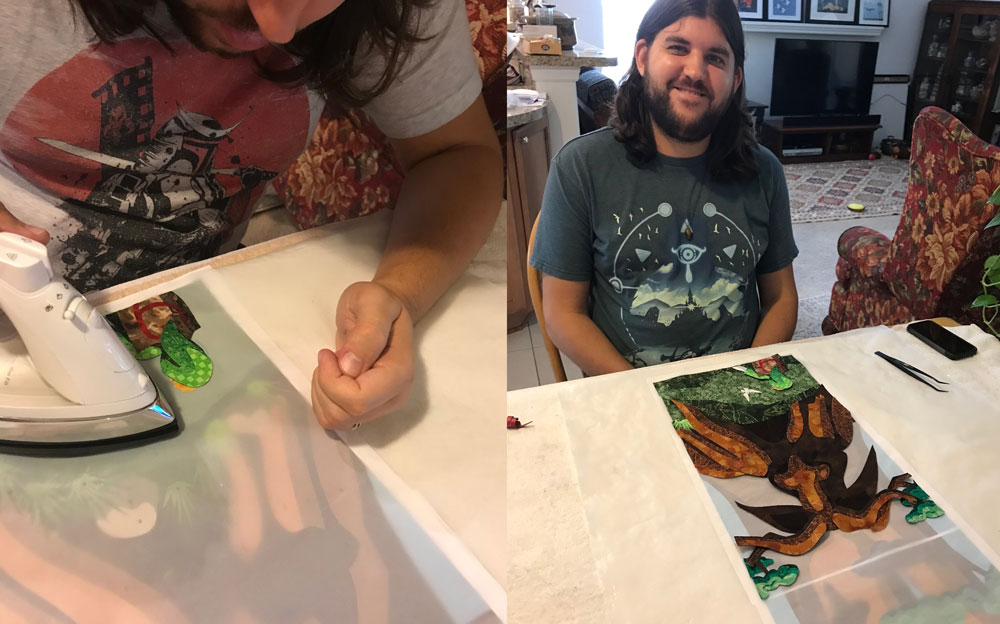
Then he helped my iron the wonder under onto each piece of fabric and prepare every swatch for cutting. In this picture, I'm running the camera and the Cricut while Alex peels the cut fabric pieces off the sticky mat.
Next step was to assemble all the pieces we had just cut, and Alex did that part all by himself.
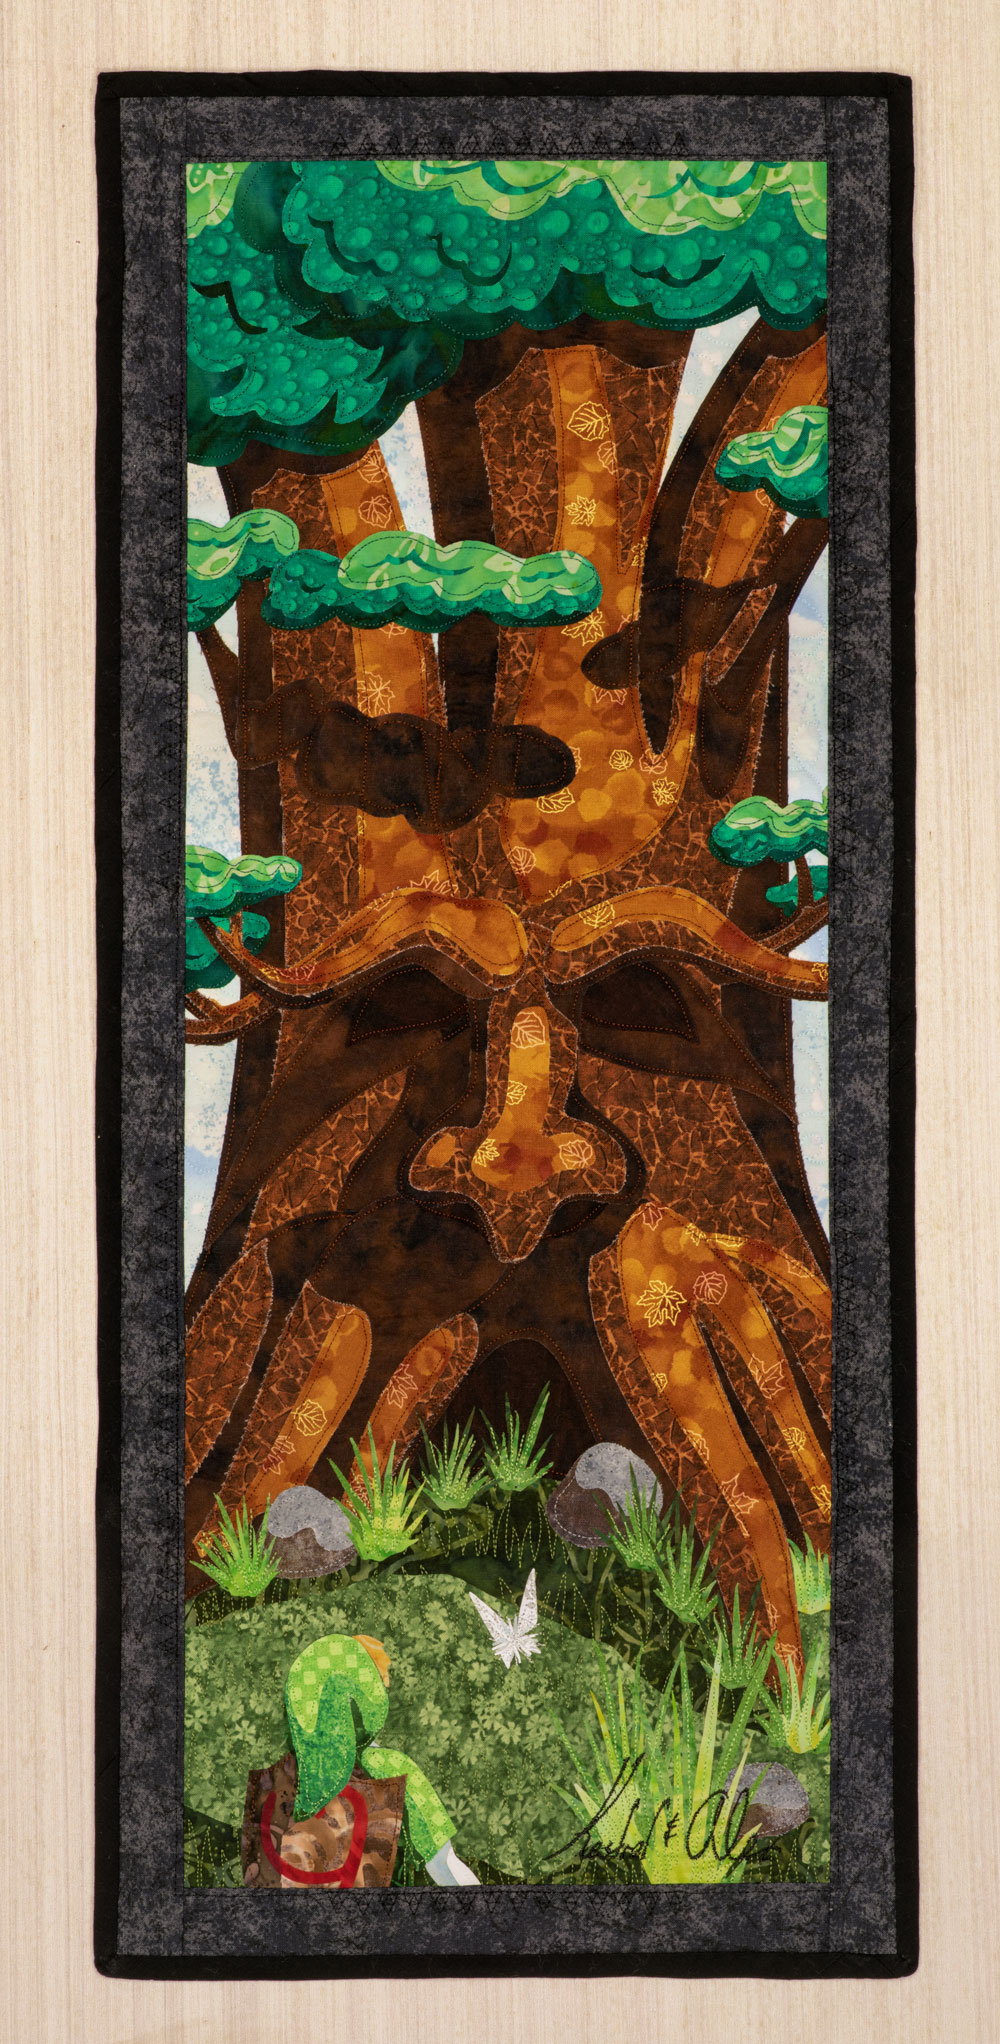
Once he was through assembling the pieces, I finished the quilt by adding a border, binding, and hanging sleeve. I also stitched little triforces in black around the picture as a very subtle flair. Here's the finished picture, ready to hang.
I even added a bit of flair along the edge. I used my sewing machine's stitch designer to created a decorative triforce stitch, which I sewed along the edge of the picture inside the binding.
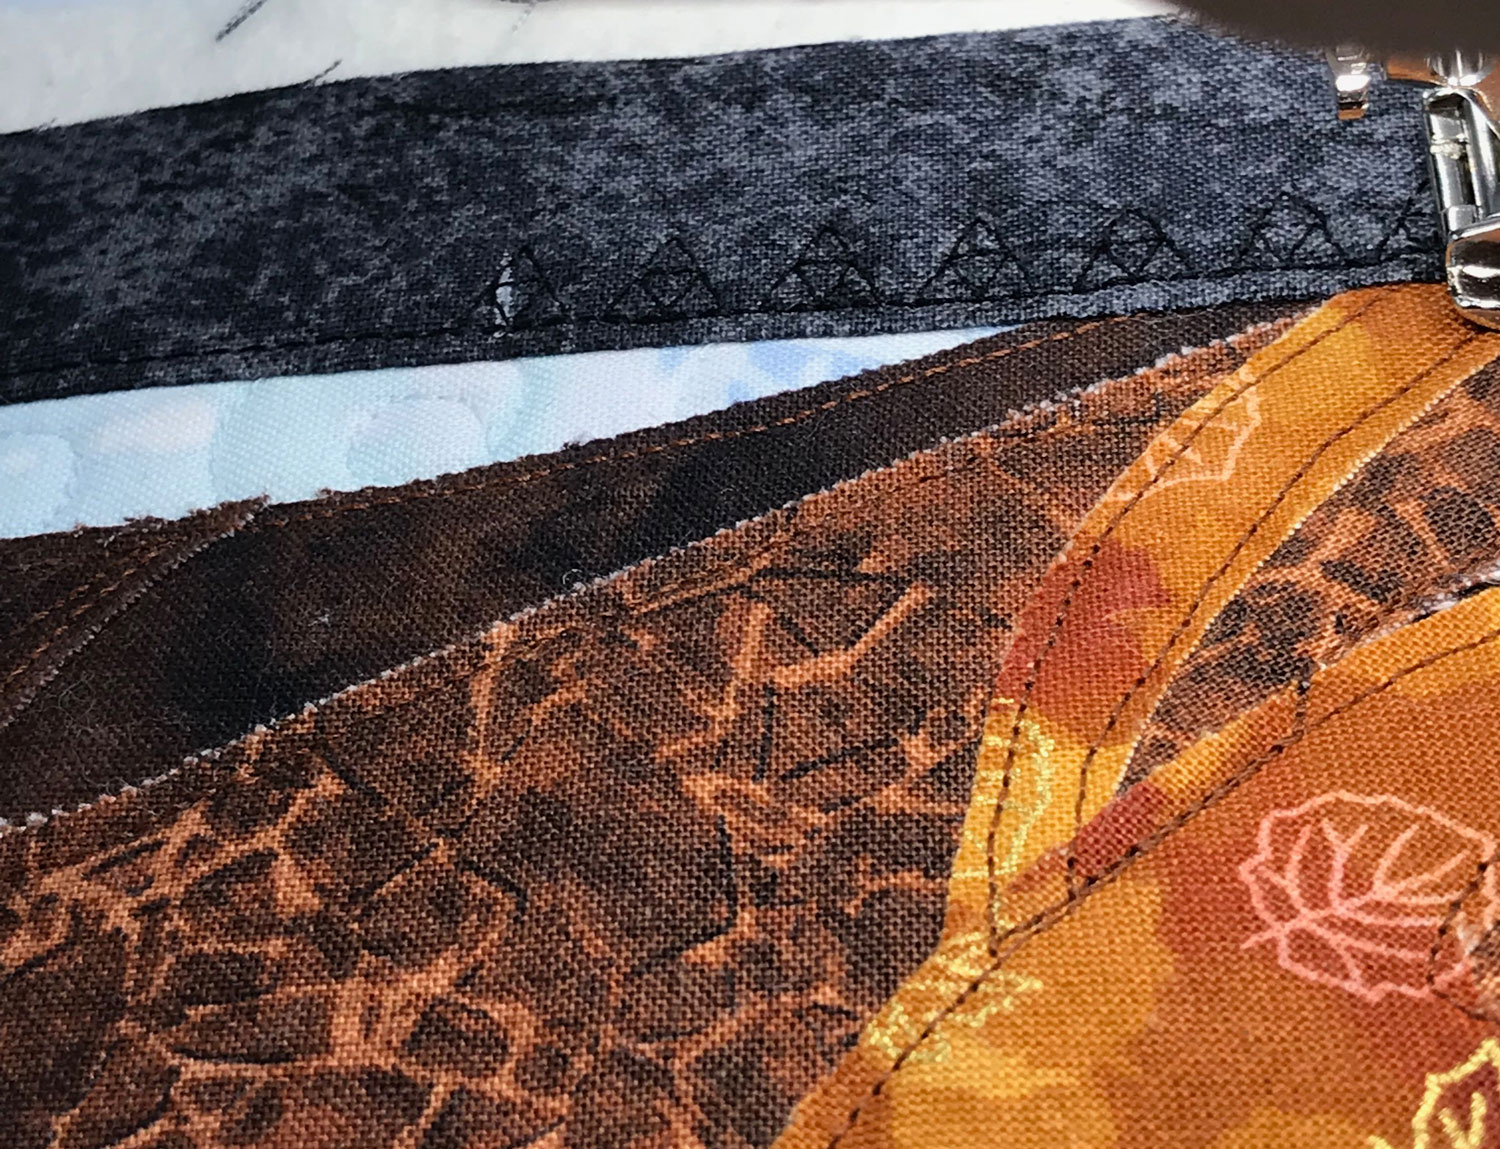
I also took a video of the triforces being stitched.
Happy Birthday, Alex! Love you!
