How to Draw A Portrait in Procreate
- Published:
- Length: 1344 words
- Reading Time: 7 minutes
Over the course of the year I've developed my own method for drawing portraits. Interestingly, I didn't even realize I was doing it until I started posting time lapse videos of my drawings to Instagram and suddenly recognized the same process in each of them.
I thought I'd take this opportunity to provide a step-by-step guide to how I draw a portrait in Procreate, as well as a time lapse video at the end so you can see my process in action.
Kestrel's Method for Drawing Portraits
For more info on my iPad and the apps I use, please see my Tools and Challenges of Drawing Digitally blog post.
1. Outline
I always start off by drawing an outline of the model's face in Concepts. This is the most important step because if anything is off in the initial drawing, it will be even more noticeable once I add color. (I actually messed up a bit on this drawing and didn't realize I'd mis-drawn two very key features until I had completely finished. I'll point it out at the end of this post.)
I spend the most amount of time on this step. It takes me 20-30 minutes to complete the initial outline.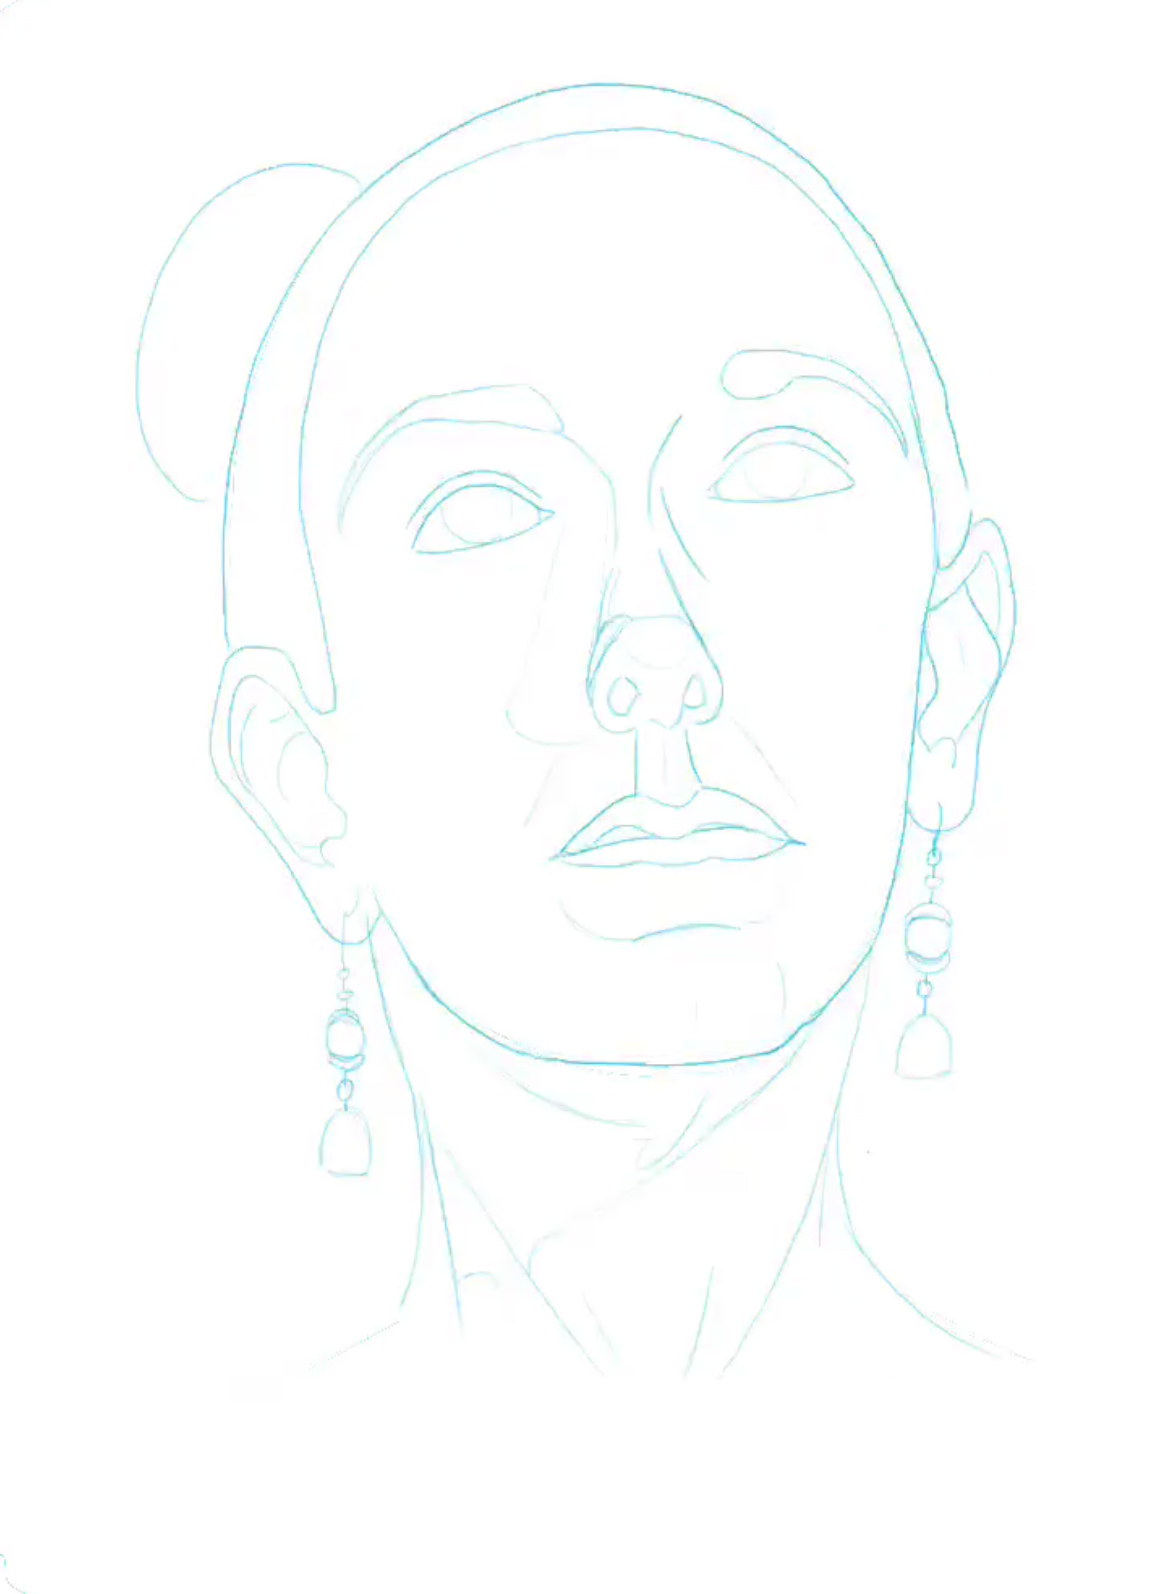
2. Choose background color
Once the outline is drawn, I copy it into Procreate to complete the rest of the drawing. Then I choose a background color.
I've found having a background color is more important than the color itself. My choice of color is often determined by what color background is hanging behind the model. For this drawing, Carrie was sitting in front of a blue drape, so I used blue as my background.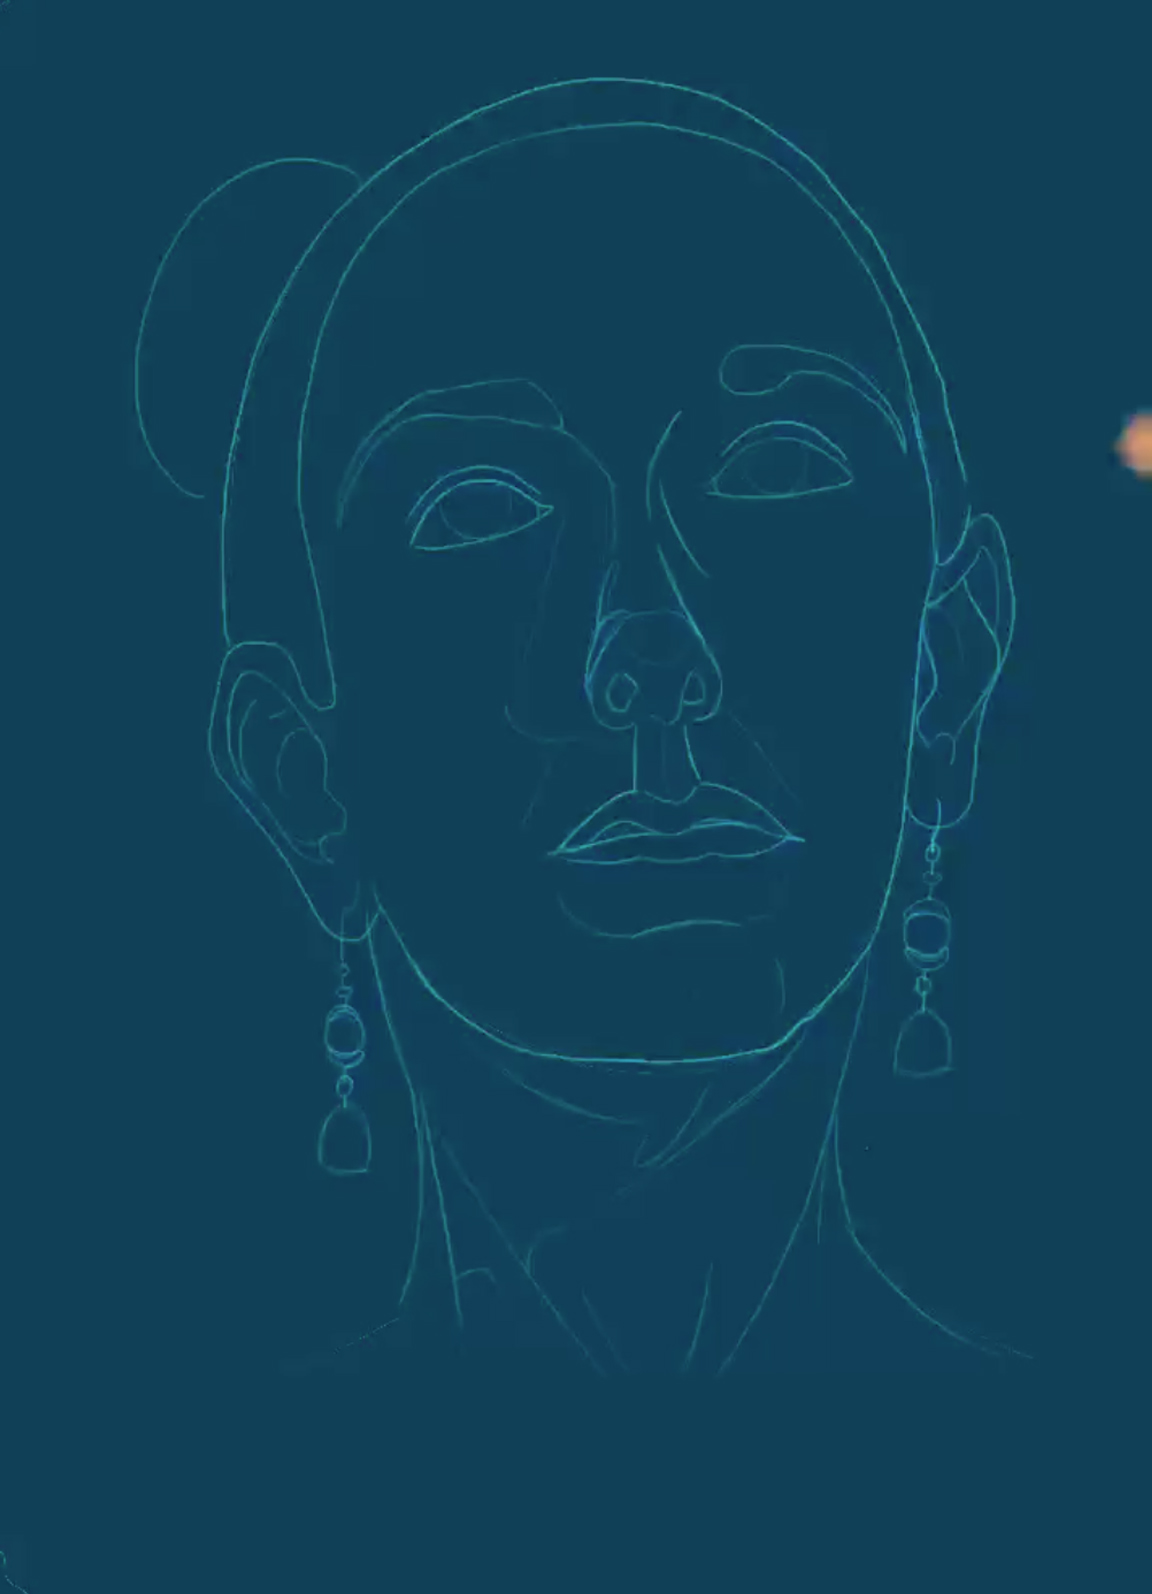
The background color is so important because it helps influence how the drawing appears as it will show through any colors put down. Here are a few examples of this same finished picture on several different background colors so you can see what I mean: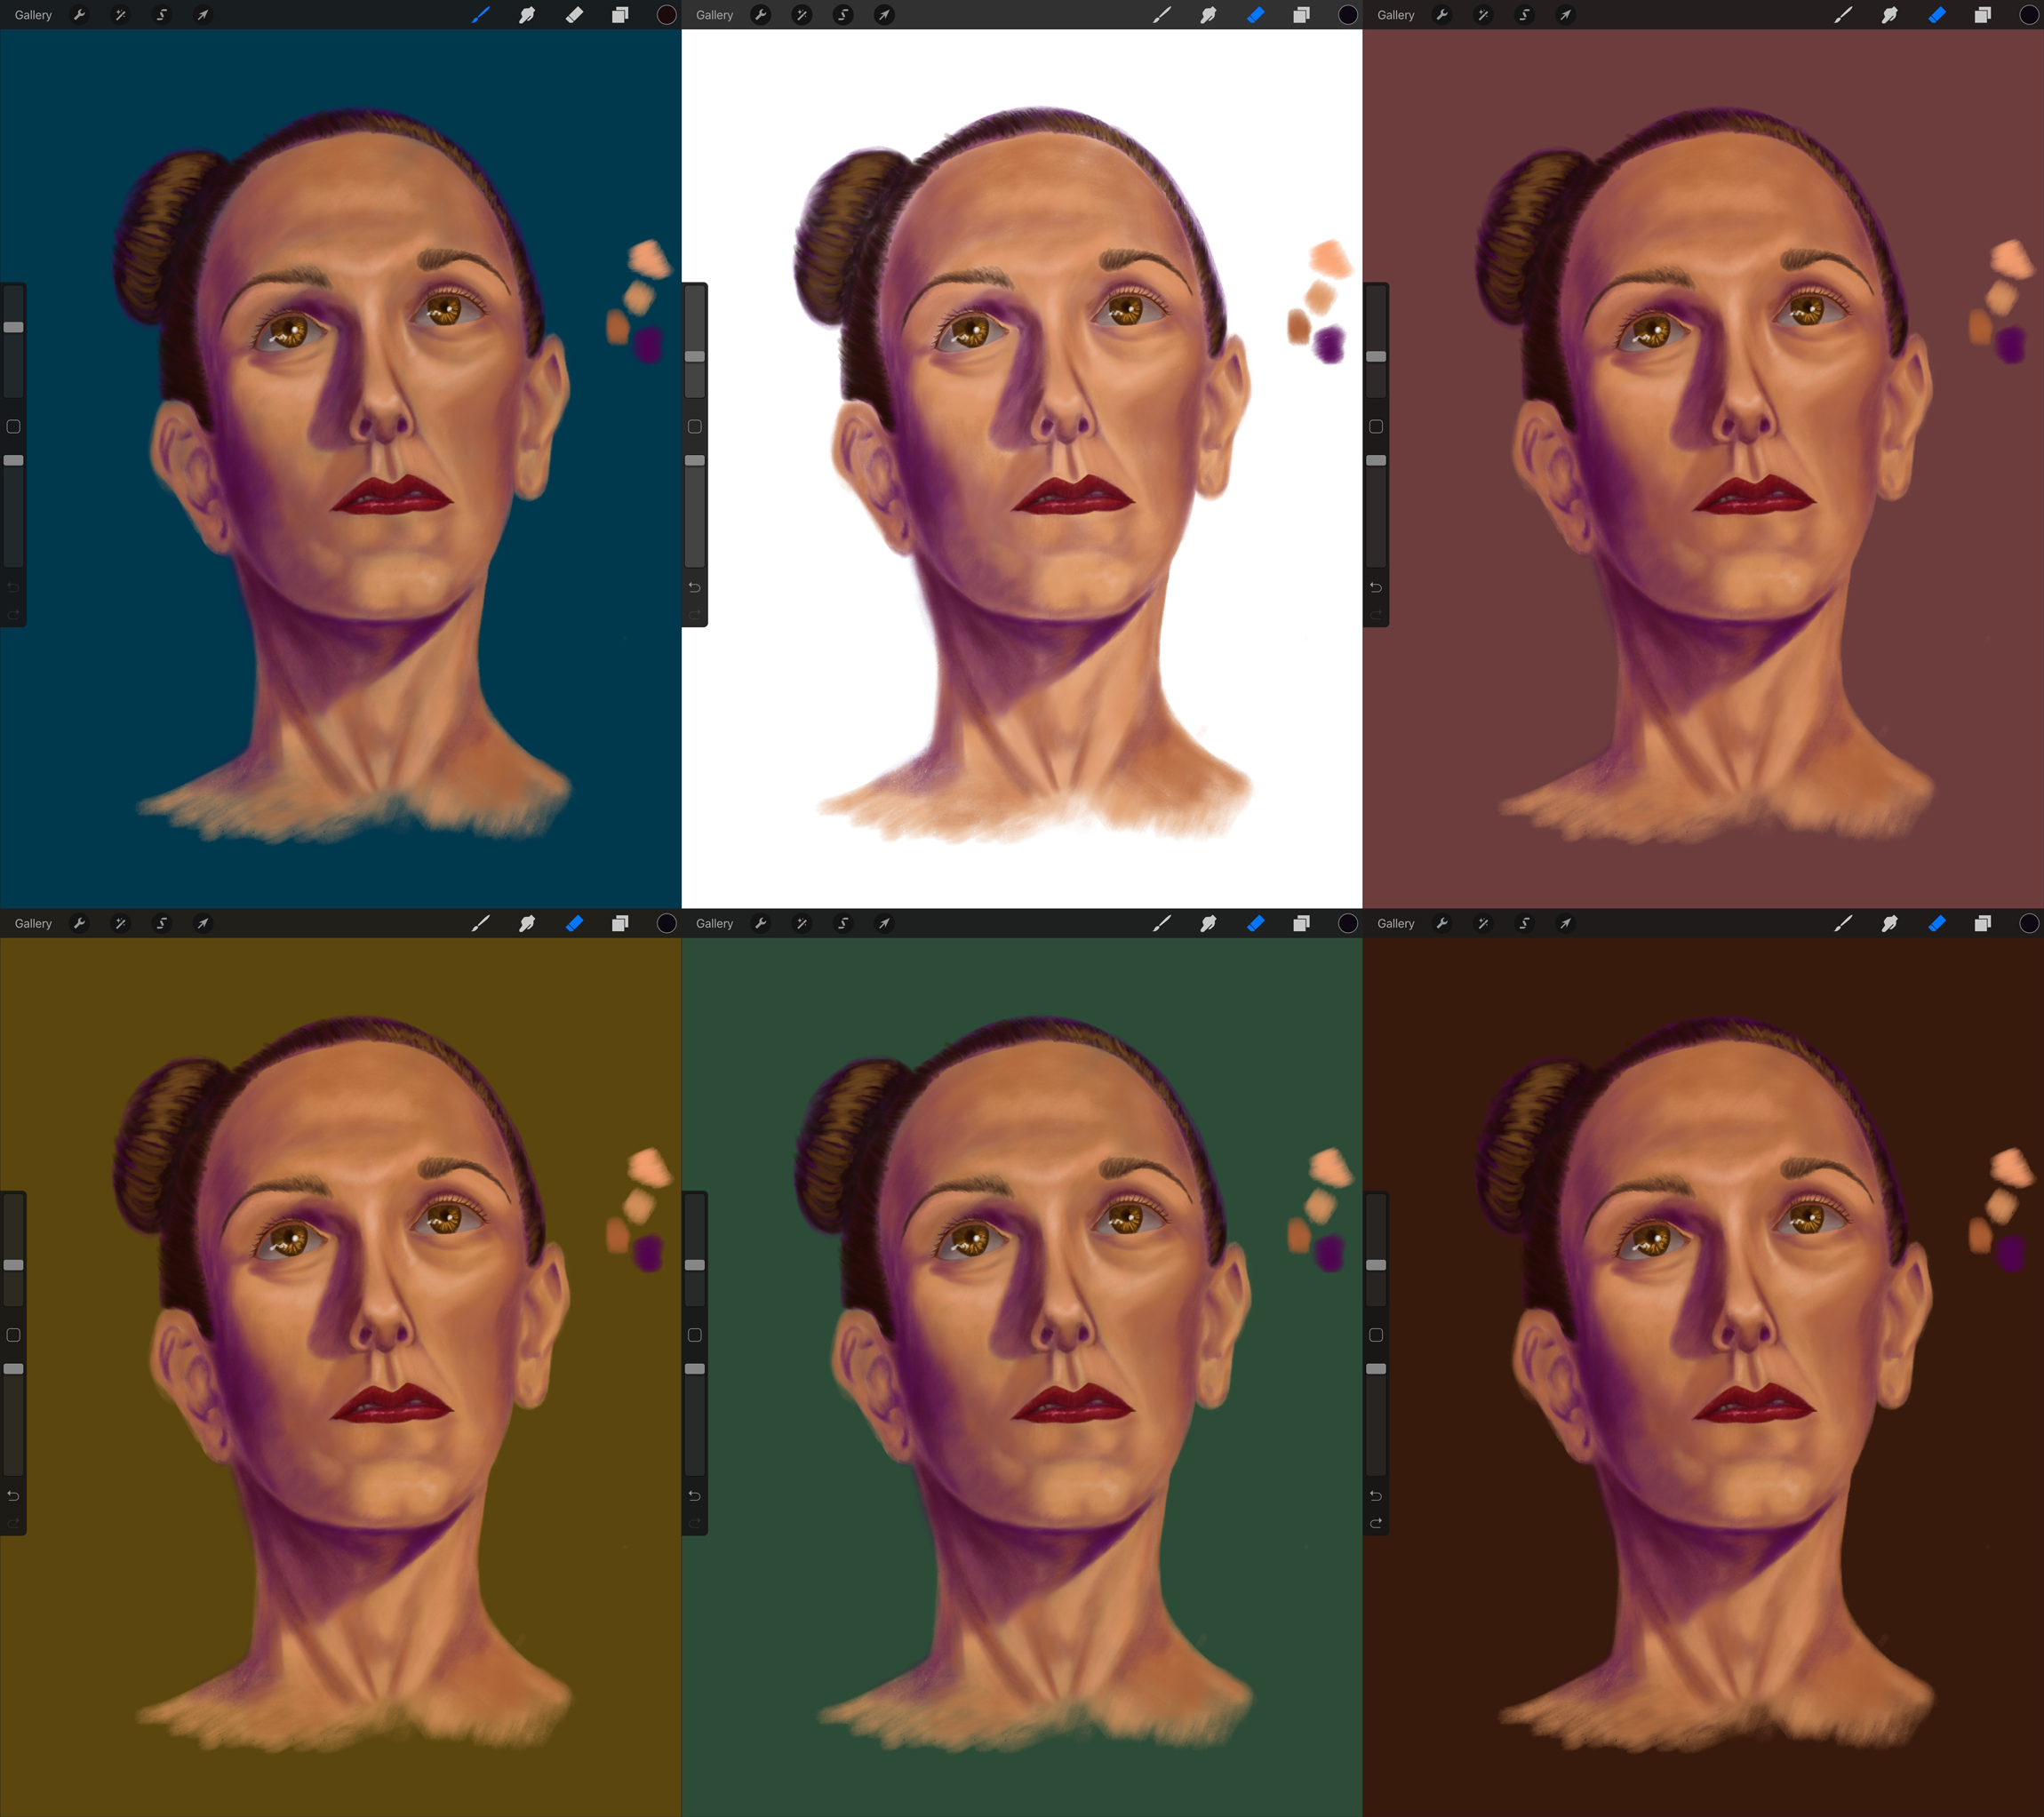
Look at Carrie on the white background. There's white showing through along her hairline, and some of the color on her cheeks and neck is thin a bit thin. As a result, she looks incomplete.
Just having the a background color will fill in those gaps to help complete your drawing. However, the color itself will influence how your subject appears. For example, Carrie on the dark brown in the bottom right really pops off the page because of the strong contrast. She isn't nearly as dramatic on the mauve directly above.
3. Add "foundation"
I call it foundation because that's what the first layer of makeup is called, and this step is when I apply the first color of skintone.
I use a midtone that leans much more to the light side of the spectrum as opposed to being directly in the center. In total I use 6 colors for skin, with #6 being the darkest shadow and #1 the strongest highlight. The color used in this step is #2.
Additionally, I lay the color on pretty thick so it's easier to blend with other colors later on.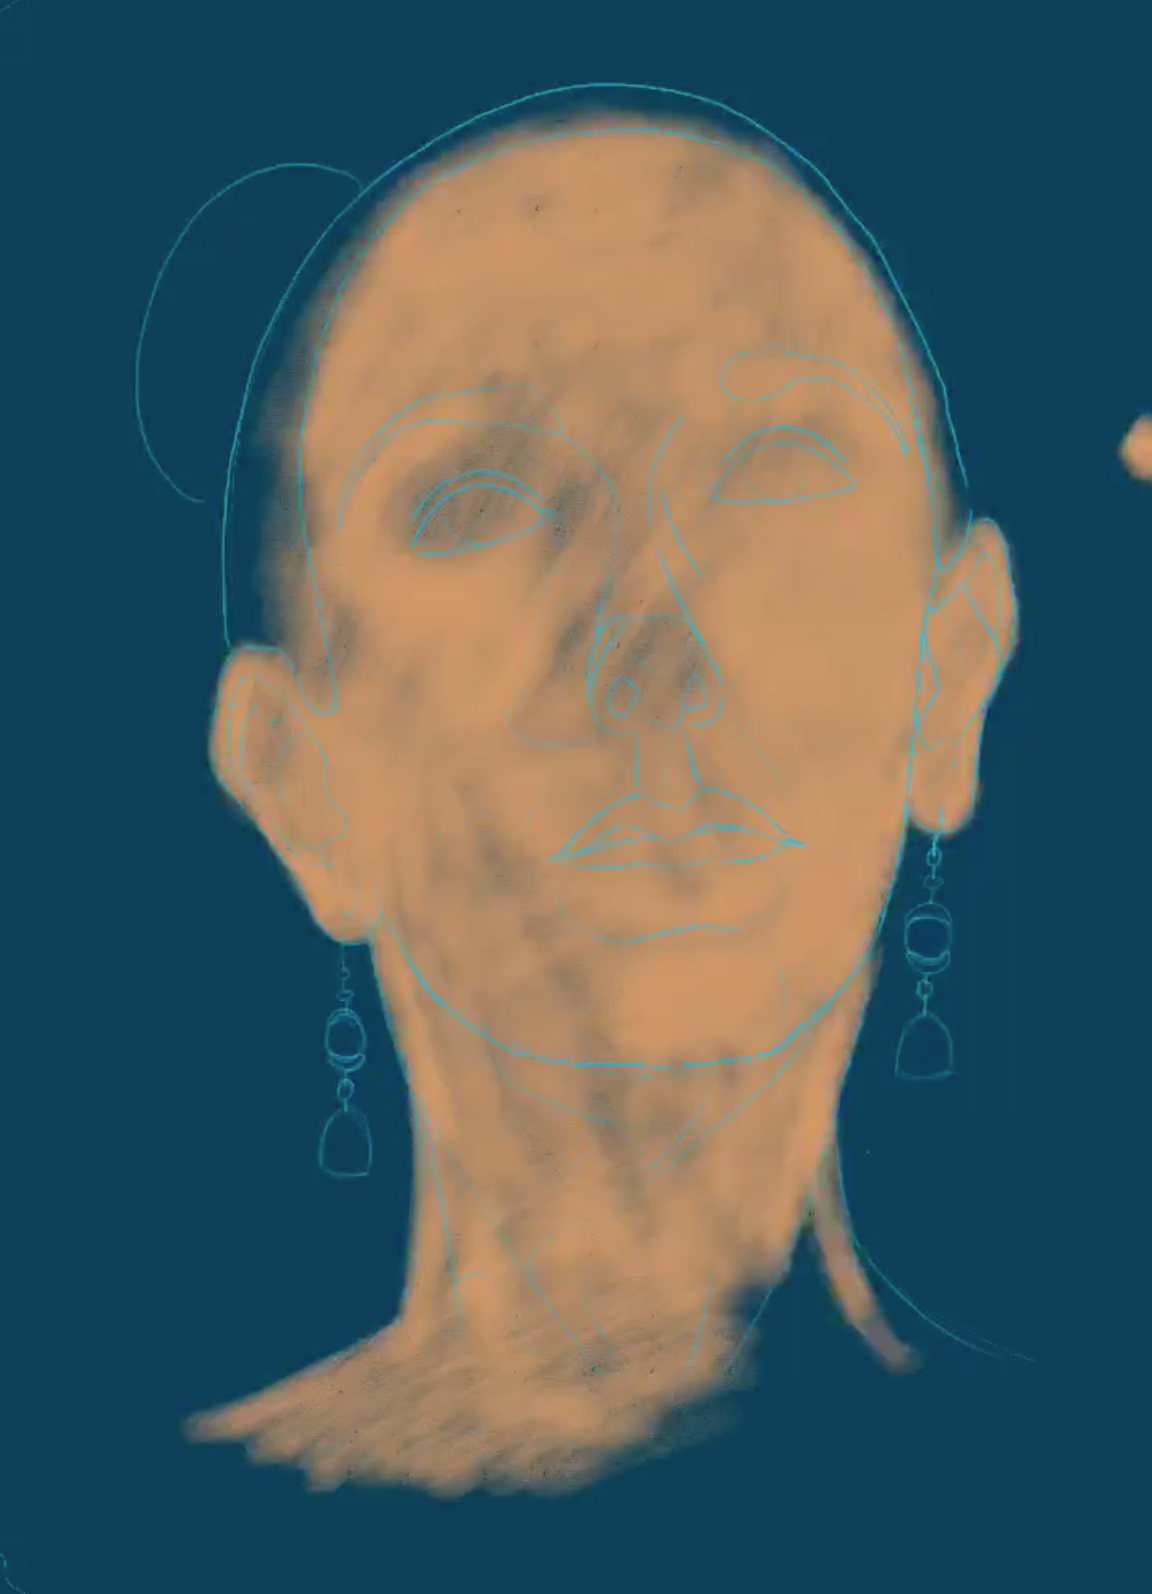
4. Draw in shadows
This step is when I start adding detail to my drawing. It's very important to only draw the shadows where they actually appear, as it will be more difficult to remove incorrect shadow later on.
I also always go with a purple shadow because the layers of color I build up show through each other, and having a colored shadow gives my drawings a lot of depth. On my skintone value scale, the purple in this step is #5.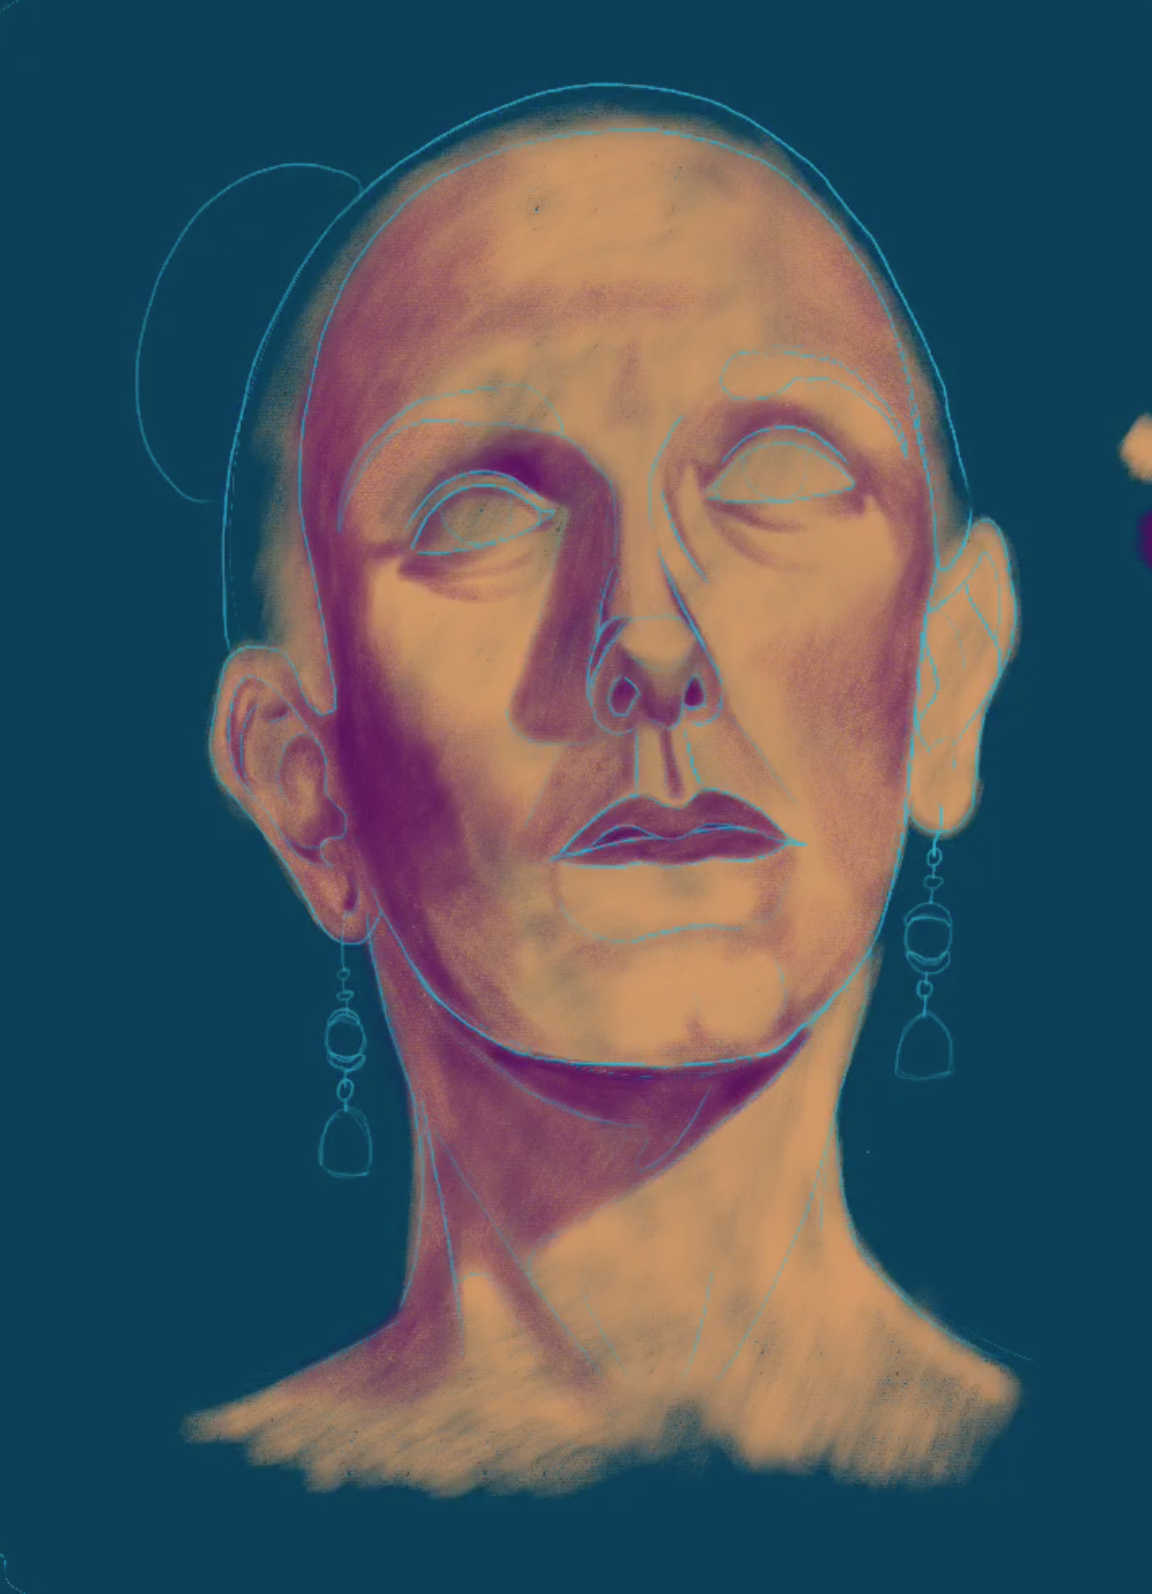
One last thing to note: Usually at this point of the session our model gets a break. I'll use the extra five minutes to draw in purple undertone for the hair.
5. Blend skintones
Next up is blending the skin with my other midtones, #4 and #3.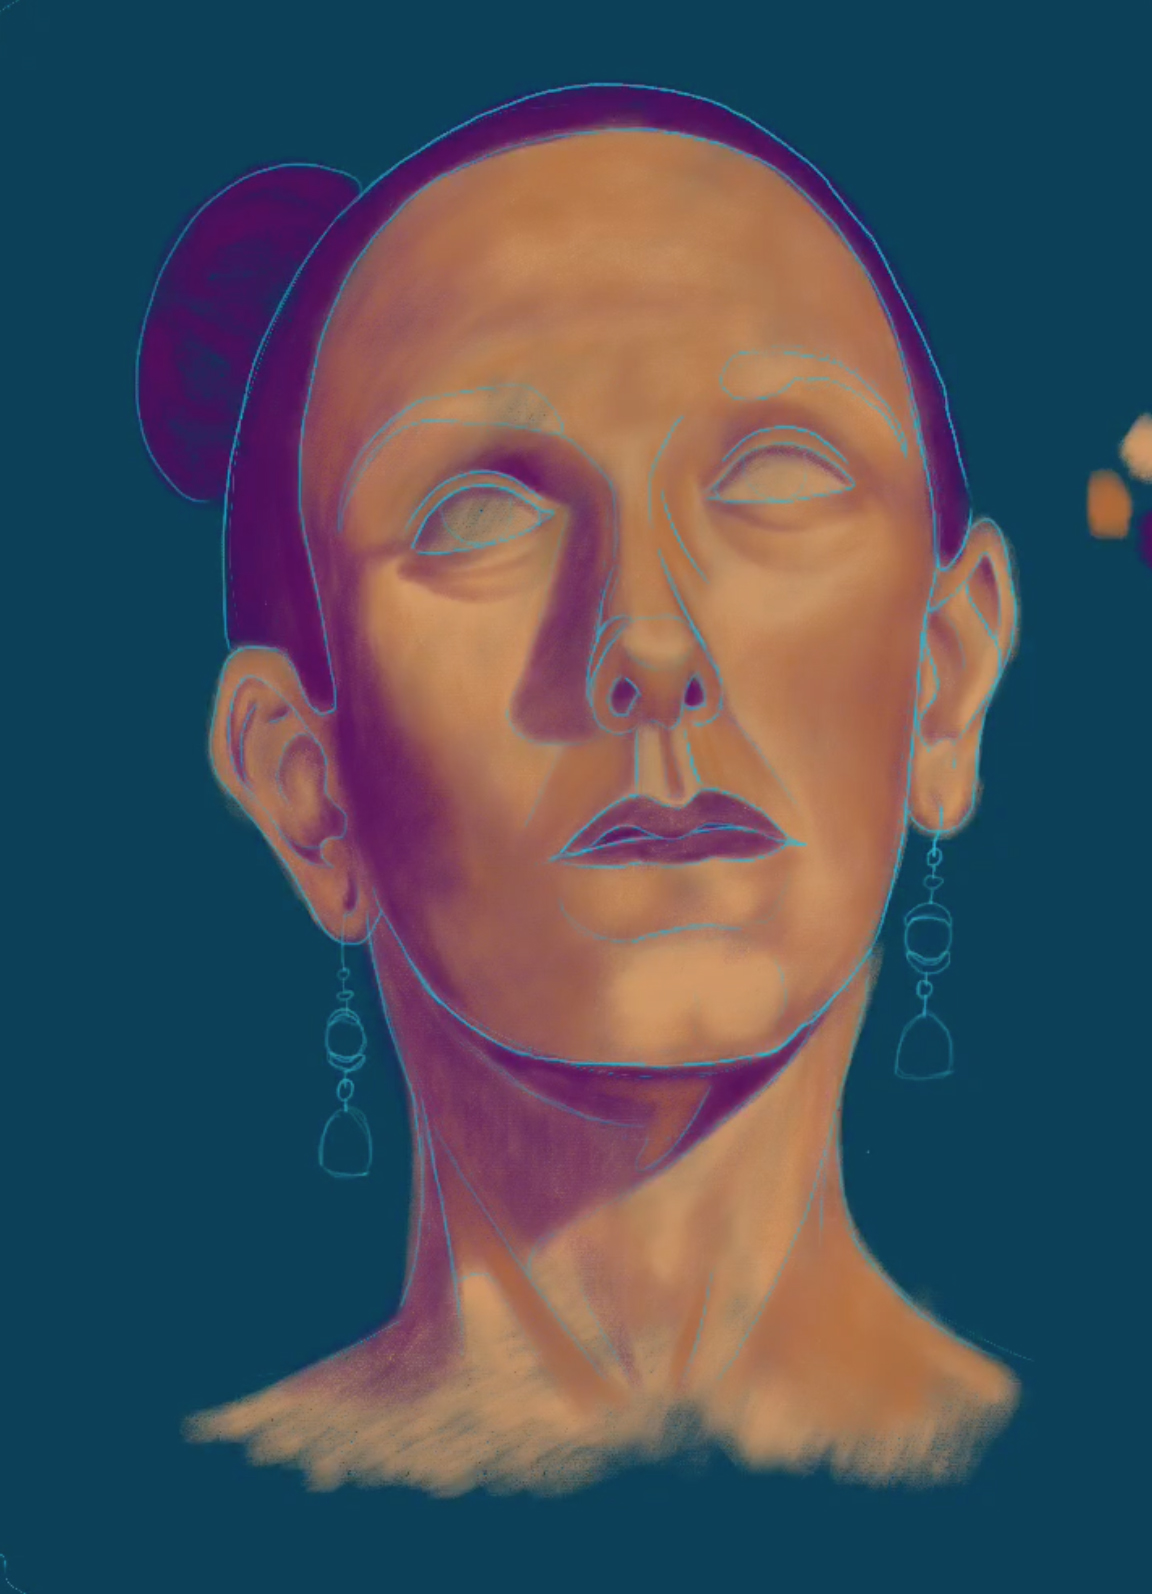
Note: It's at this point I start to try to leave the layer with my original outline turned off.
6. Those eyes
Time to add the most important feature: eyes. This is the step where my drawing really starts to come to life. Poor Carrie looked like an undead spectre up to now. After adding her eyes, though, she finally looks like a person.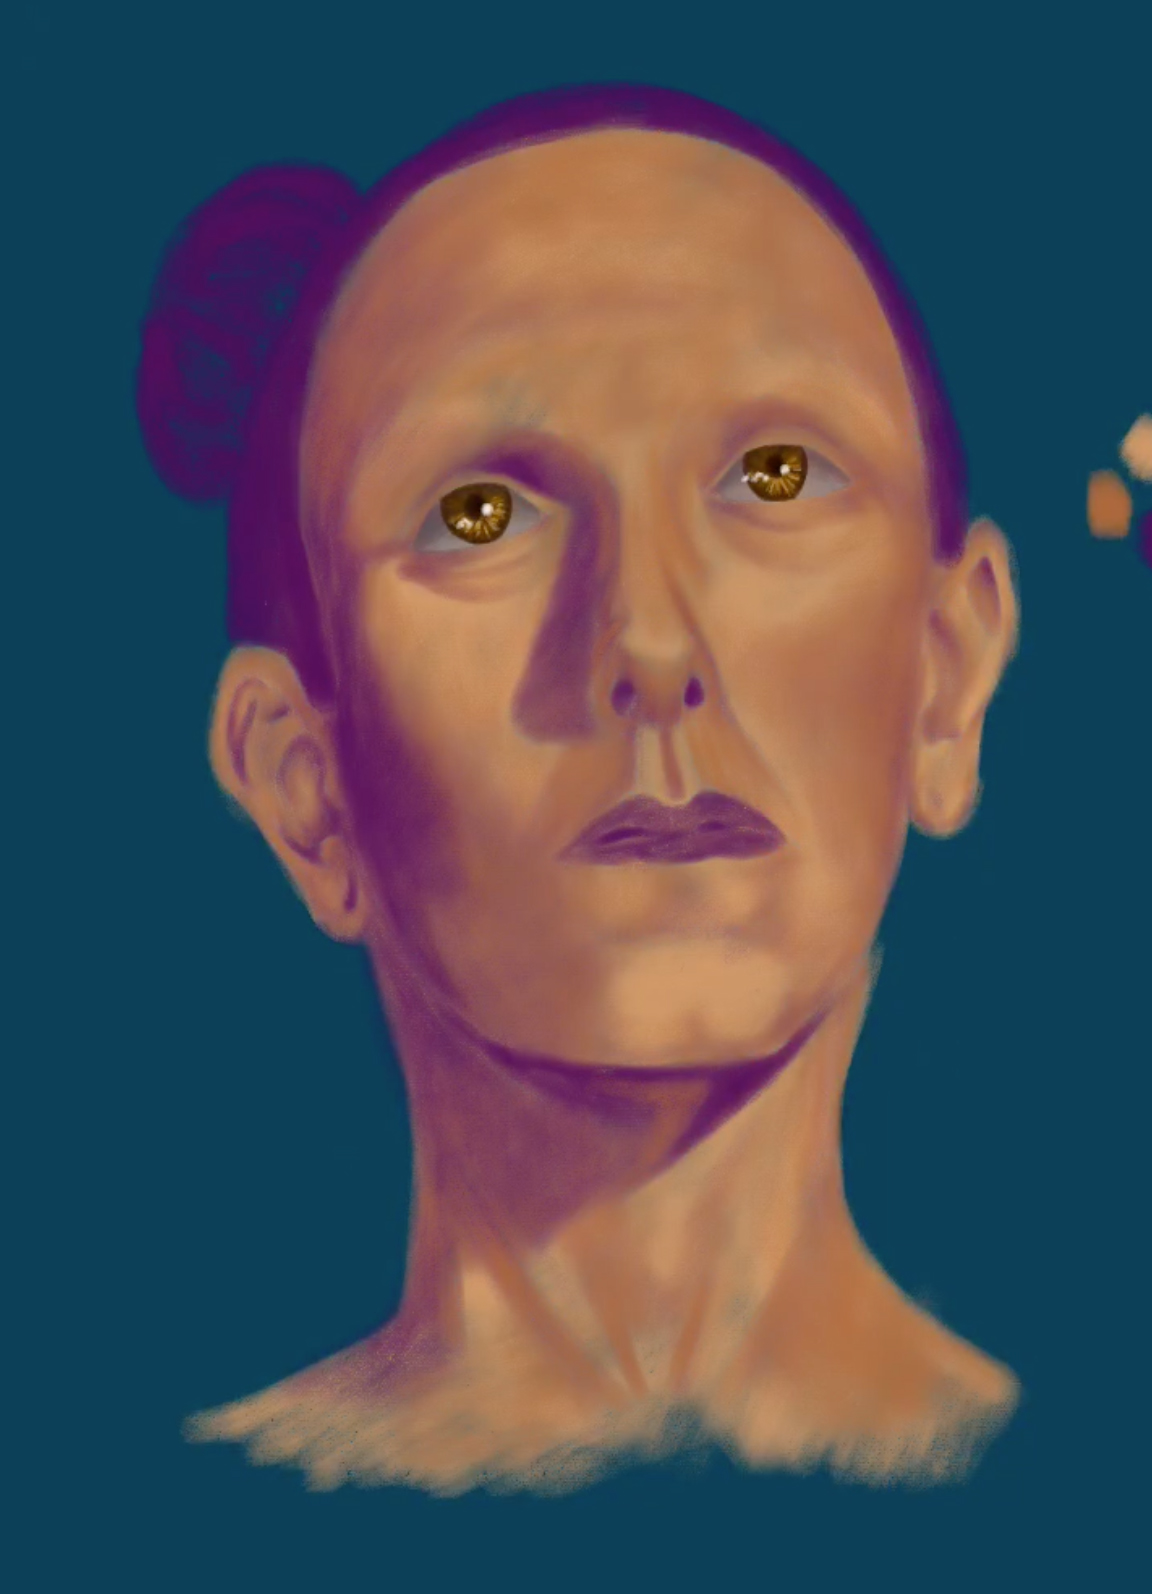
7. Facial details
Once the eyes are drawn, I focus on adding lips, eyebrows, and eyelashes. I also block in a layer of very dark color for the hair to keep my portrait feeling balanced.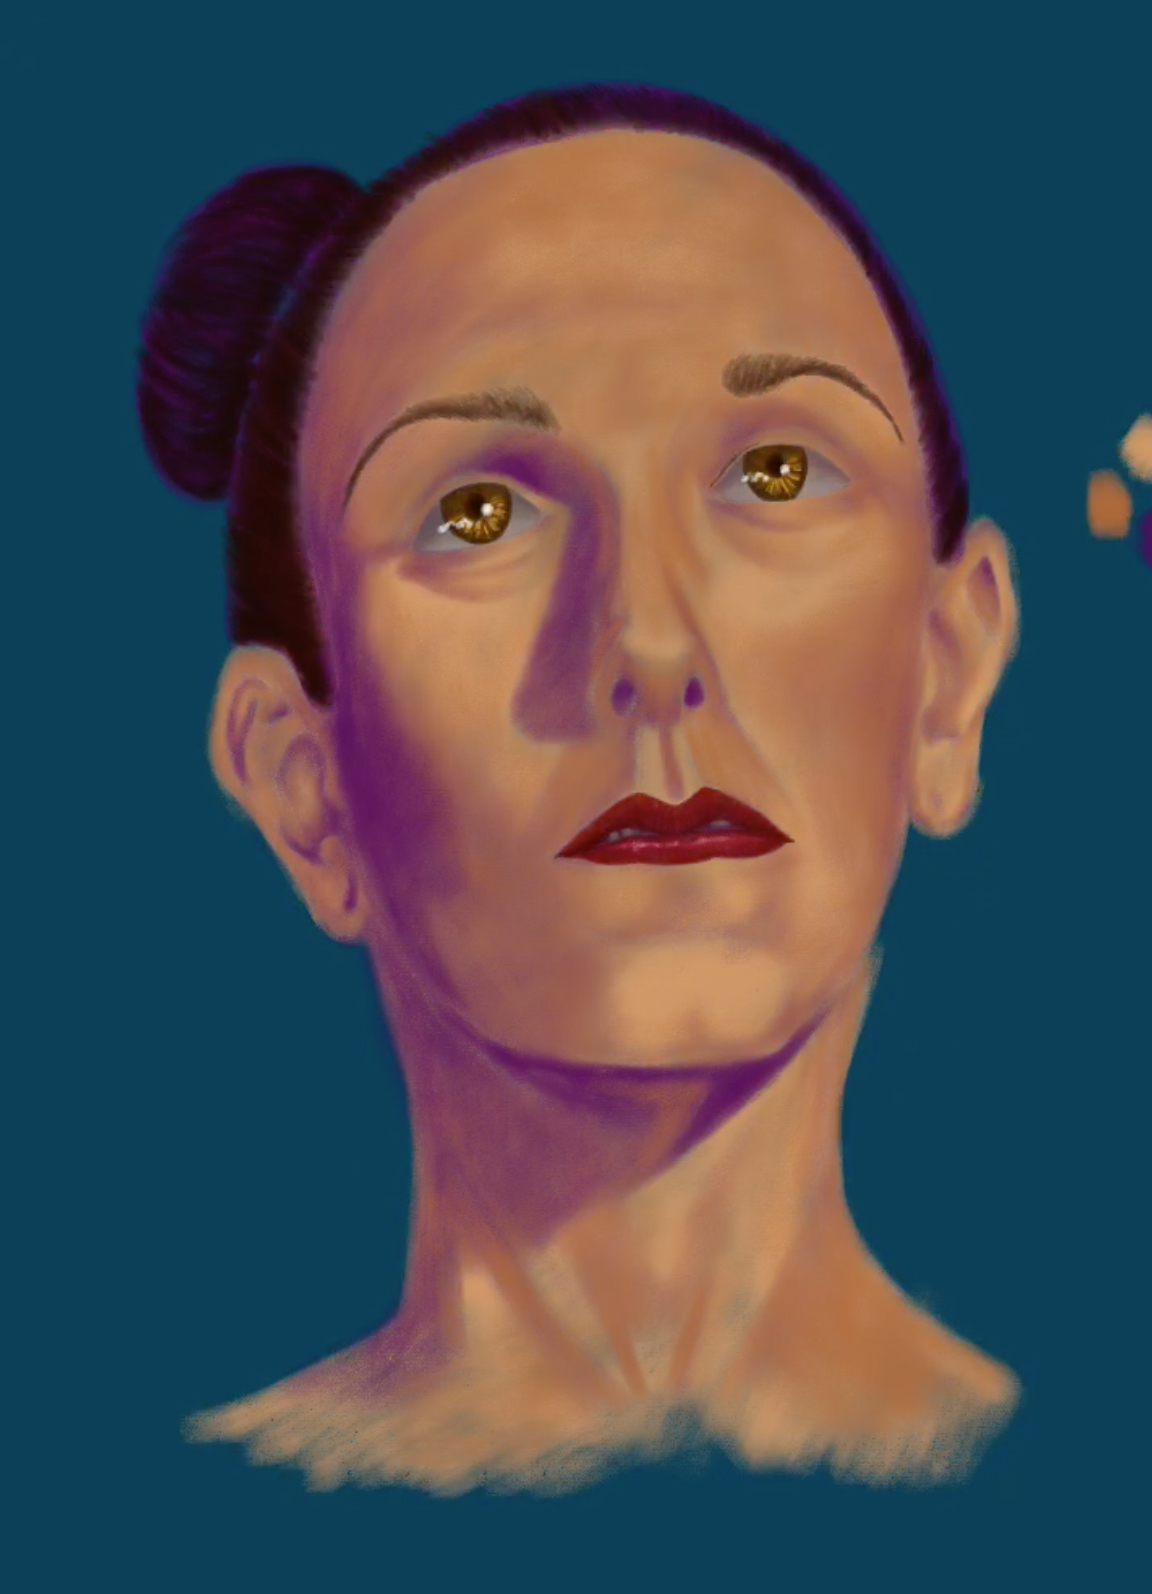
8. Hair highlights and skin shadows
Now I add highlights to the hair and use the darkest skintone to deepen the darkest parts of the face (ie. nostrils, creases around eyes and nose, shadows near hairline, etc.) This color is #6 on my value scale and is a deep maroon.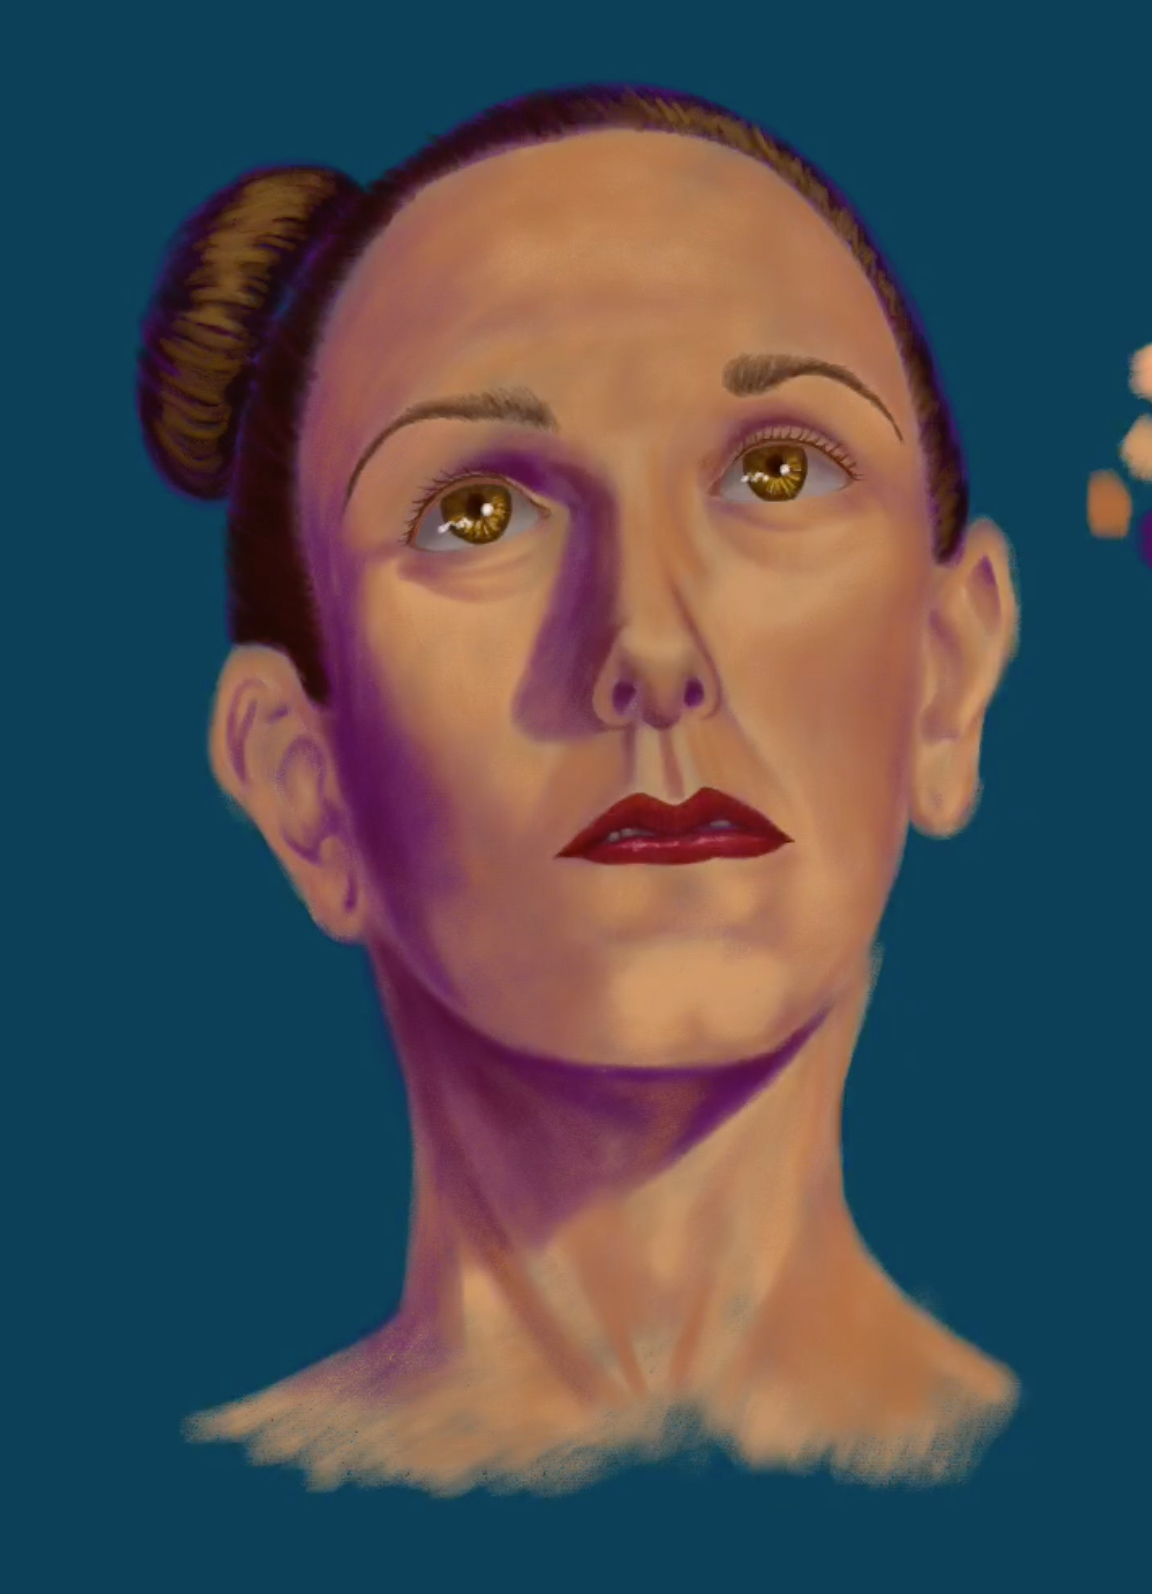
9. Skin highlights
The last thing I always do for a portrait is use my lightest skintone, value #1, to go back and add highlights on the brow, cheekbones, nose, and anywhere else that's really catching light.
Sometimes this is my last step. It depends if I run out of time to get to Step 10.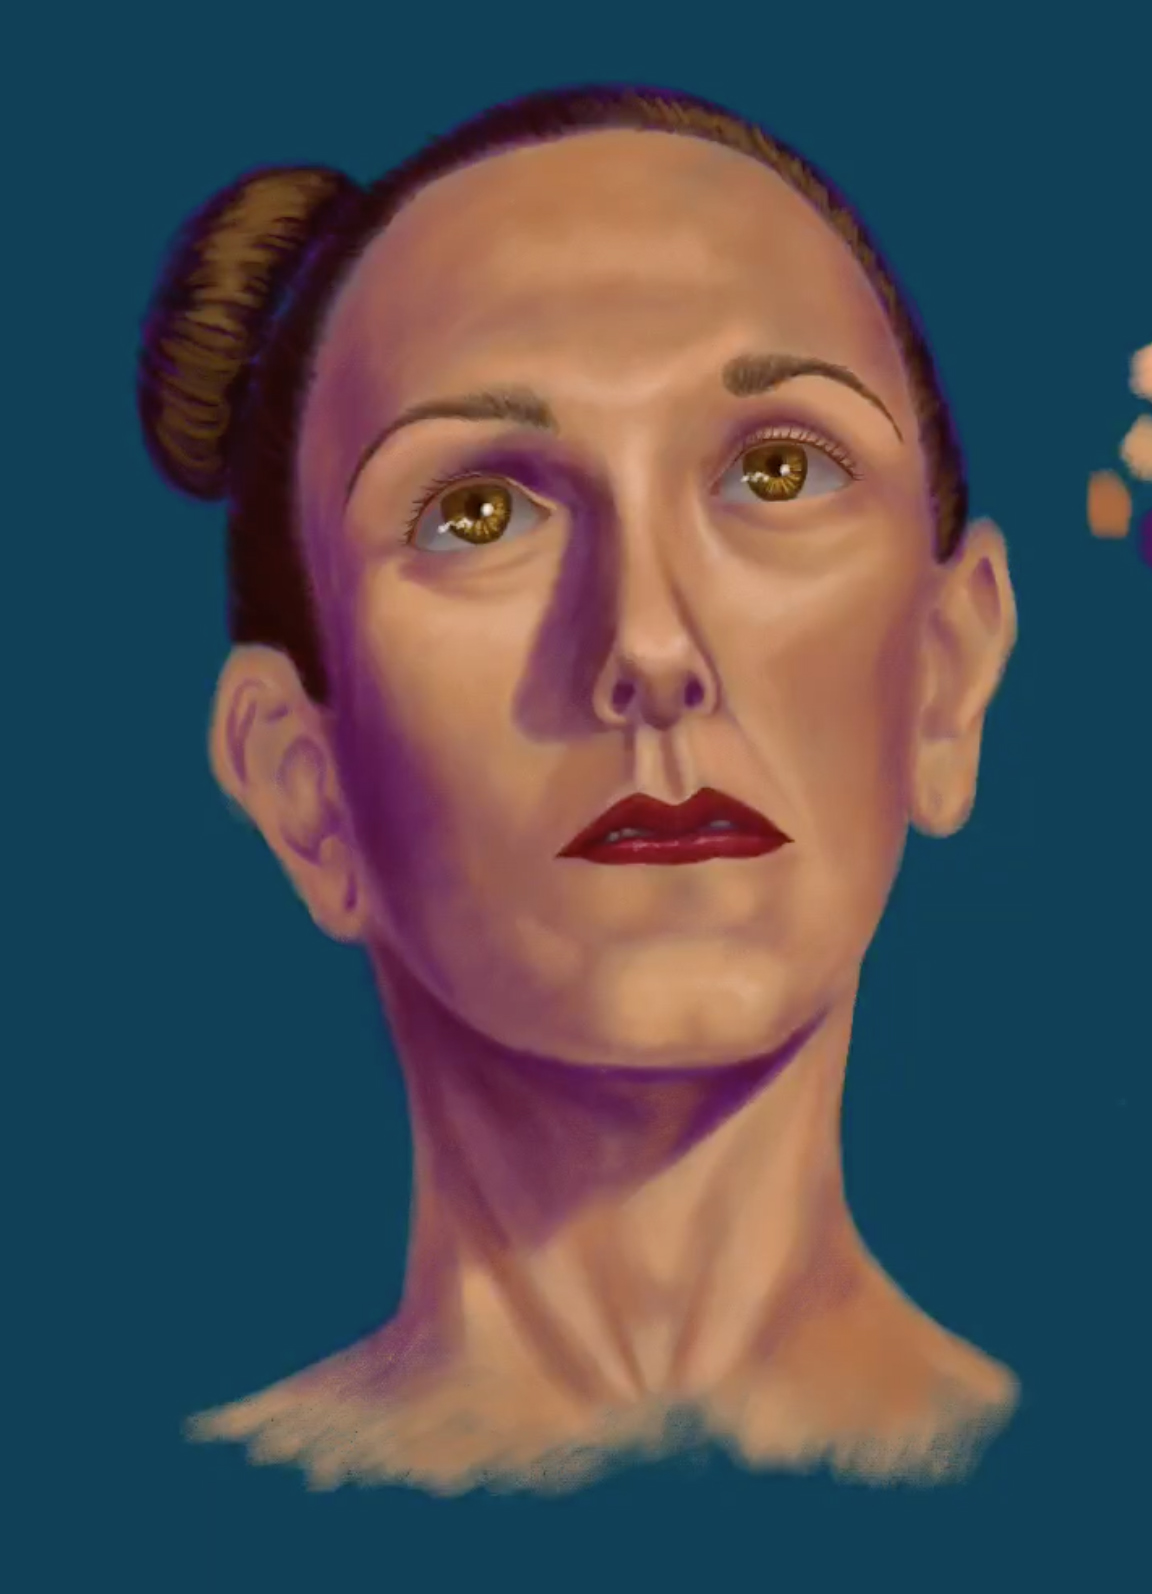
10. Extras
Our models sometimes wear jewelry or interesting hair accessories that I like to include if I can. If time allows, I also try to give some indication of the model's clothing. However, I don't always have the chance to do that, because drawing in "extras" means I have less time for the rest of the picture.
Unfortunately, I completely ran out of time on this example and was not able to draw in Carrie's earrings. You'll see them back in my original sketch, but they didn't make it into the finished drawing.
Time Lapse Video
Here is the time lapse video of my drawing from Step 2 through 9. The time lapse recording is a built-in feature of Procreate, so the video starts at Step 2 when I drop my outline into Procreate. I also ran out of time for Carrie's earrings, so I didn't get to Step 10 on this drawing.
The Big Mistake
Back in step 1, I promised to share the mistake I made in Carrie's portrait, and the time has come. Take a good look at the position of Carrie's eyes and ears. Notice anything amiss?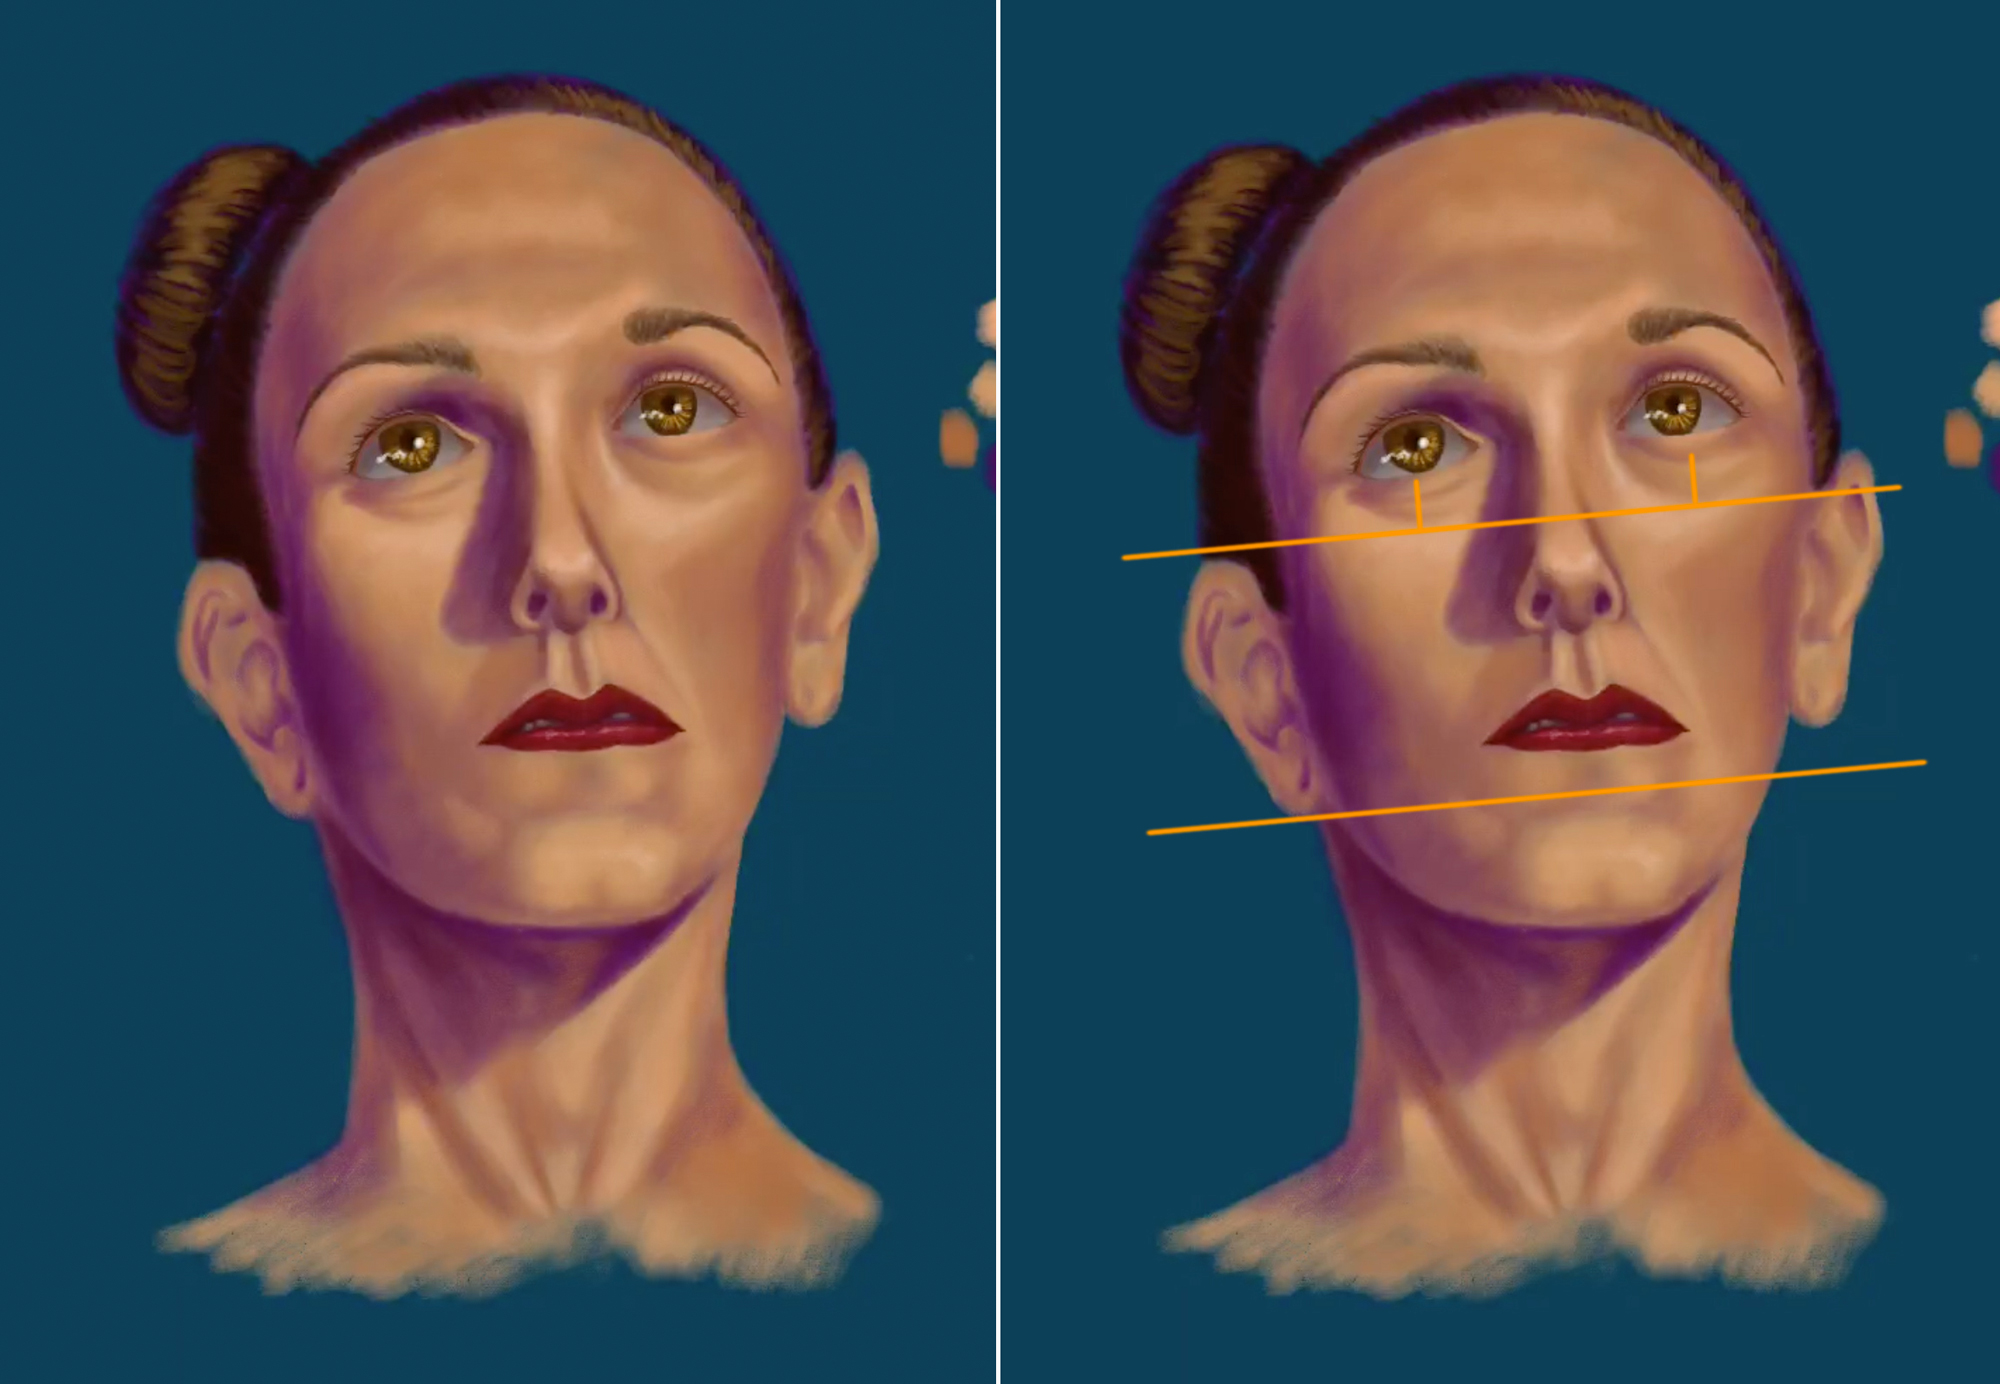
I added some guidelines to the portrait on the right to show you what's wrong. Carrie's right ear and eye are too high. They should be in line with her left ear and eye. I suspect she moved very slightly in between me drawing the two sides of her face and I didn't catch the discrepancy until after I'd finished the entire drawing. Lesson learned!
