Steampunk Selfie Process
- Published:
- Length: 557 words
- Reading Time: 3 minutes
Despite finishing this quilt a few months ago in May 2019, I'm only now posting about it because I was waiting to find out if it was accepted into two juried quilt shows. Both shows are sponsored by the Studio Art Quilter Association (SAQA). Since SAQA utilizes a blind jurying process, the organization requests submitting artists to refrain from posting their quilts on social media until the final acceptance notifications are released.
The good news is: Steampunk Selfie was accepted into both shows! It will be on display at LeMoyne Arts in Tallahassee, FL until the end of August, 2019 as part of the SAQA Florida "Perspectives" show. Then it will be touring for three years as part of the SAQA Global "Aloft!" show. "Aloft!" will premier at the AQS QuiltWeek Daytona quilt show in spring 2020.
Draw the Design and Template
As always, my quilt started with a template. I drew the outline using Concepts, a vector-based app on my iPad. Then I exported my drawing over to Adobe Illustrator and added the color. Here is the finished template.
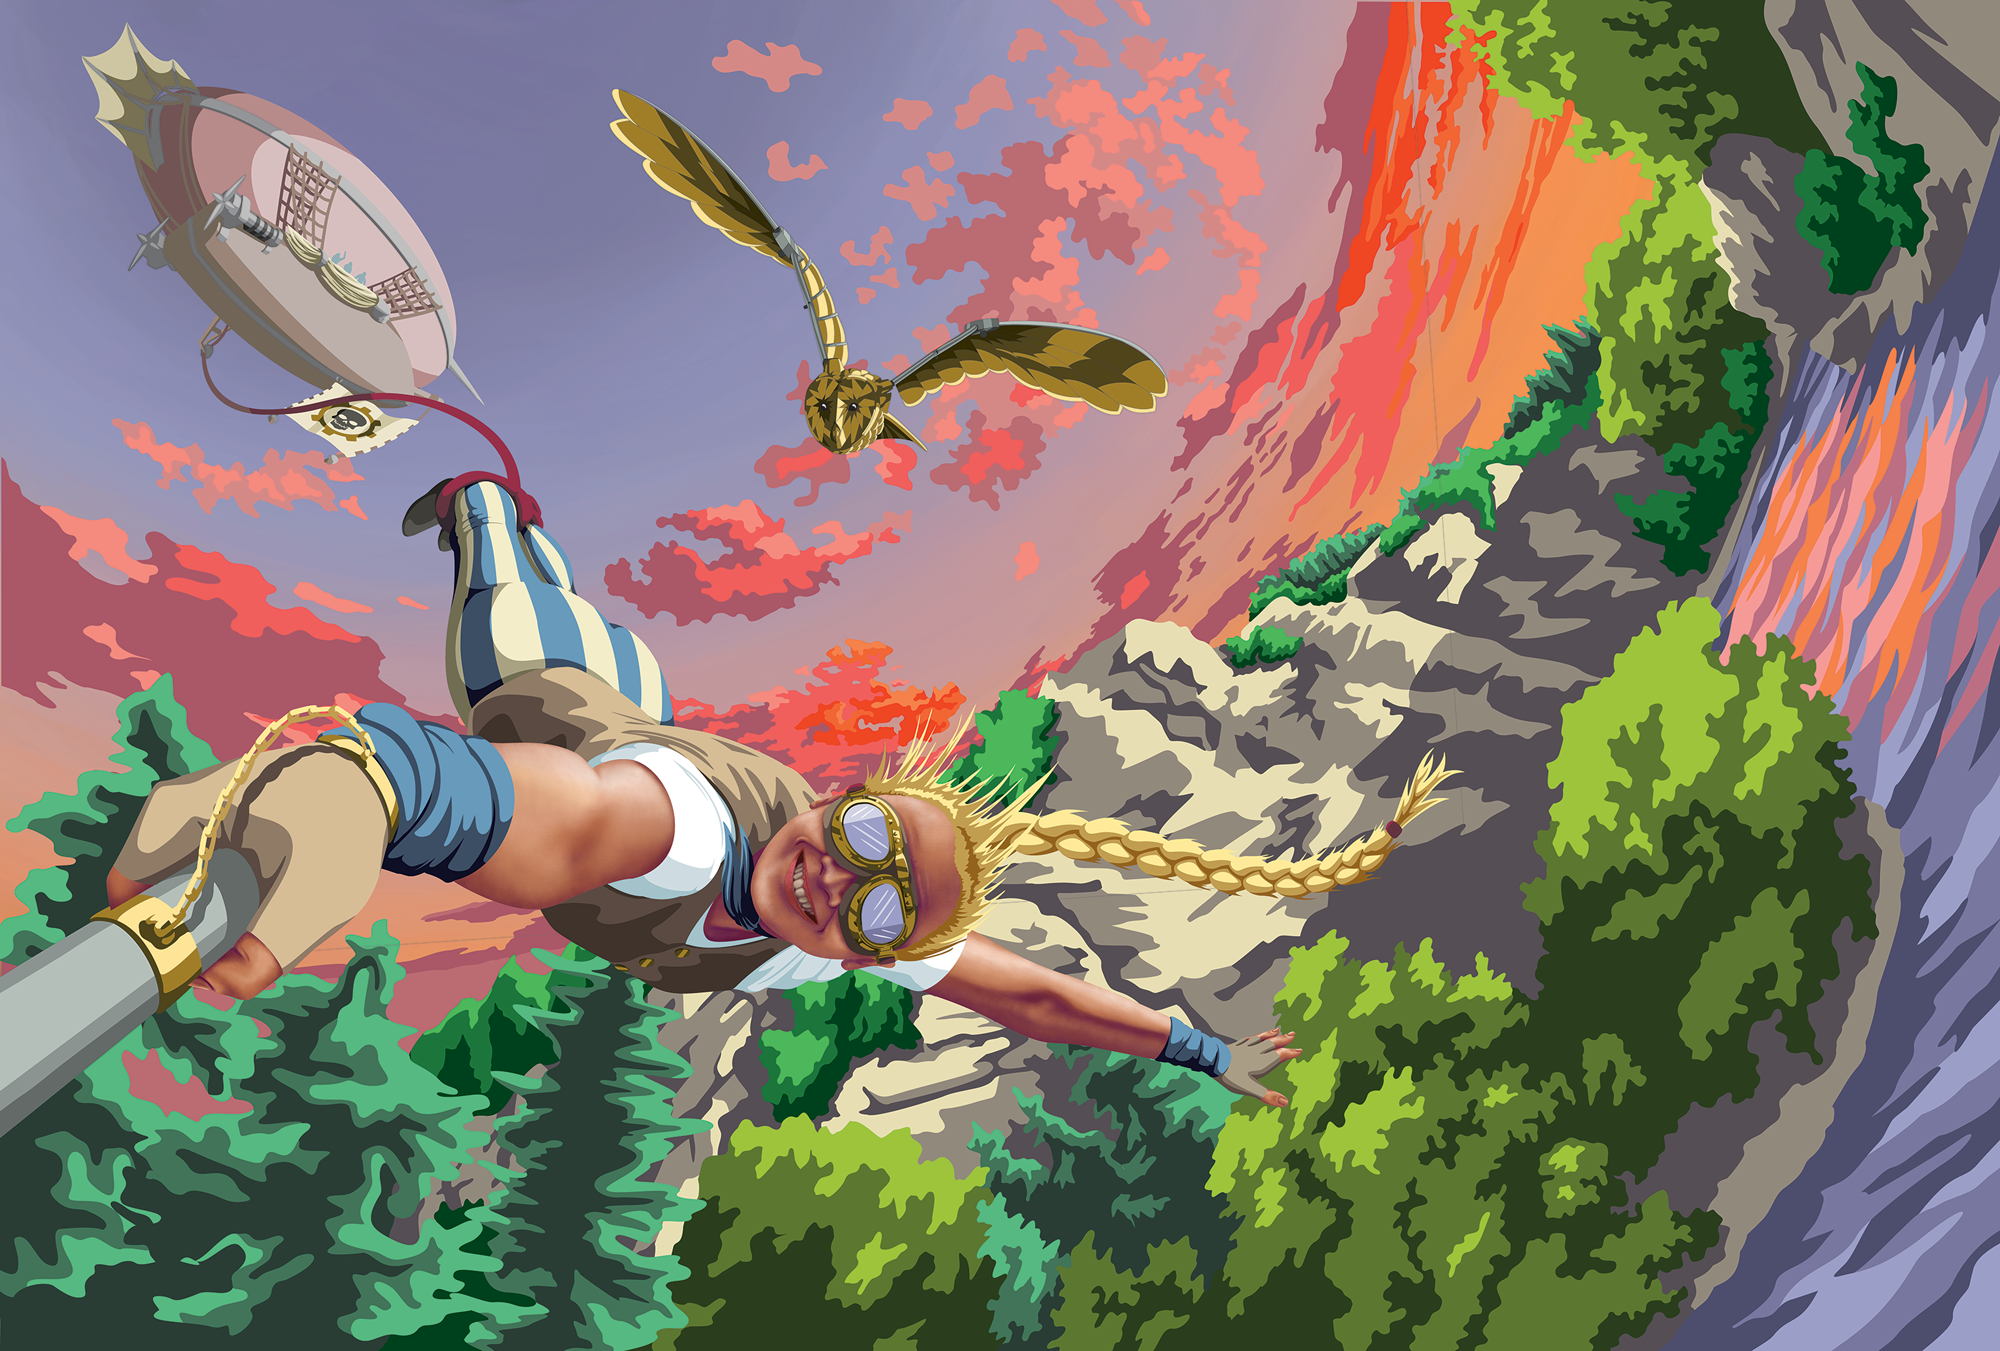
The face and arms were digital paintings I drew in Procreate, a raster-based drawing app on my iPad.
Pick and Print the Fabric
Almost all of the fabrics used in this quilt were off-the-shelf prints and batiks purchased at my local quilt store:
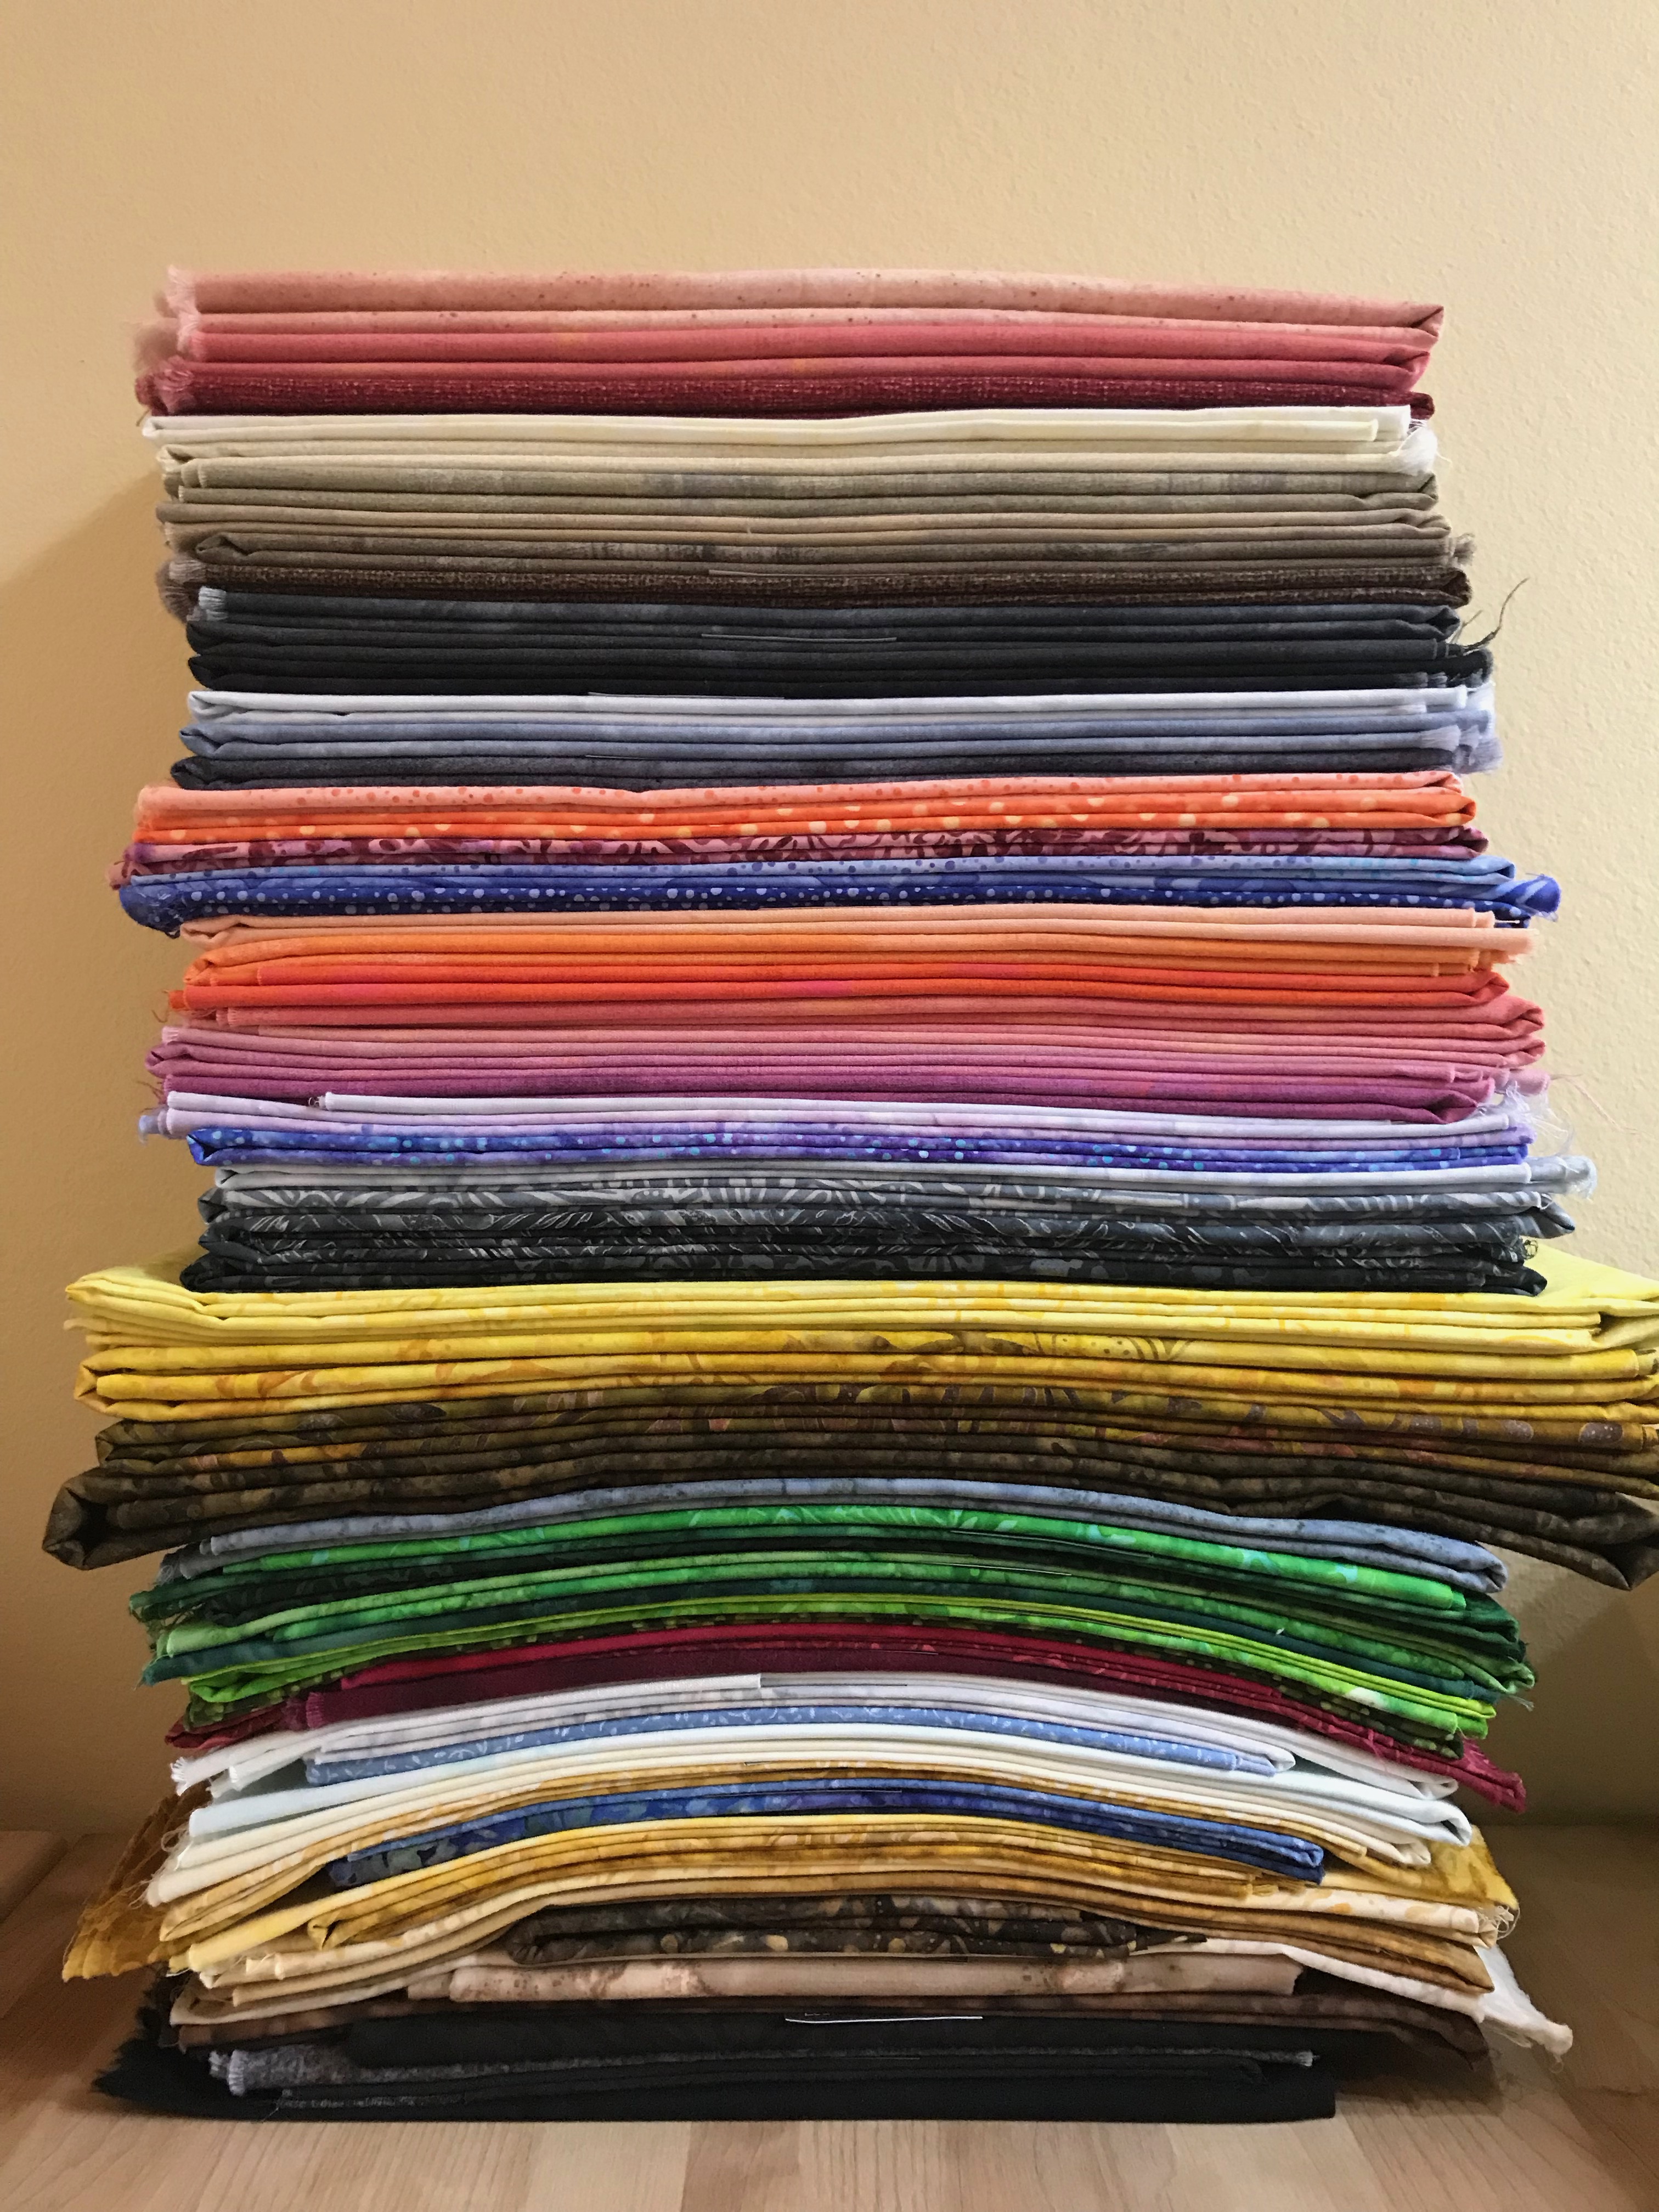
The exception to using store-bought fabrics were Faith's arms and face & the sky. (Faith is my bungee jumper girl.) Her skintone areas and the entire sky were printed on my own Epson P600:
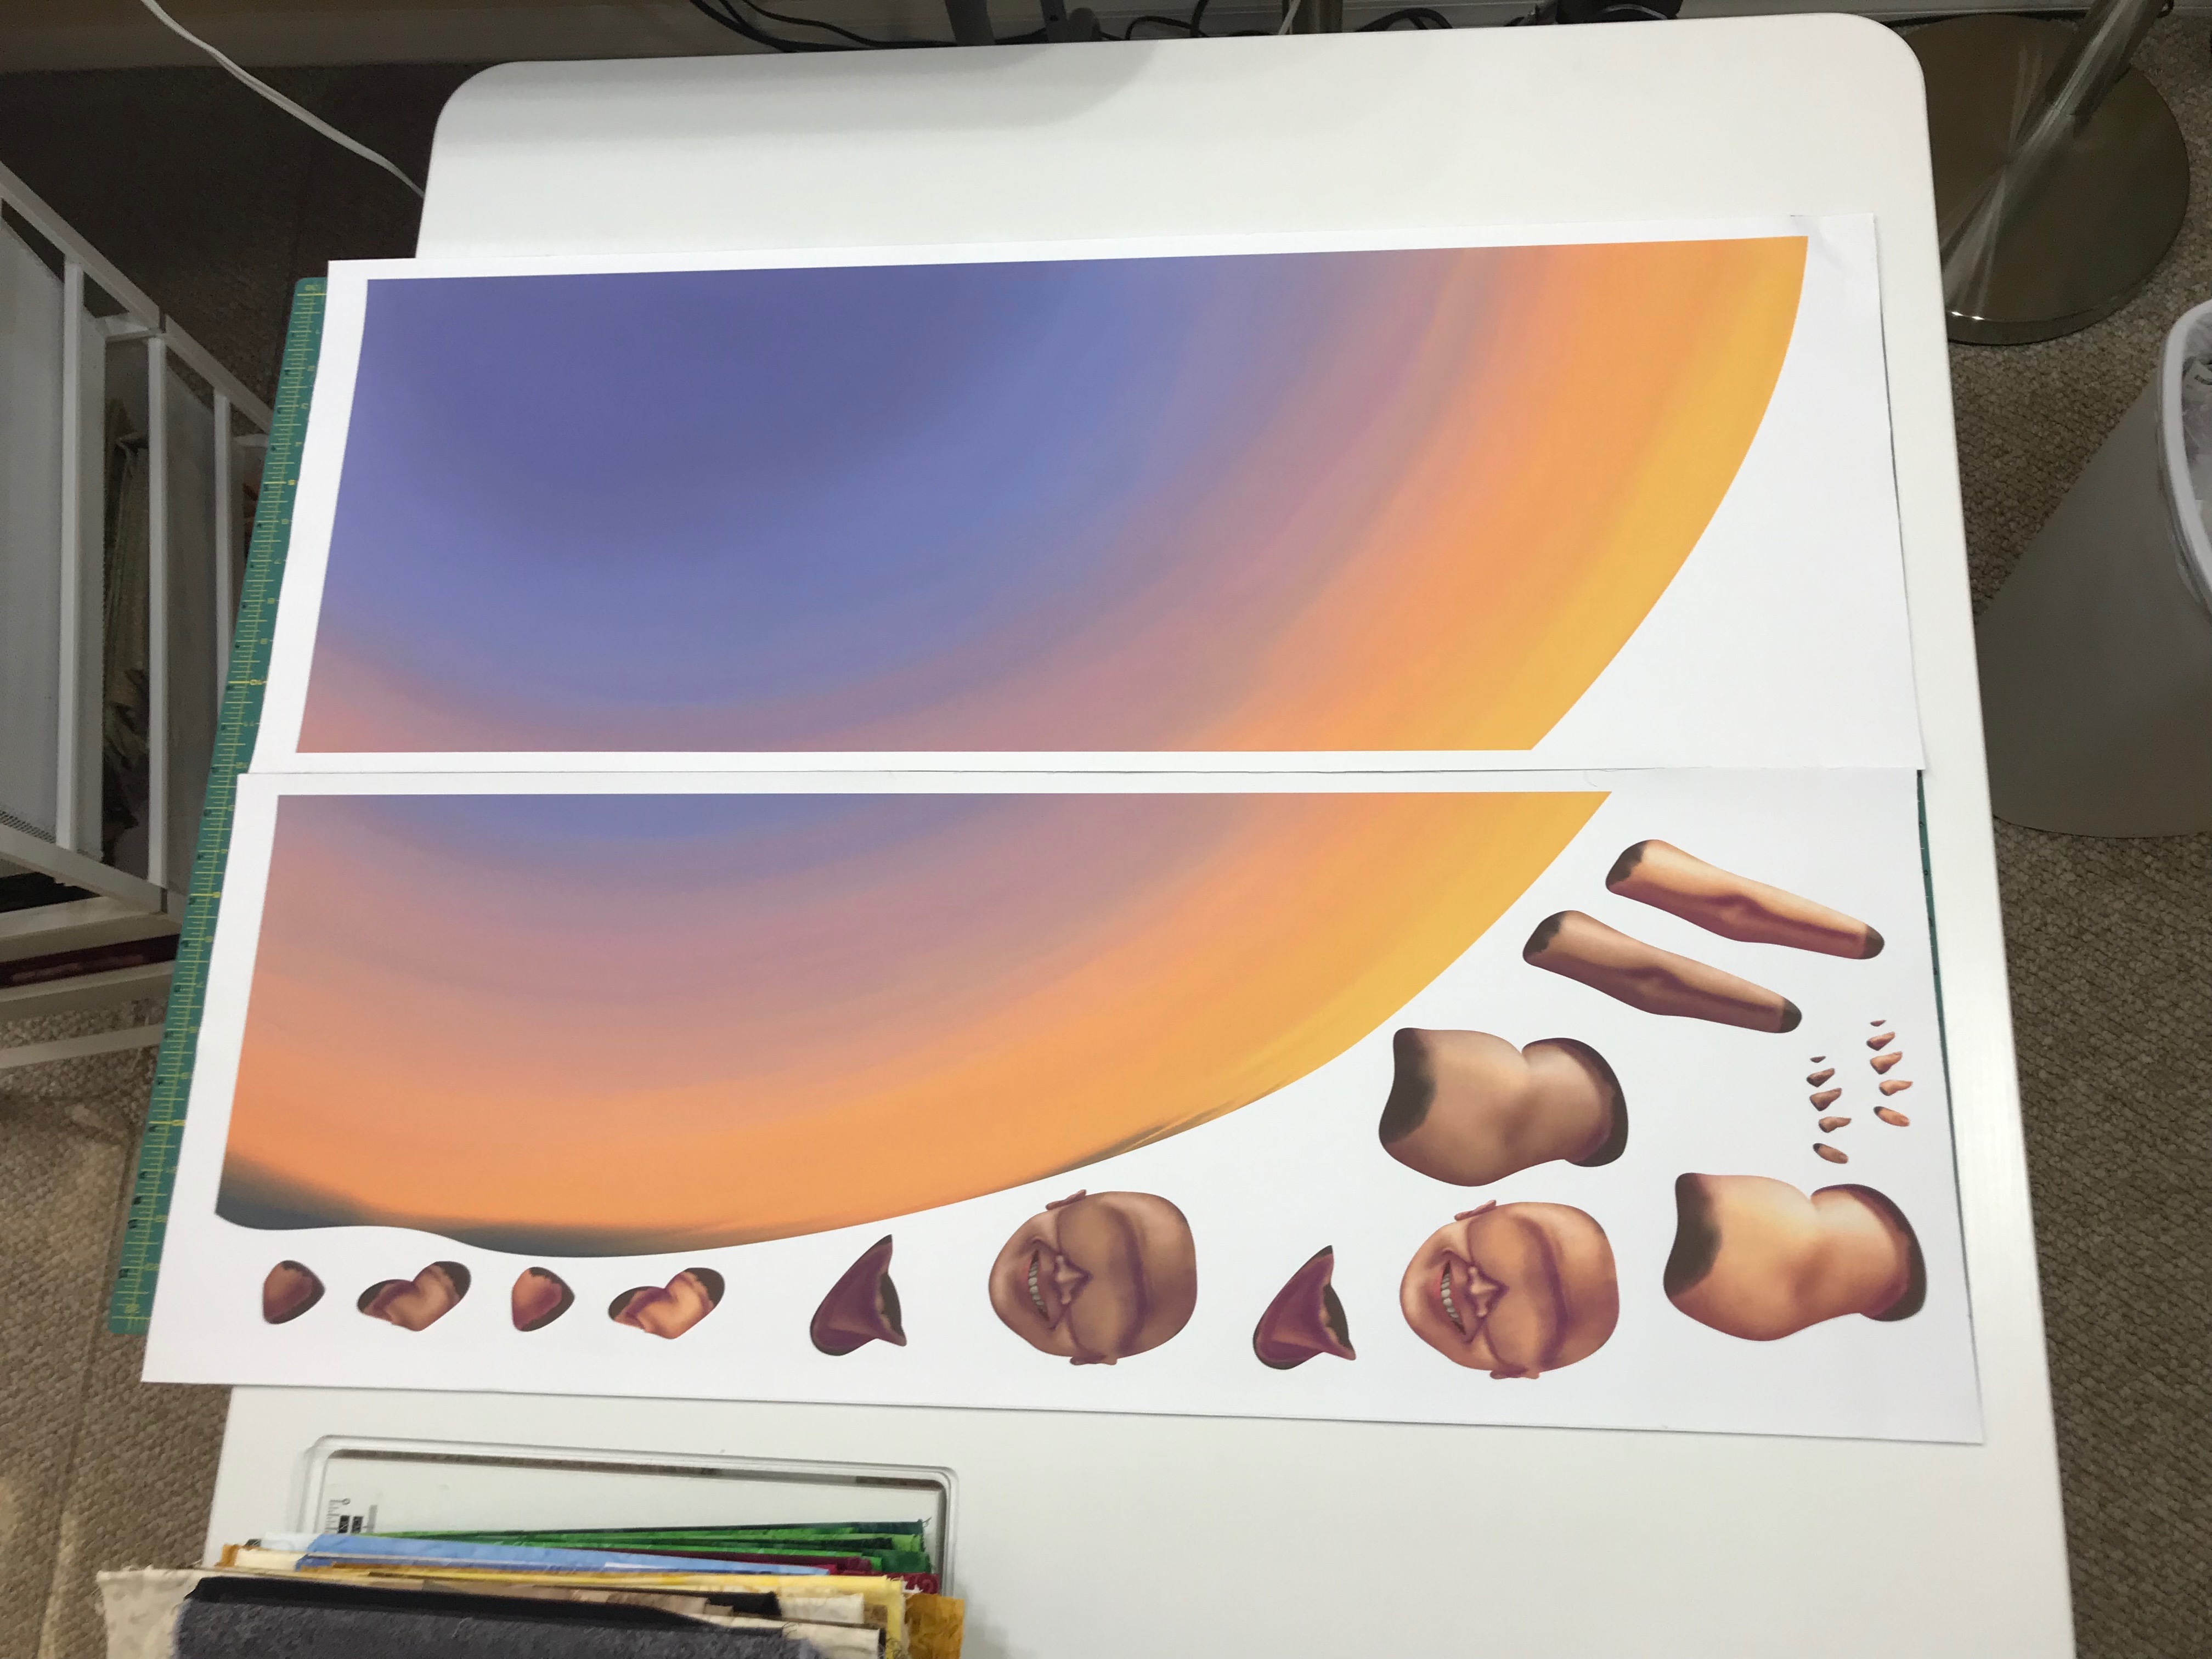
Cut and Assemble
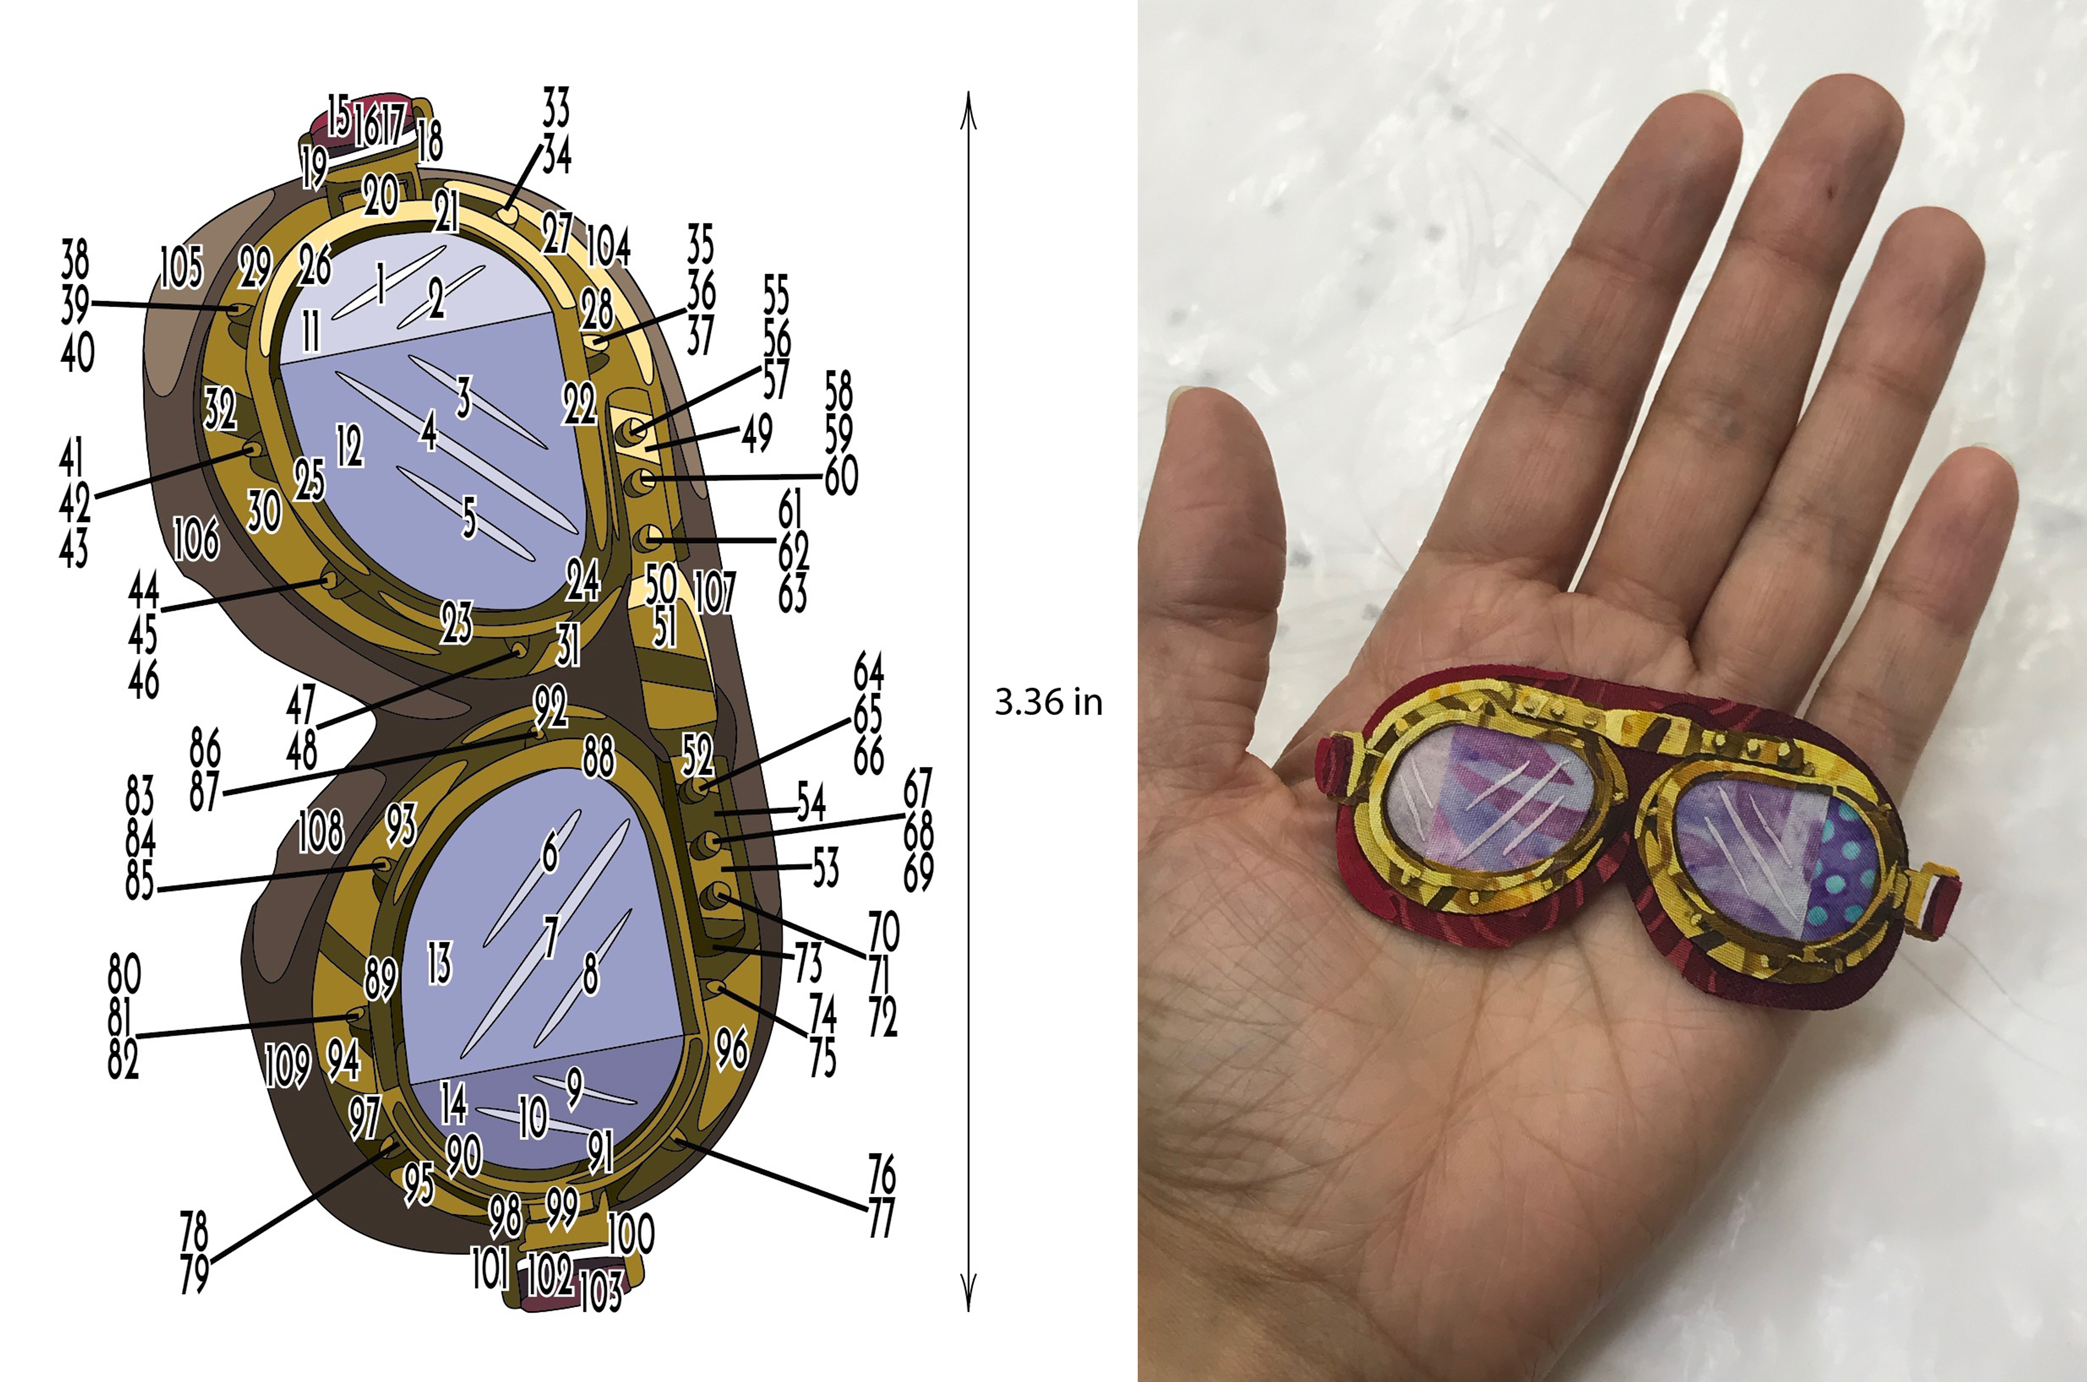
My quilts are all made from fused applique fabric pieces. Every area filled with a color in the template translates to a single piece of fabric. After cutting, the template acts as an assembly-by-number guide for me to put togther the entire quilt.
The left image shows a close-up of the template for Faith's goggles. The right image shows the finished, fabric goggles.
This minute-long video shows a timelapse of how I assembled Faith's right hand, selfie stick, and safety chain. My printed template is under a transparent non-stick pressing sheet. I match each piece to its correct location by matching its number to the number on the template. Every piece is backed by Wonder Under, so ironing melts the glue and fuses it into place.
Sew It Together
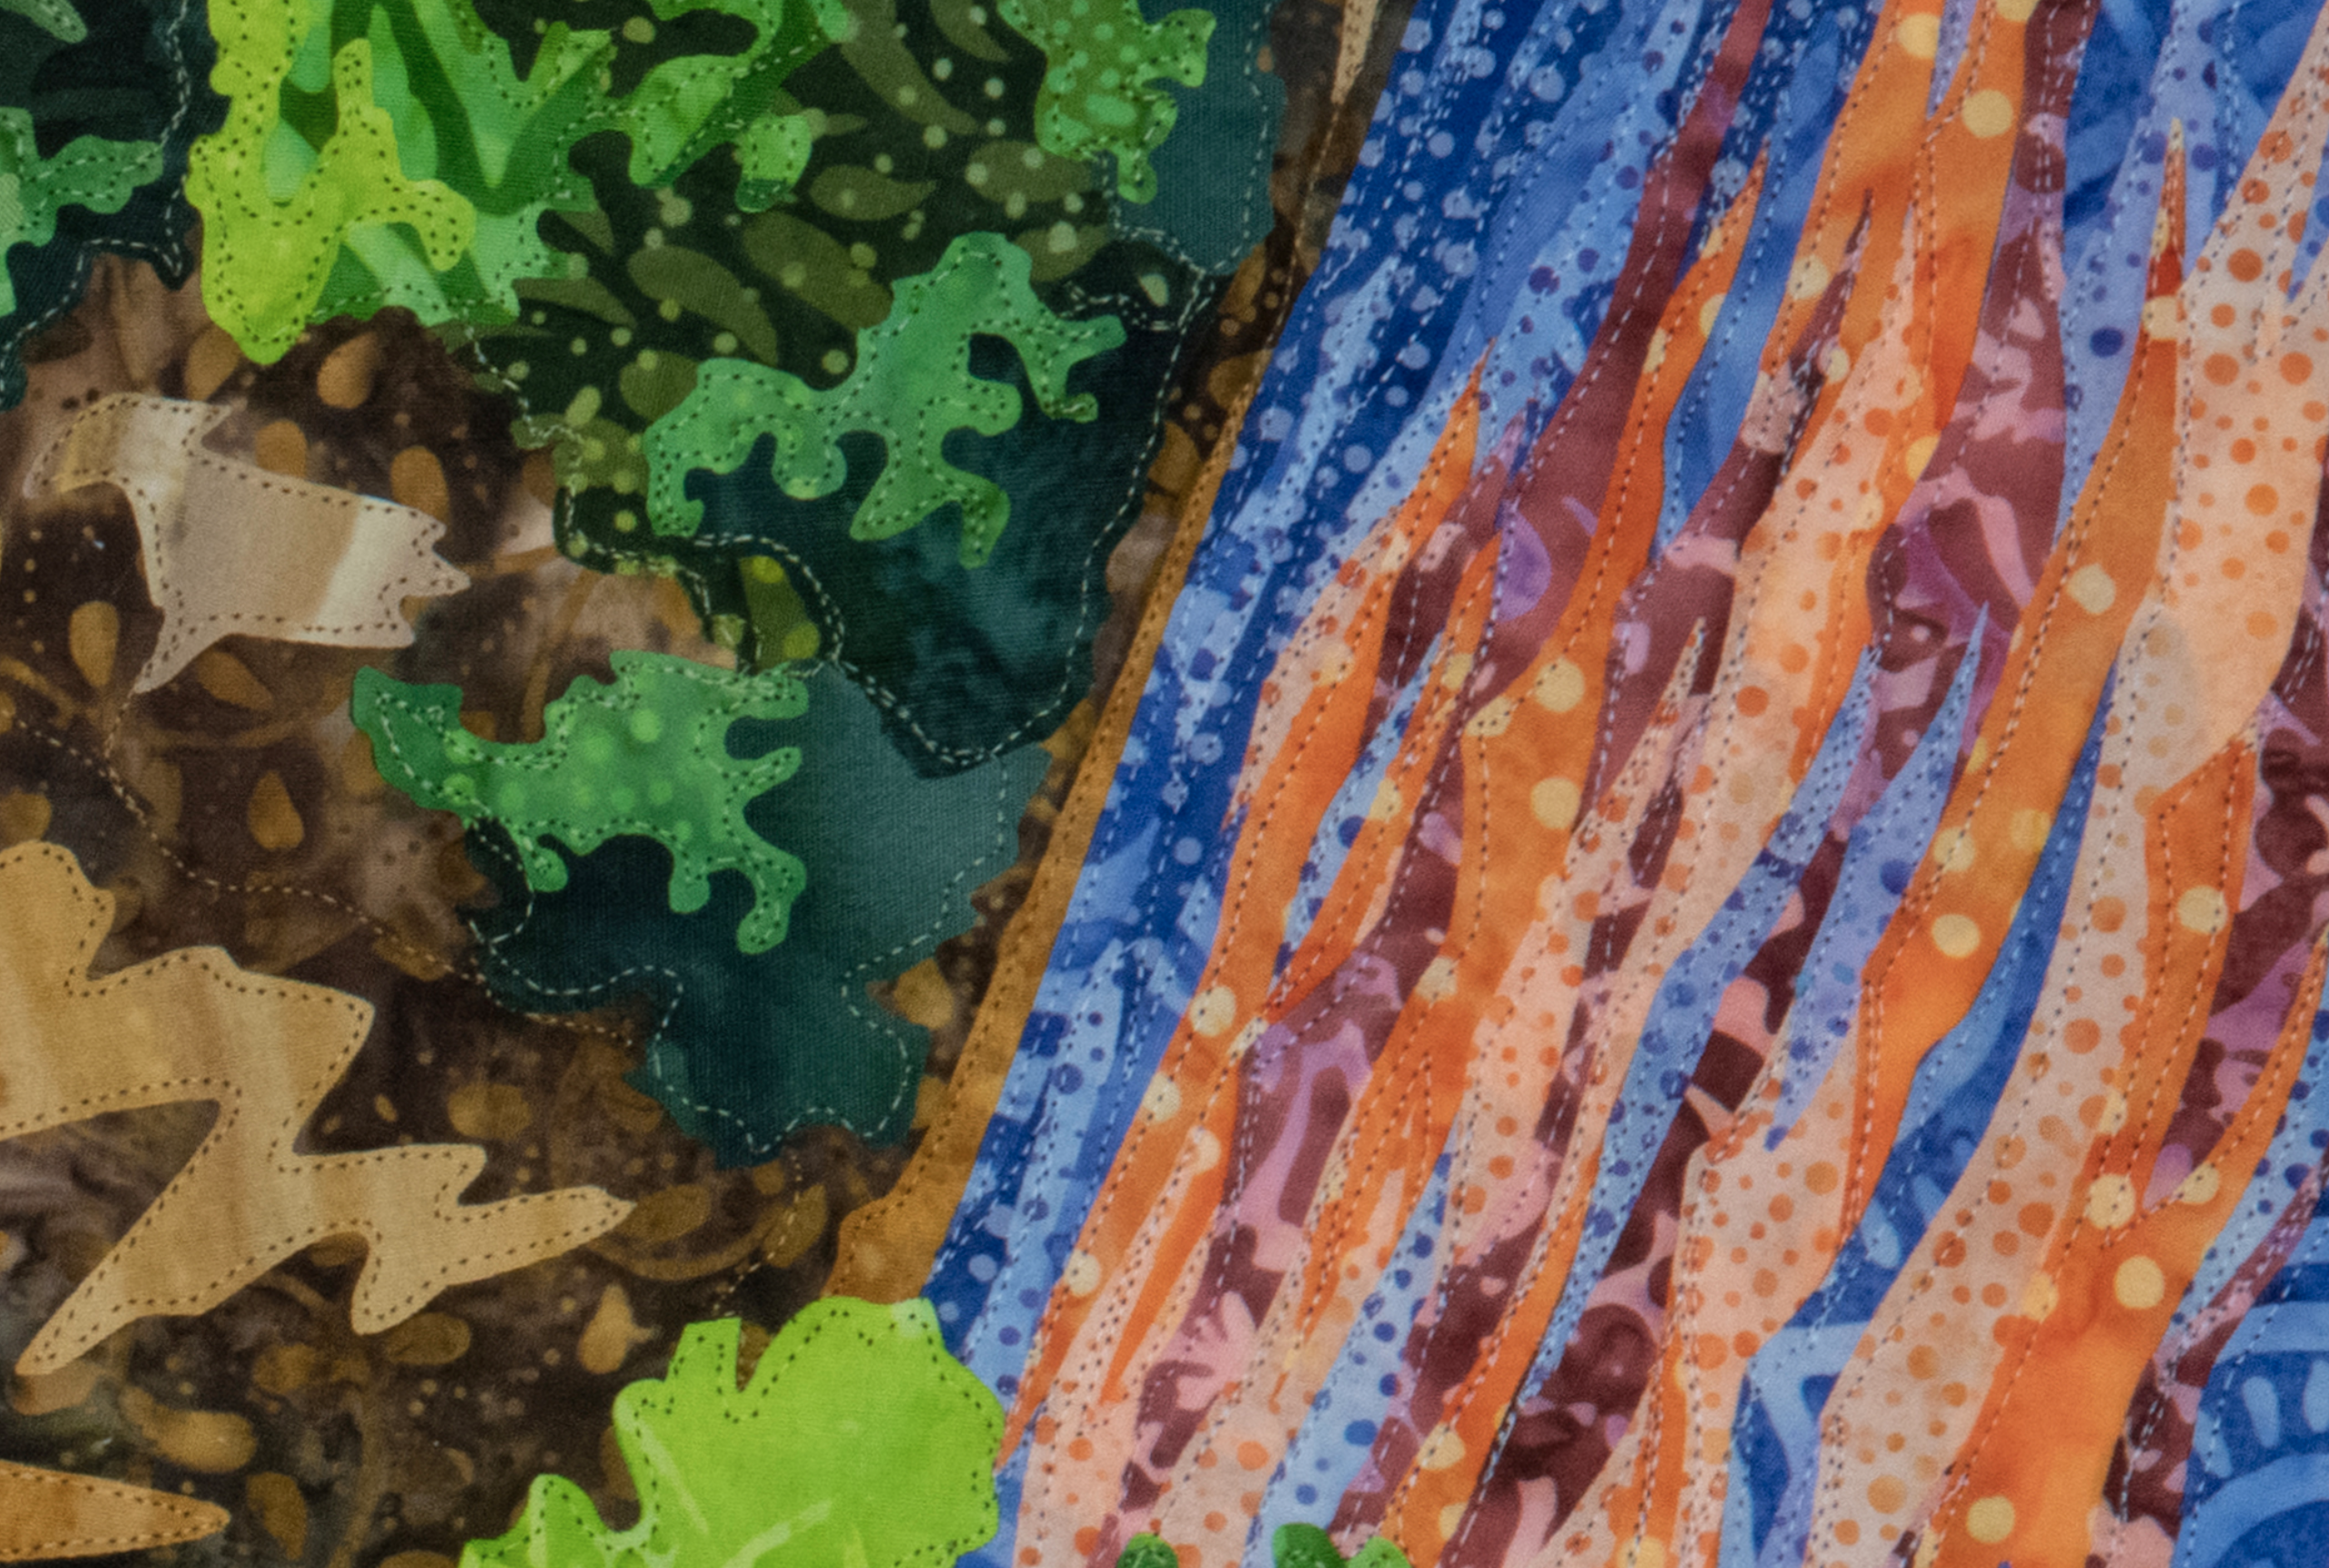
This quilt was freemotion quilted using 100wt thread in a raw-edge applique style. That means I use my hands to move the quilt under the needle in a way that causes the stitching to follow the edges of the cut pieces of fabric. This super-close detail of part of the water and trees really shows how the stitching follows the edges of the fabric pieces:
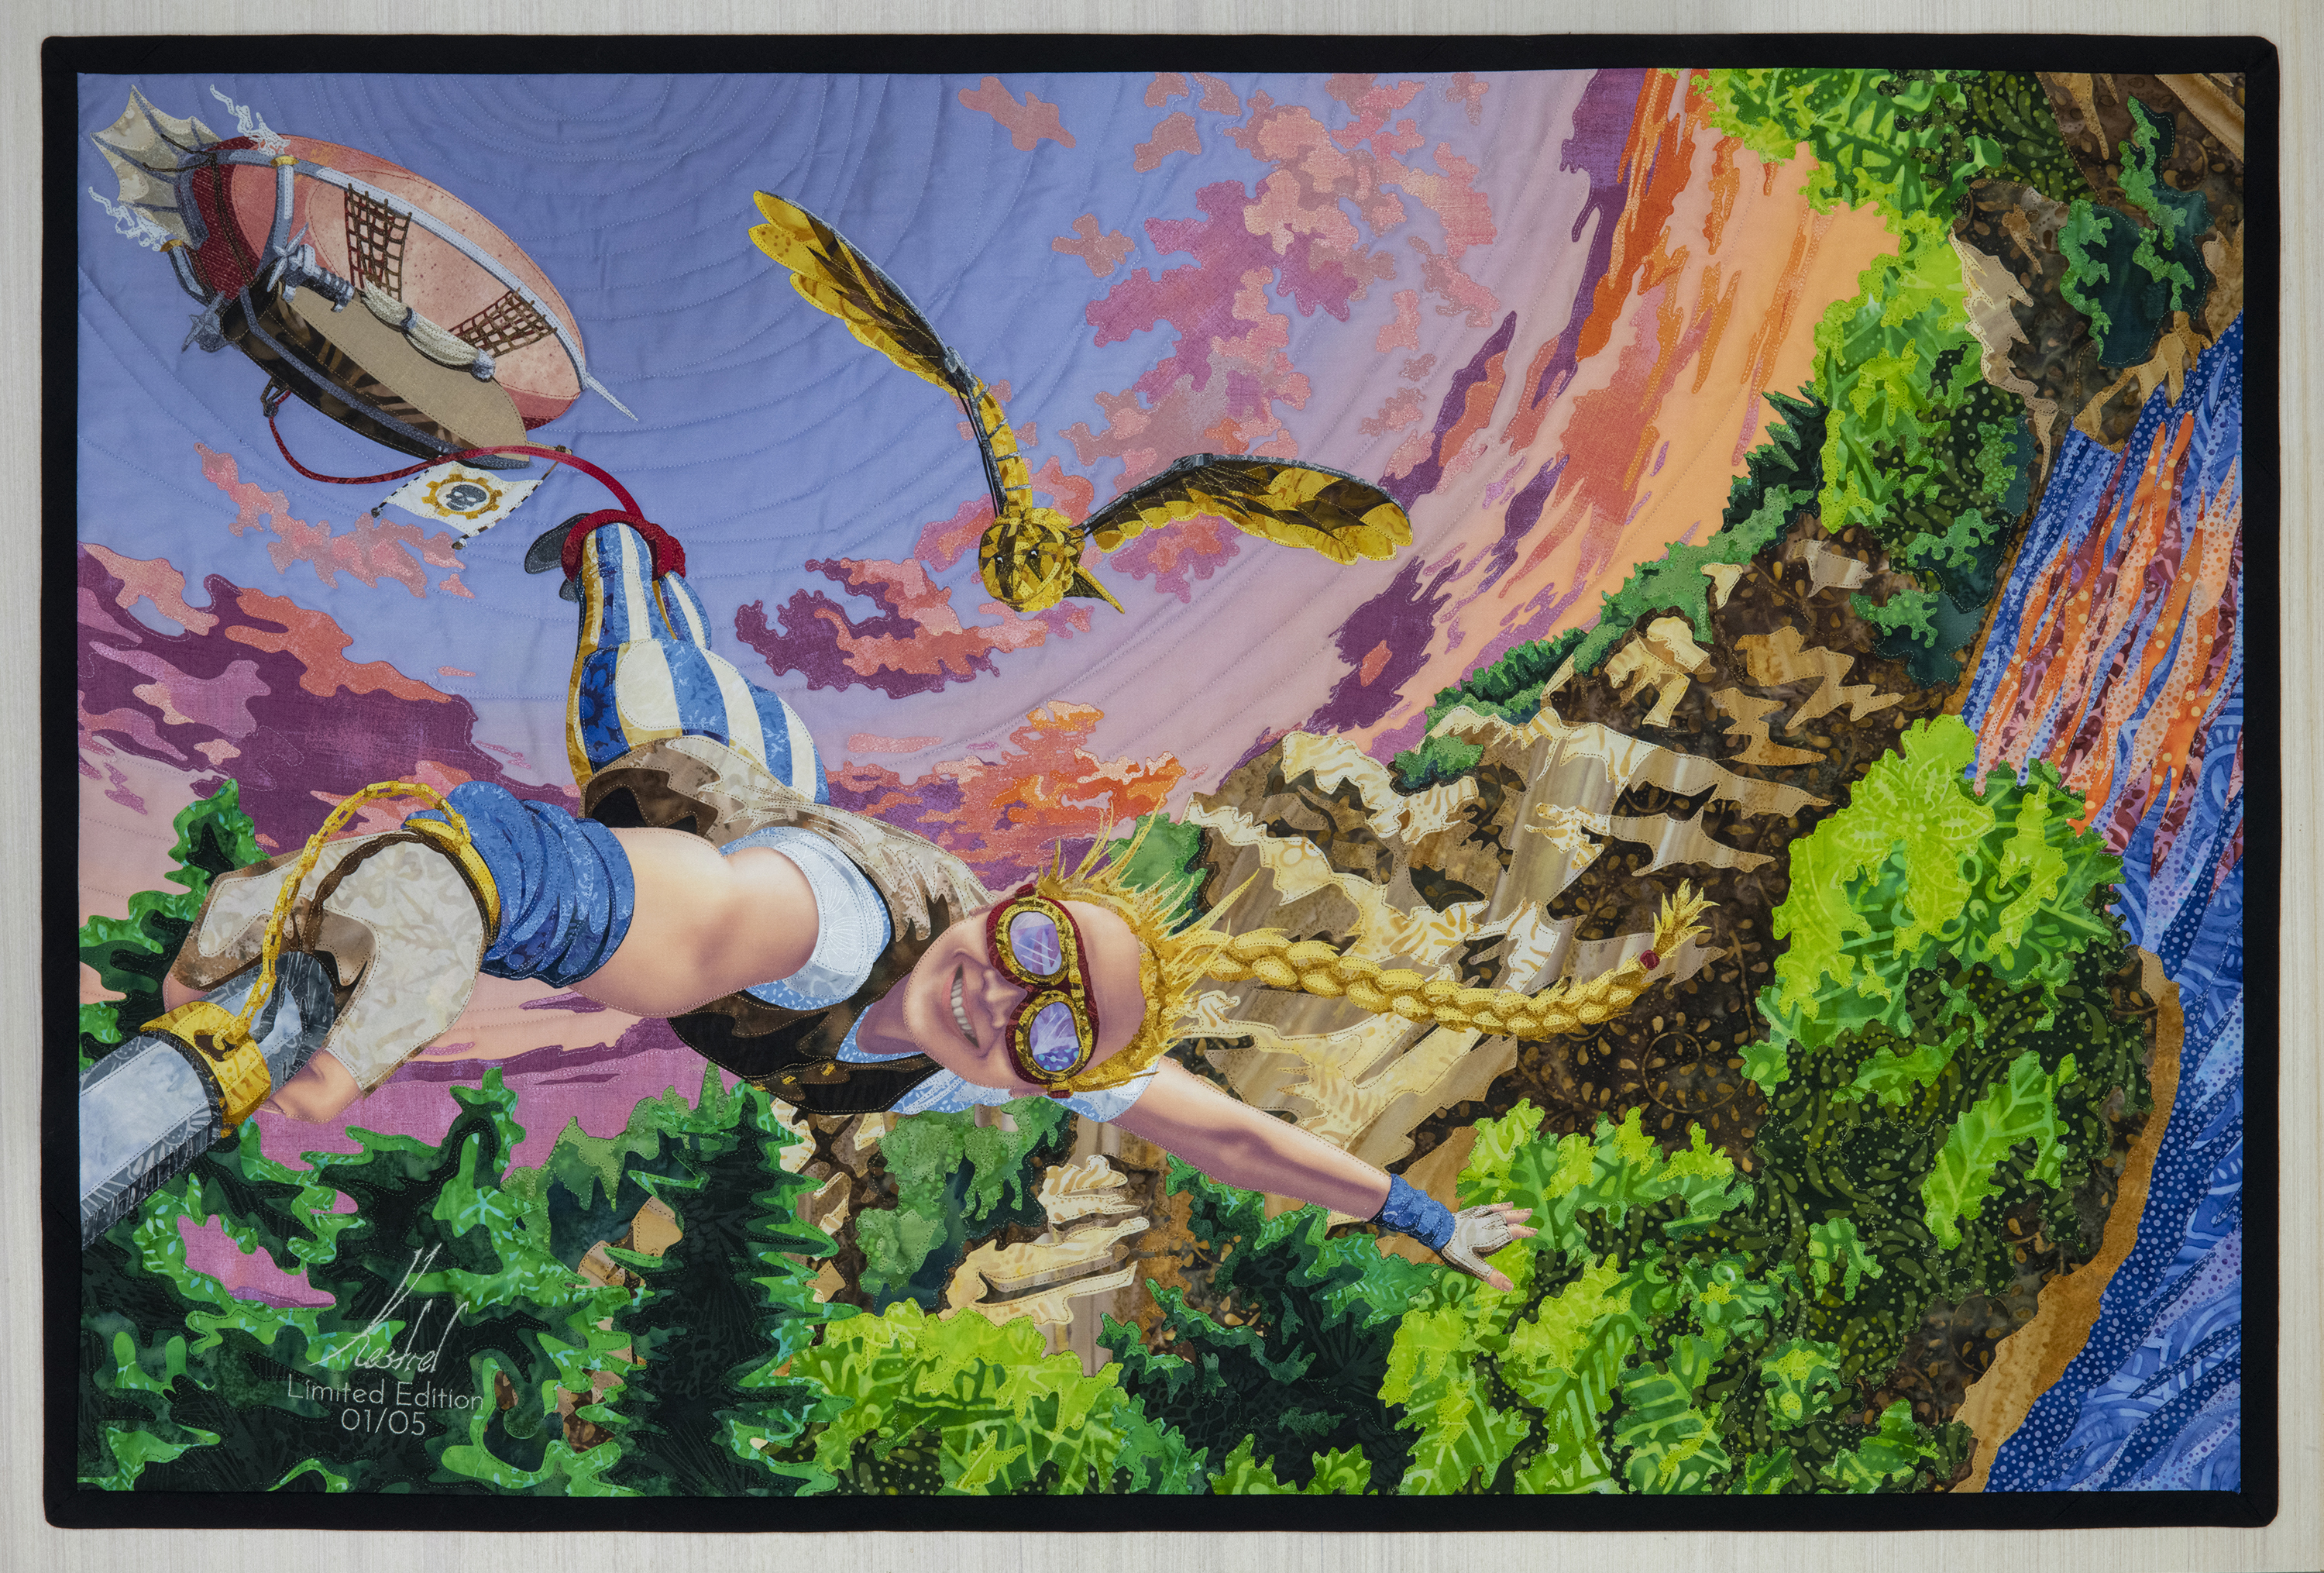
All Done!
The last thing to do was add a binding and hanging sleeve, at which point the quilt was finished!