Technology and Art
- Published:
- Length: 1082 words
- Reading Time: 6 minutes
Back when I first started experimenting with fabric art, every step of my process was done by hand. I drew out my templates on bristol board, traced each individual section onto the paper-backed fusible web using a lightbox and permanent markers, and cut out every piece with scissors.
I've posted before about using new hardware (my iPad) to assist in drawing from life. However, technology has also proven to be an enormous asset to the rest of my fine art process beyond the initial drawing. I've incorporated the digital world into nearly every step of creating a fabric illustration.
1. The Template
This is what my templates used to look like: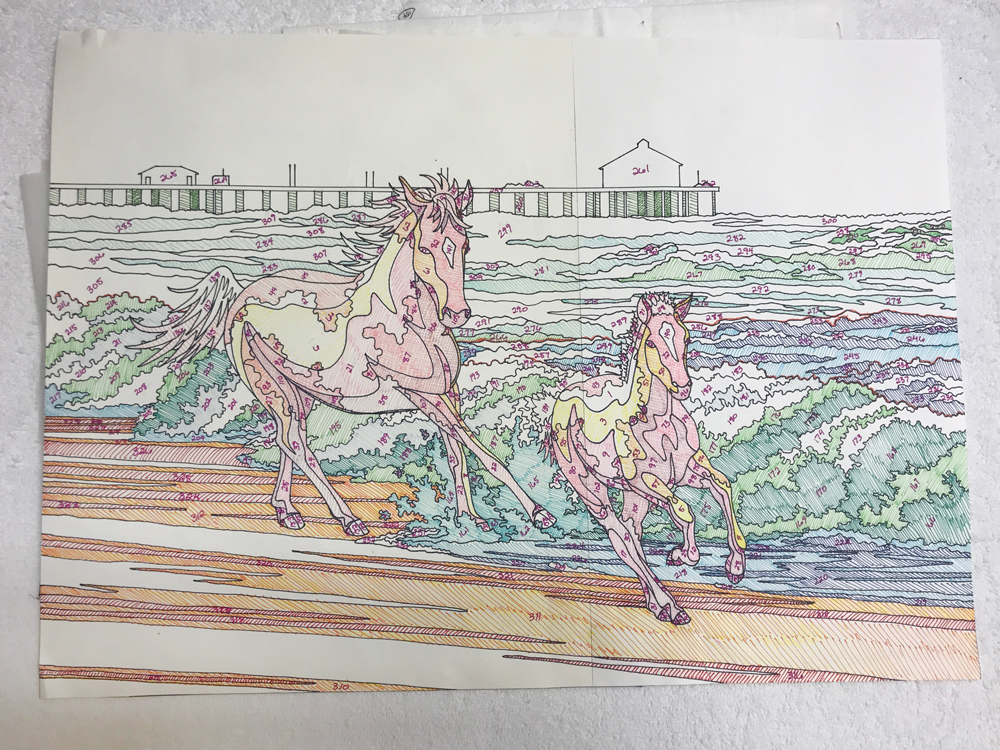
It looks like a mess of black lines with numbers. The colored areas are how I would differentiate which sections were different fabrics (ie. all the warm tones are sand, all the blues and greens are surf). I had to keep the actual fabric color arrangements correct in my head, as I had no way to test out my choices ahead of time.
Believe it or not, this one was actually one of the more coherent-looking templates I made before going digital. I rather lost interest in this picture and never finished it, so I don't have a final fabric version to share.
Today, I do my initial drawing on my iPad using Concepts, a vector-based drawing app. Once the initial sketch is finished, I import it to Adobe Illustrator to properly connect all the points and colorize the drawing. A template finished in Illustrator looks like this: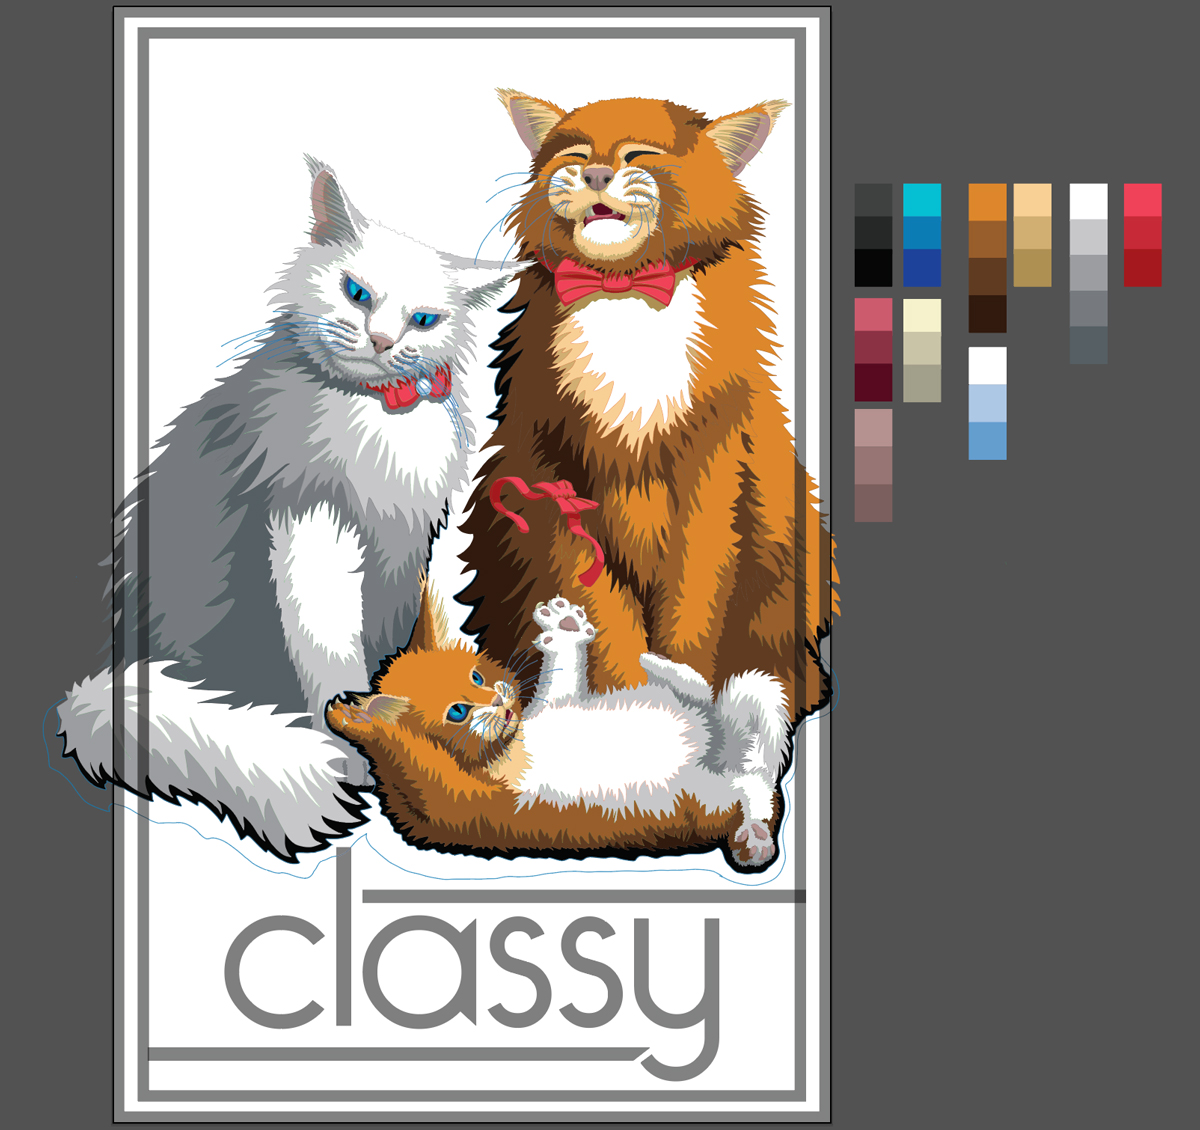
The advantage is I no longer have to mentally keep track of what colors of fabric I need. In addition, it makes the rest of the process (tracing & cutting) much easier.
2. The Tracing
When using a hand-drawn template, I would have to flip it over and trace each piece onto a sheet of paper-backed fusible web. This was very time-consuming, and made it difficult to ever create a second version of my design, since I had no written record of which pieces overlapped which.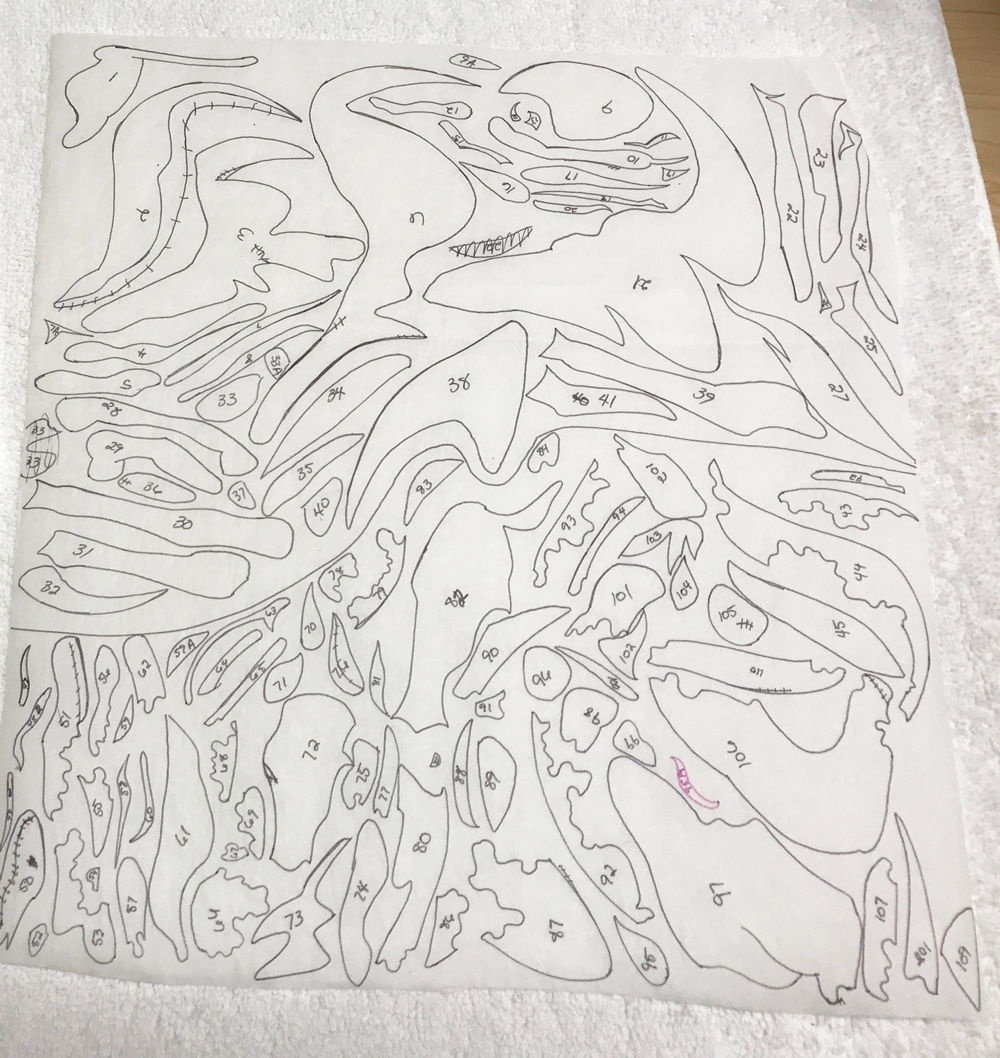
It doesn't make a whole of sense, right? Even for me, it's hard to tell exactly what I'm looking at, and the only way I would know which pieces go where is by the number that corresponds to the same section on the template.
These days, since my template is digital, I can figure out all the overlap on my computer and lay out each piece on a separate artboard. I still use numbers to keep track of pieces, though.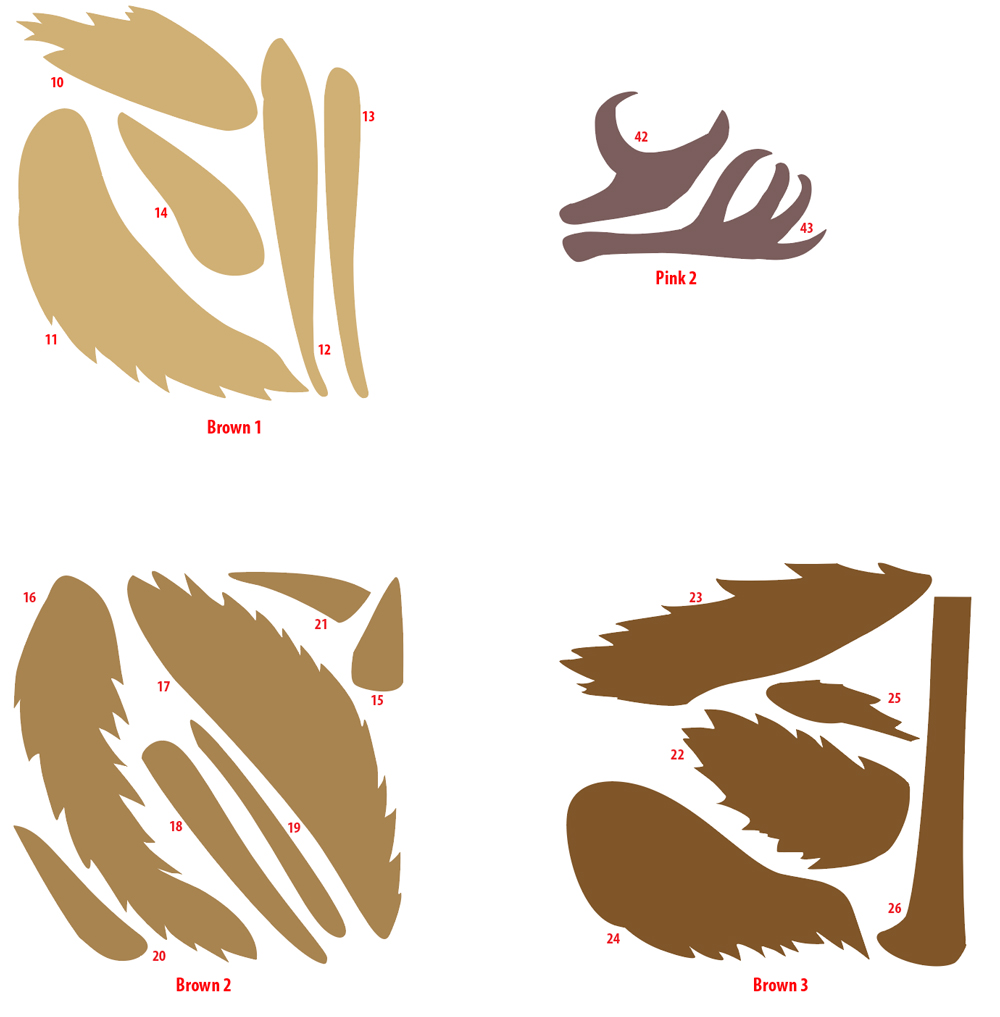
Doing this makes it really easy to move on to the next step: cutting.
3. The Cutting
After tracing each piece onto fusible web, I'd iron it down onto the appropriate fabric and cut everything out using scissors. I don't have a picture of the fusible web on the back of some fabric, but I do have a pic of me cutting feathers by hand (complete with an "assistant" who thinks he's a lap dog).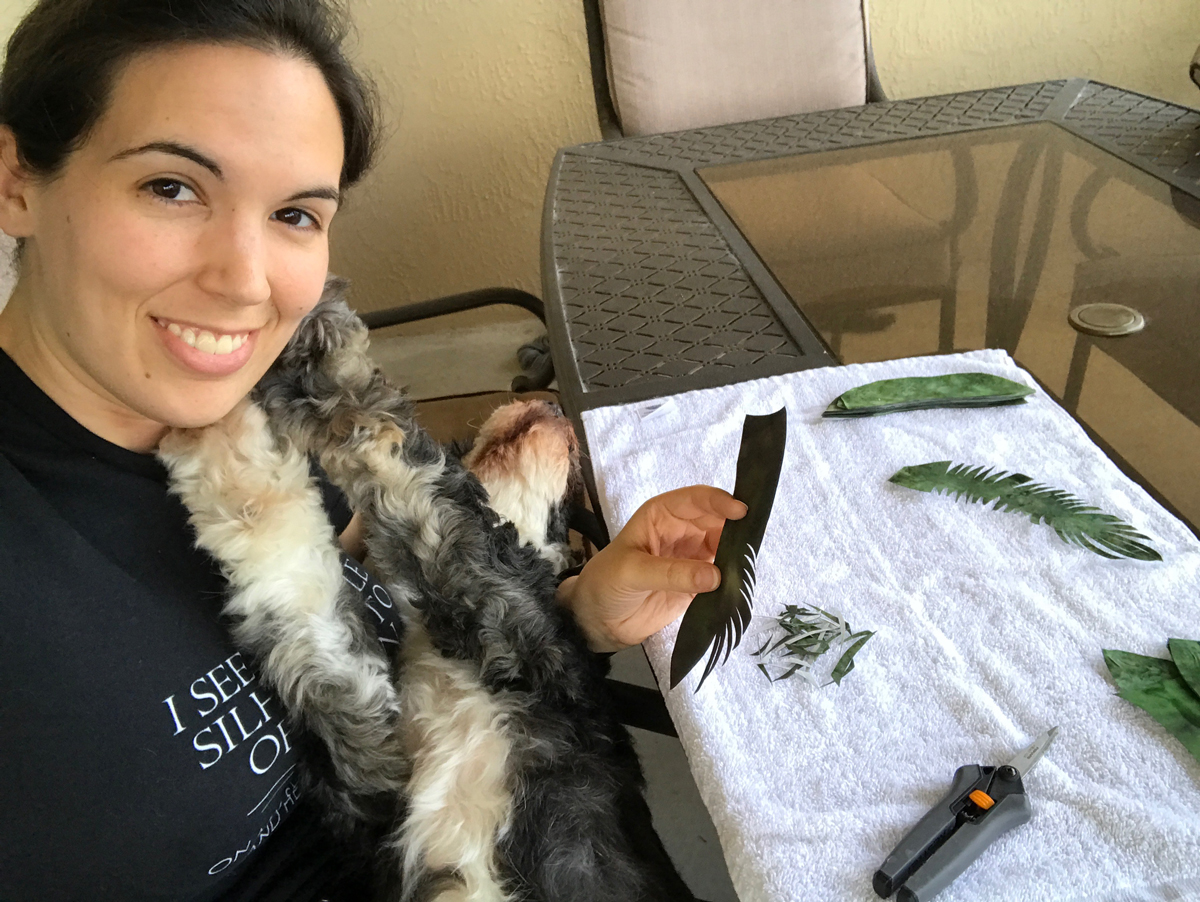
Today, since I work with a digital template and digital pieces, I make a point of arranging them onto an artboard that matches the size requirements of Cricut's Design Space. Cricut is a company that makes DIY home-crafting machines that cut stuff, and Design Space is their online software that coordinates with the machines. I have a Cricut Explore Air.
In short, I arrange the digital pieces in Illustrator and upload them to Design Space. Next, I arrange fusible-backed fabric on Cricut's sticky cutting mats according to the design I uploaded. Then I just let the machine do it's thing!
This Instagram post I made shows a photo of one piece after being cut by the Cricut, as well as a video of my Cricut cutting.
In addition to no longer having to cut the vast majority of my fabric by hand anymore (I still cut out the extremely small pieces with scissors), I now have a digital copy of each and every piece. Going back and making a new version of my design is no longer a challenge.
