Embrace Change Process
- Published:
- Length: 883 words
- Reading Time: 5 minutes
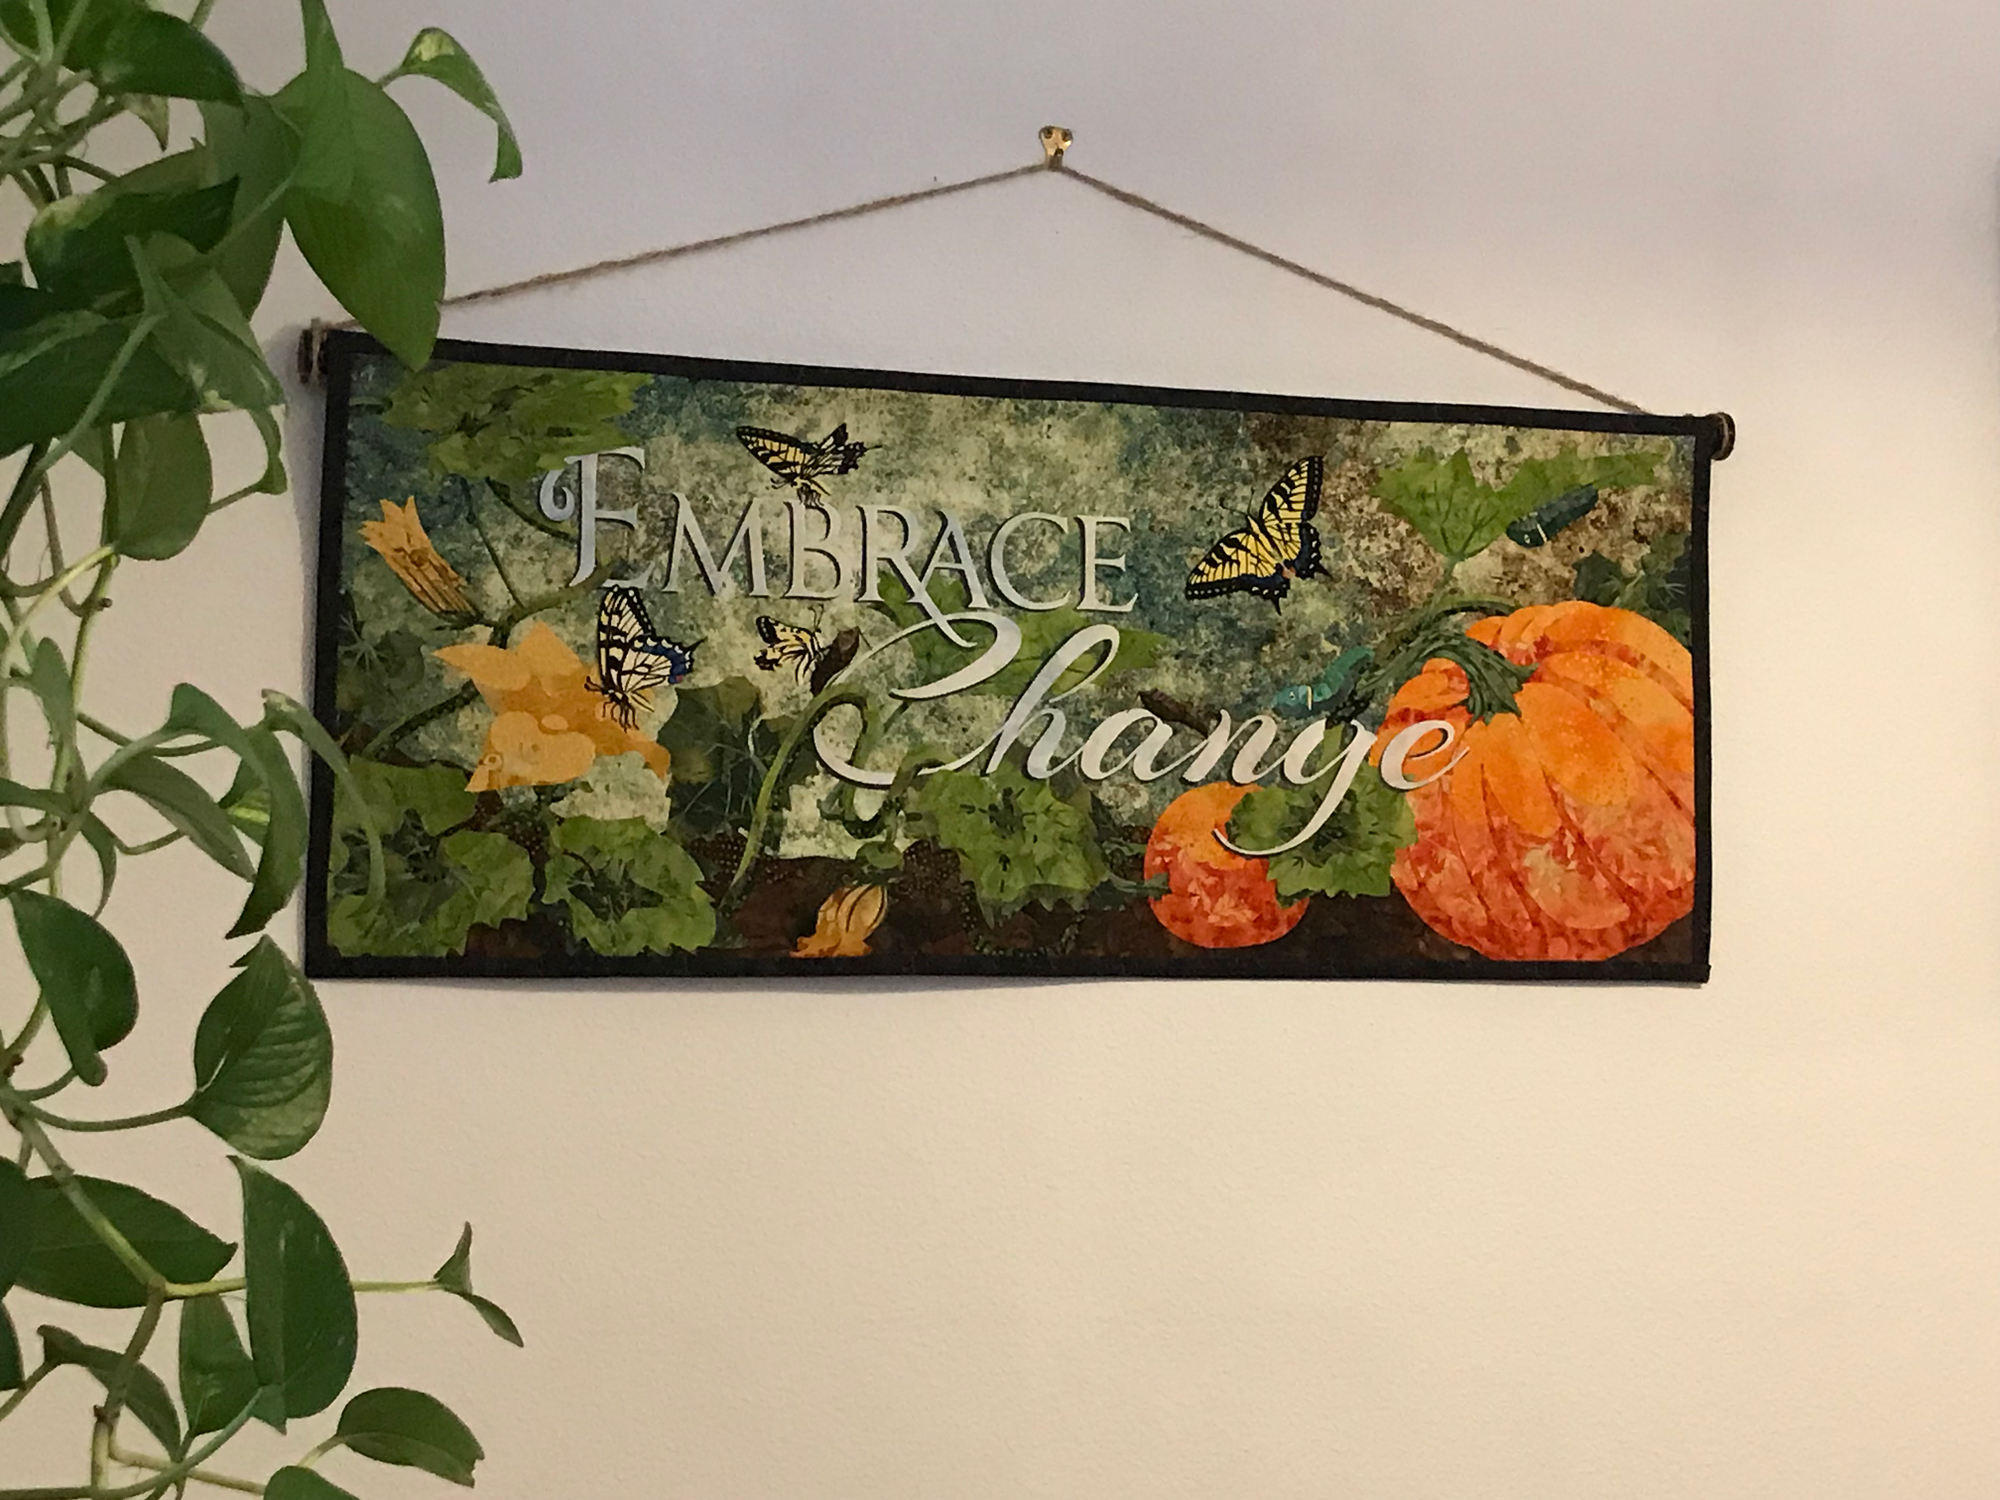
In early February 2018, I designed and finished a new picture, Embrace Change. This blog post will show photos from my process.
Embrace Change
I find it easier to concentrate on learning a new process if I know where that process is taking me, so this is my completed picture, Embrace Change.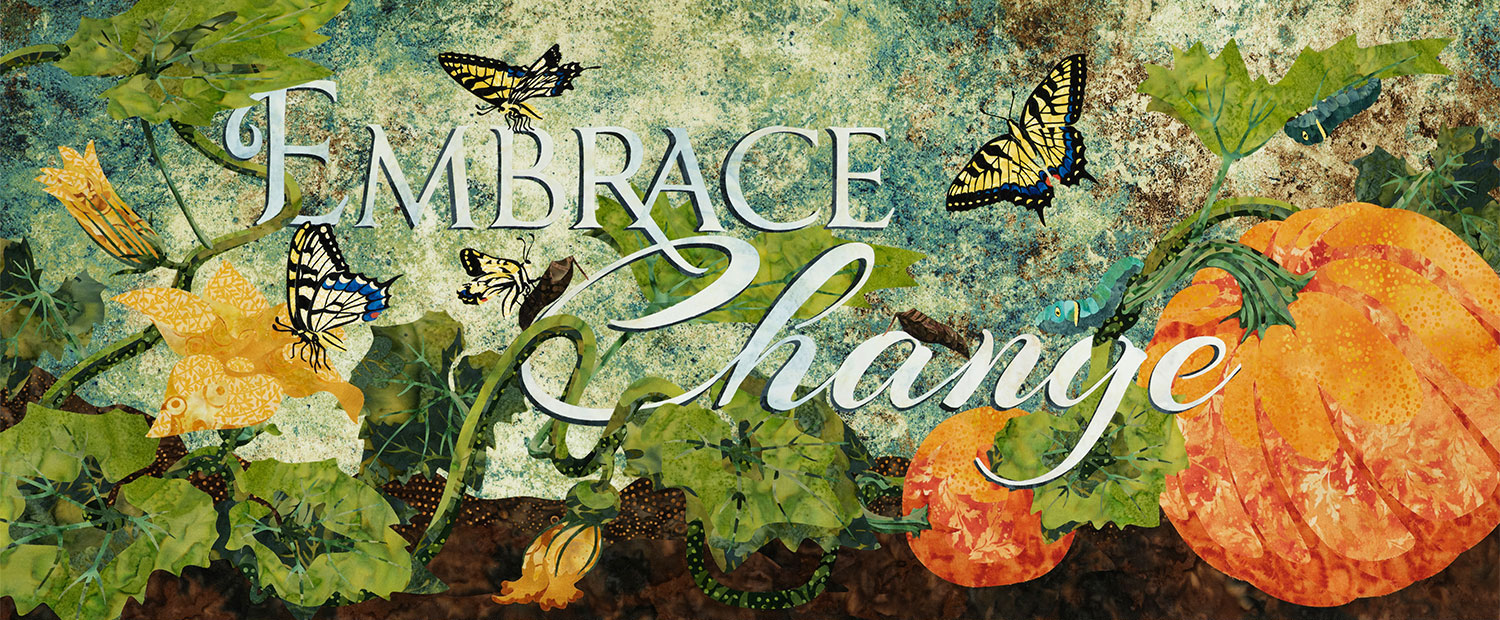
Embrace Change is 35.5" x 15" and is made up of 537 pieces of fabric. Everything is fused together with Wonder Under. I also did not dye or modify any of the fabrics; they're just as I purchased them.
Step 1: Draw the Design
I always start of by sketching on my iPad in an app called Concepts. Concepts is a vector-based drawing app, so it gives me lots of editing capabilities. This was the drawing for Embrace Change in Concepts.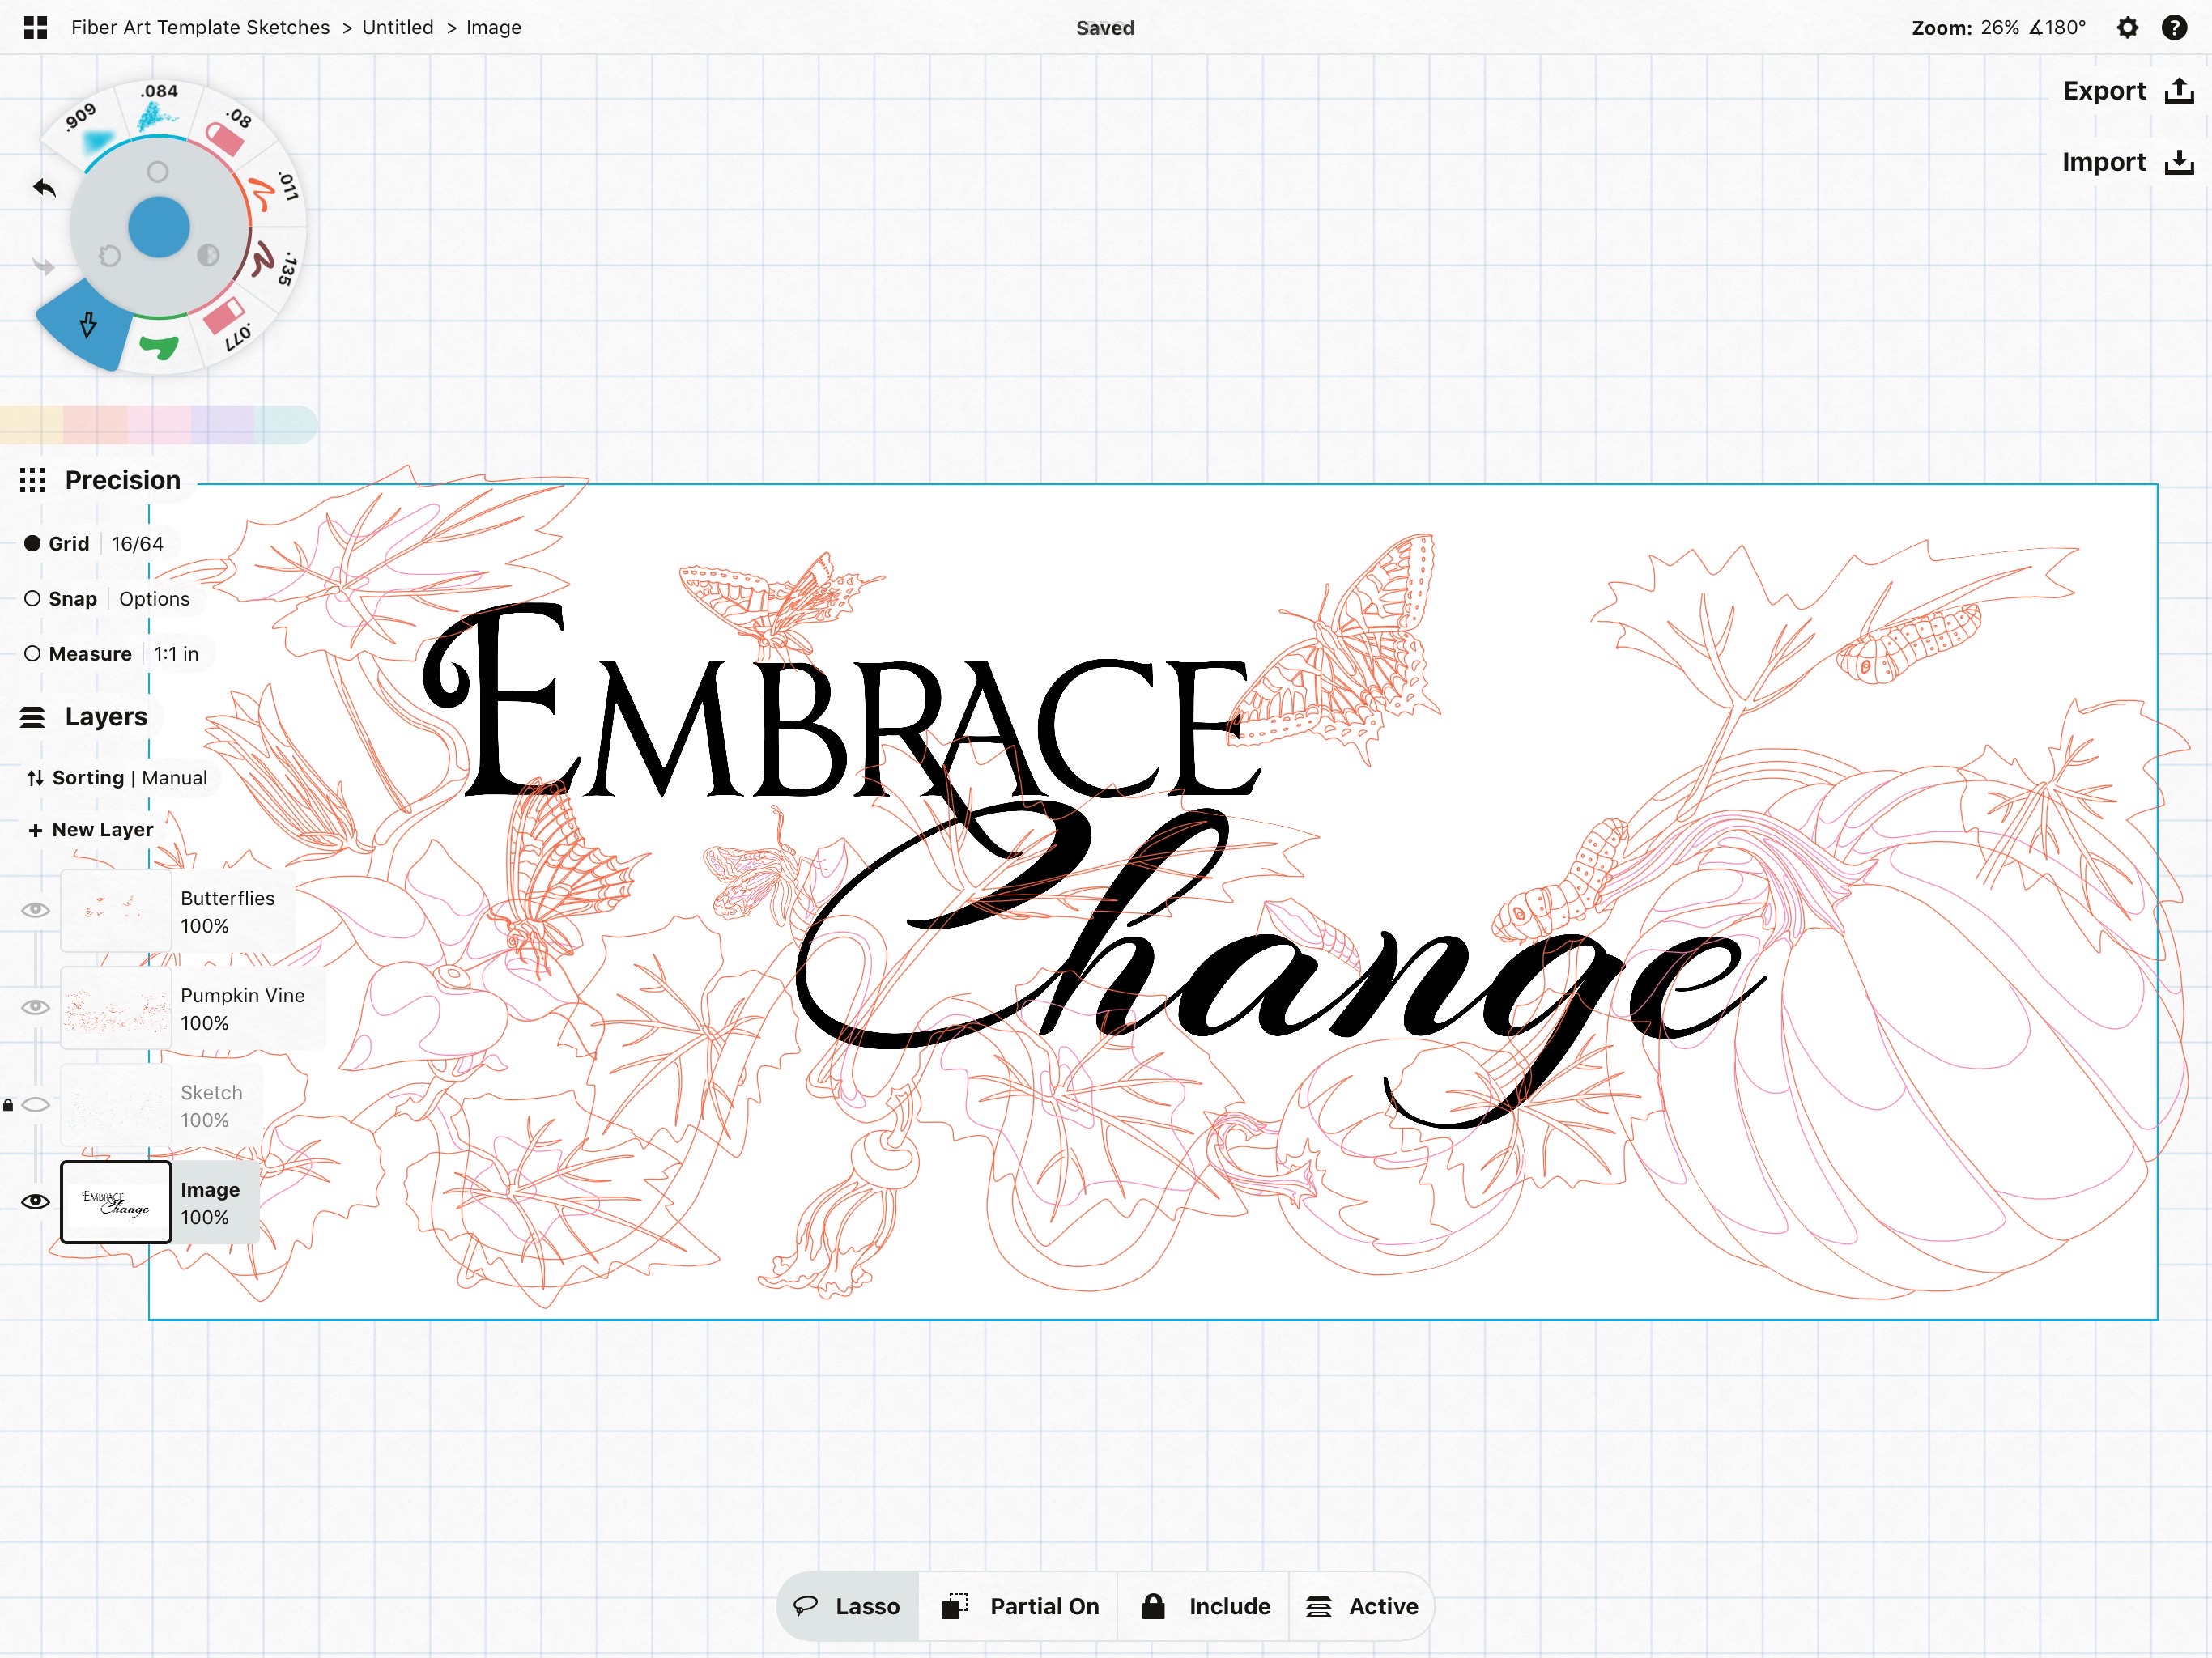
Step 2: Create a Template
The next step is to turn my drawing into a finished, colored template. I do this in Adobe Illustrator. The process involves removing unnecessary points, removing gaps between endpoints and lines, and adding fill color to the entire picture.
Step 3: Figure Out Overlap
Each filled area of the template ends up being one piece of fabric. The pieces that are underneath other pieces get overlap (so that the pieces on top will be able to fuse to the pieces below).
During this process, each piece also gets its own number so I know where it goes after it's cut. Here is the template from above with all the numbers (537 total):
The last part of this step is to arrange the pieces on a 11.5" x 23.5" artboard, which is the max cutting area on a large size Cricut cutting mat. (I used to cut by hand with scissors and an Xacto knife, but the Cricut dramatically reduced the time it takes me to create a finished picture, since it cuts my entire project in minutes. If I had cut Embrace Change by hand, it would have taken me probably about 30 hours of cutting. My Cricut did it in about 3.)
This is what my Cricut-ready layouts look like when ready to be cut: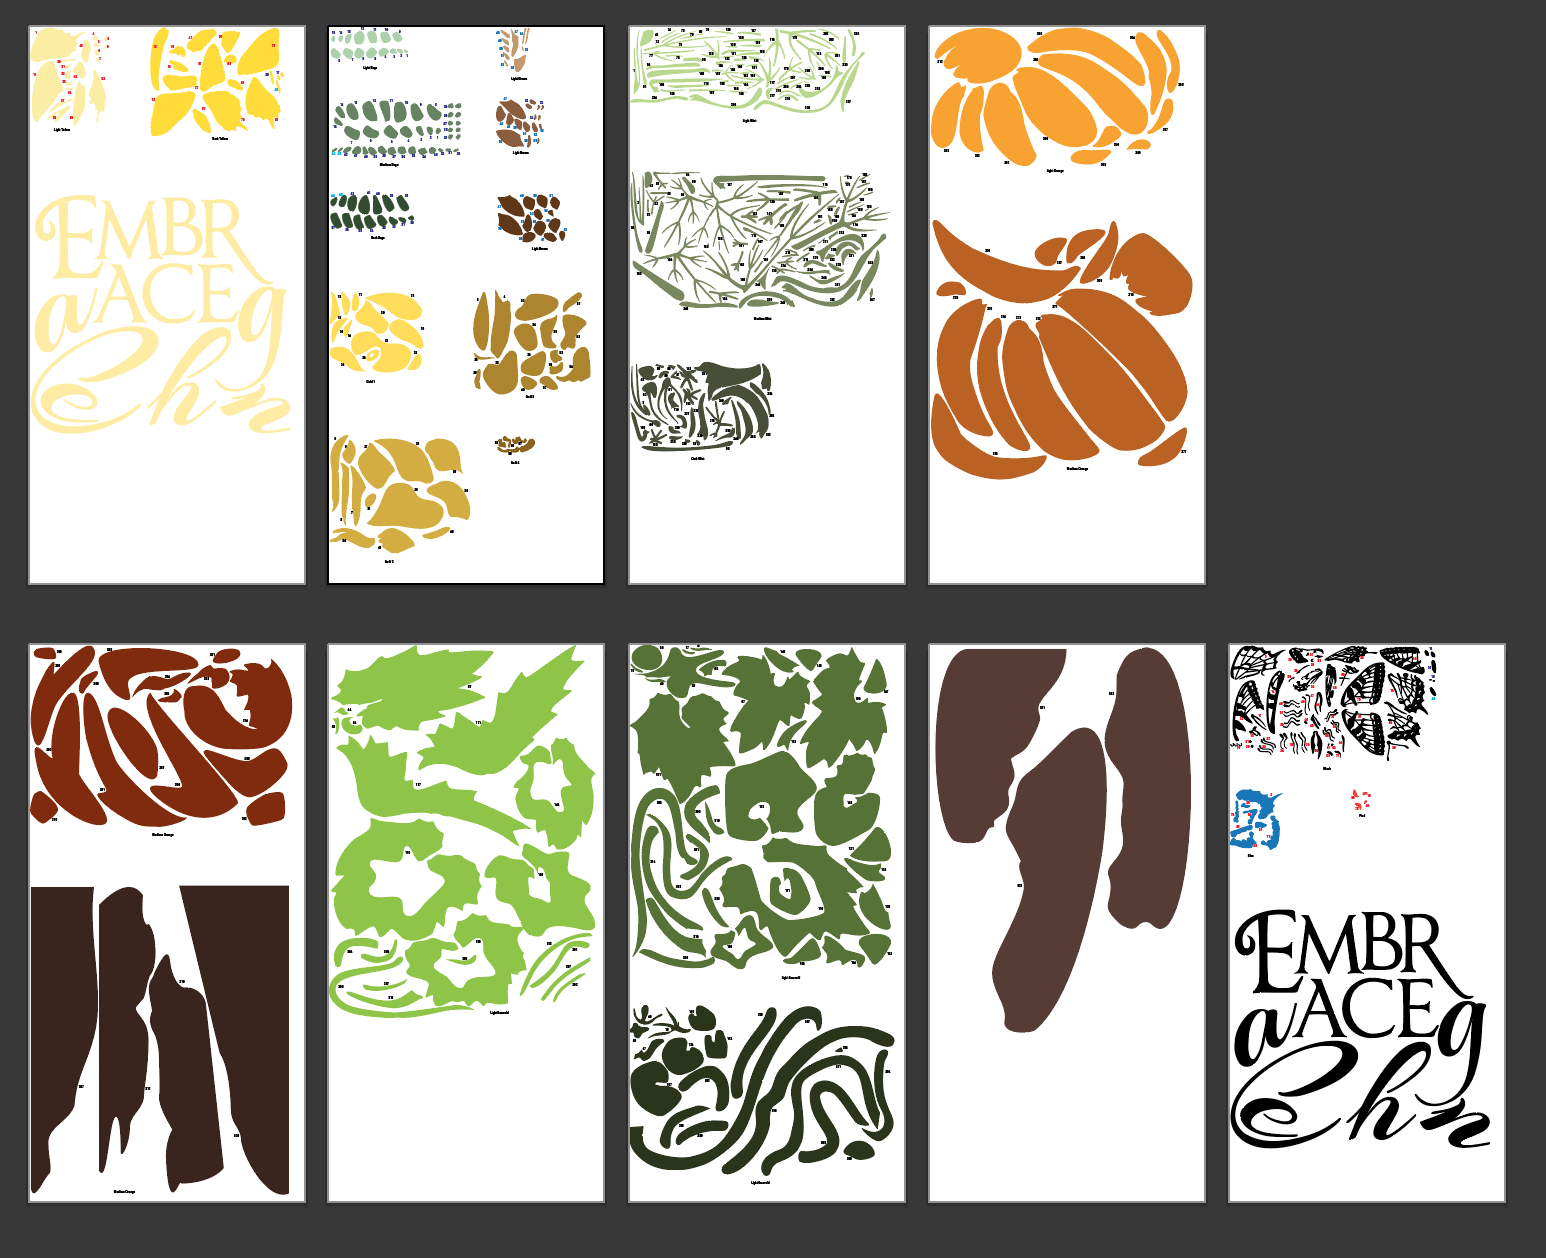
Step 4: Cut Everything!
Each artboard in the above picture gets exported as an SVG and uploaded to the Cricut software. There are nine artboards, so I sent nine mats through the Cricut for cutting. (In actuality, I only used 3 physical mats. I would rotate them through, so each physical mat was cut 3 times.)
Here is my cutting set-up on the kitchen table. It's the largest table surface in the house, so it's my go-to spot for cutting days: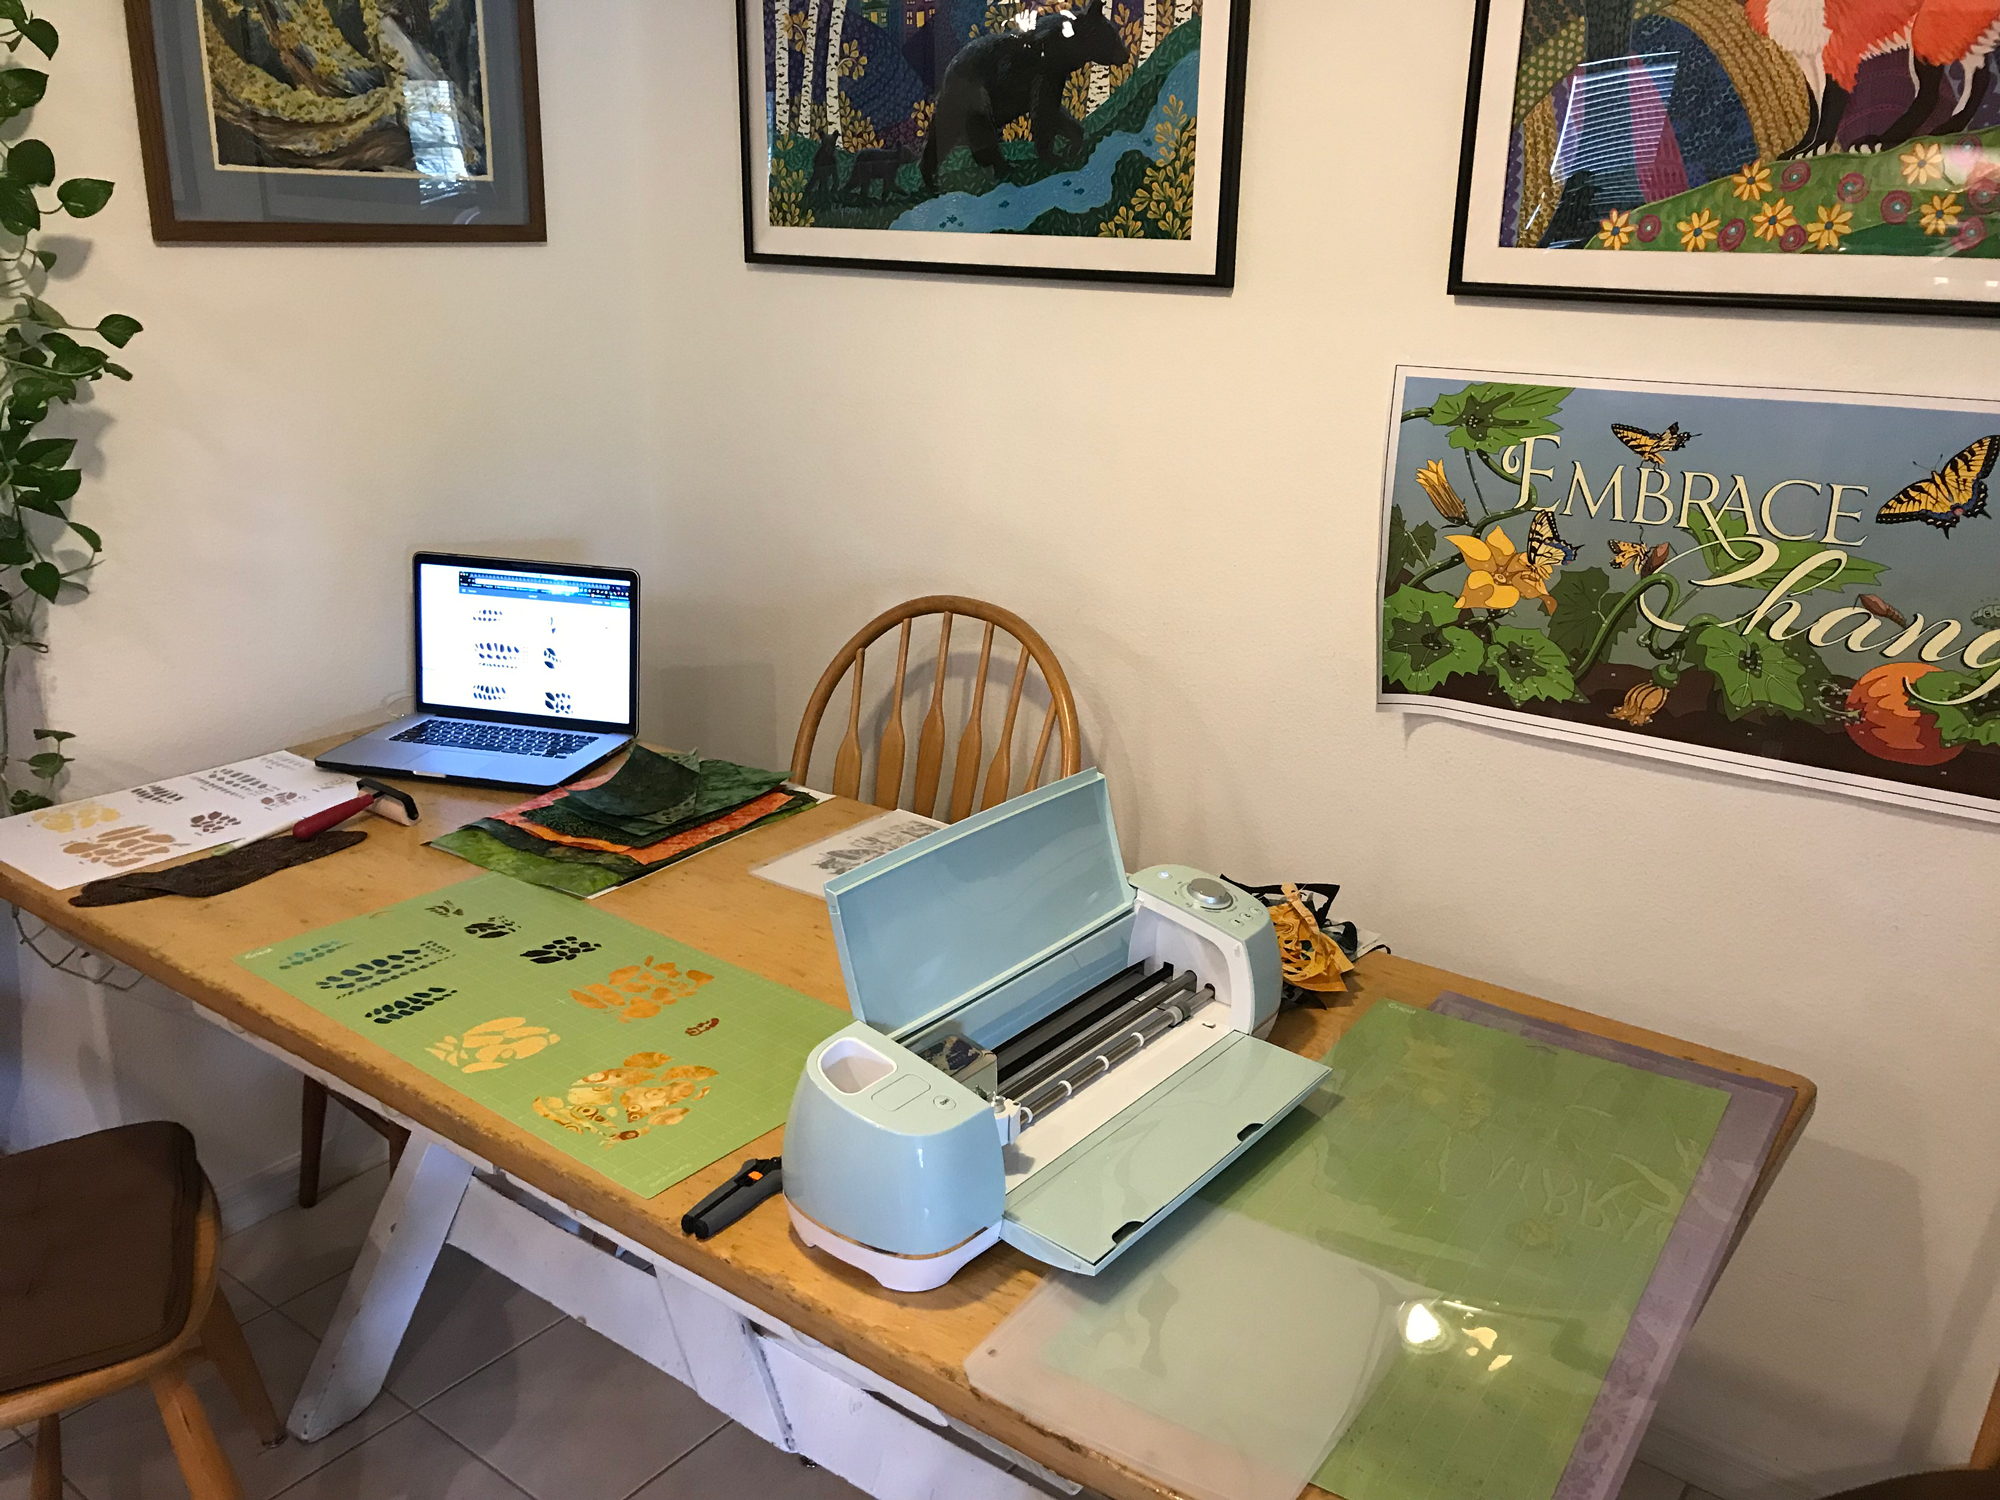
On the left side of the table is my computer with the Cricut software. It's connected via bluetooth to my Cricut Explore Air 2 on the right. Between the two is the mat that was just cut. I'd pulled the uncut fabric scrap off the mat, but had not yet lifted the cut pieces. Taped on the wall is my printed template for reference.
Step 5: Assemble the Pieces
Once everything is cut, I use my template as a guide for assembling the pieces. This is what Embrace Change looked like after it was assembled but before it had a background.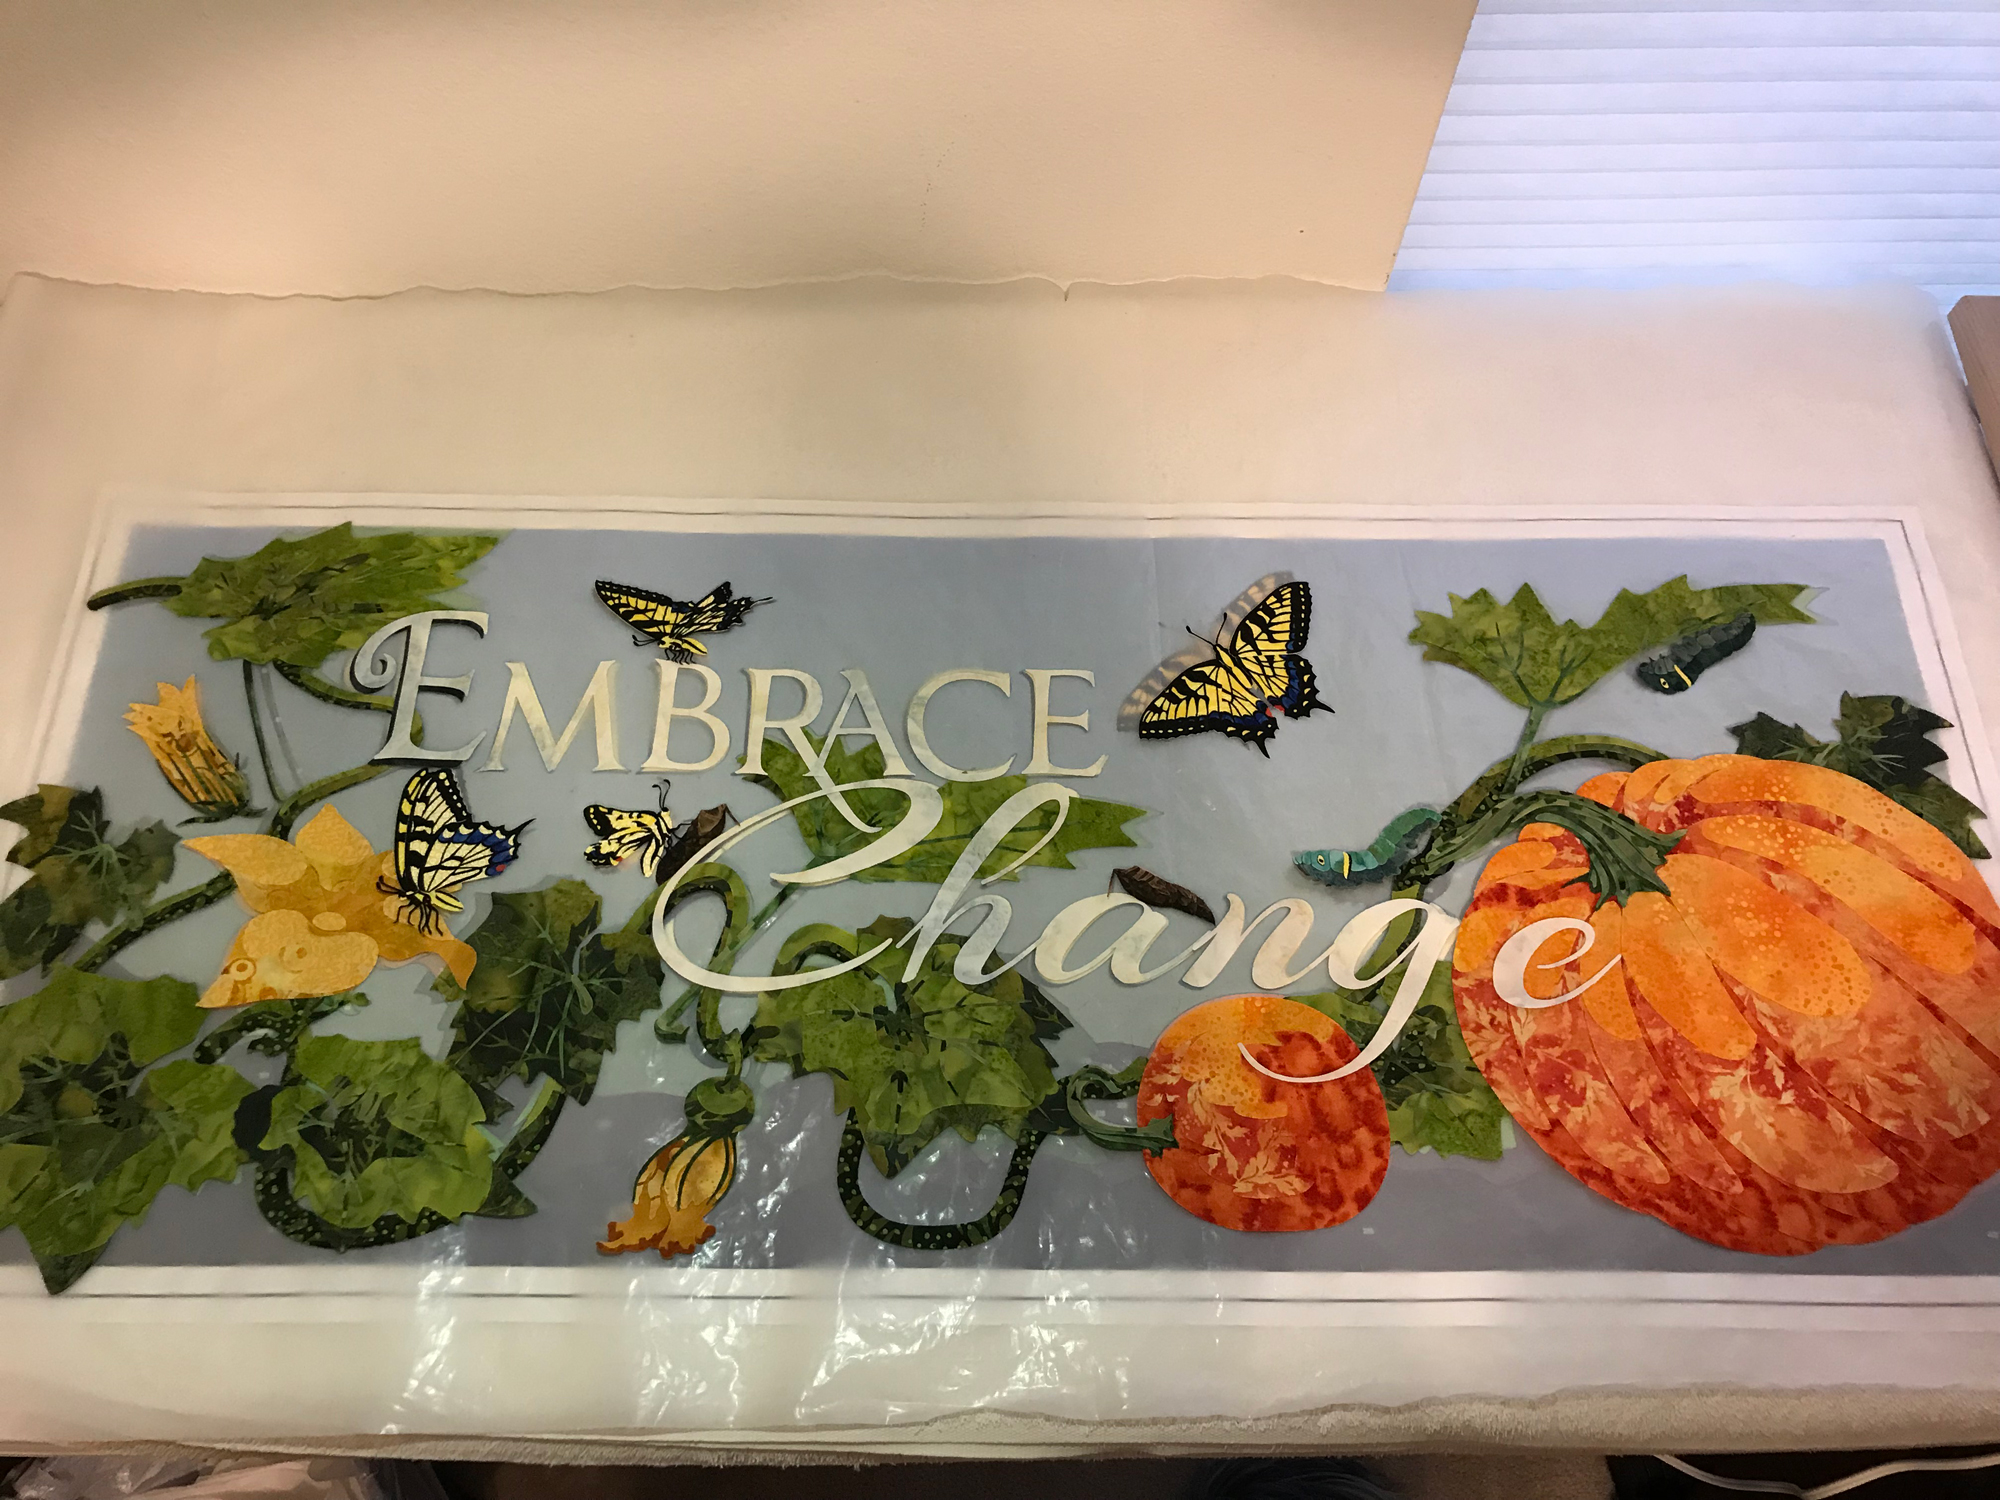
Step 6: Pick A Background
Choosing the best background is sometimes the most challenging part of the whole picture, and this was definitely one of those times. I really struggled to find a background that would work. This is the first background I tried that I ruled out because it felt too much like a hazy ocean. I was looking for a little more life and excitement.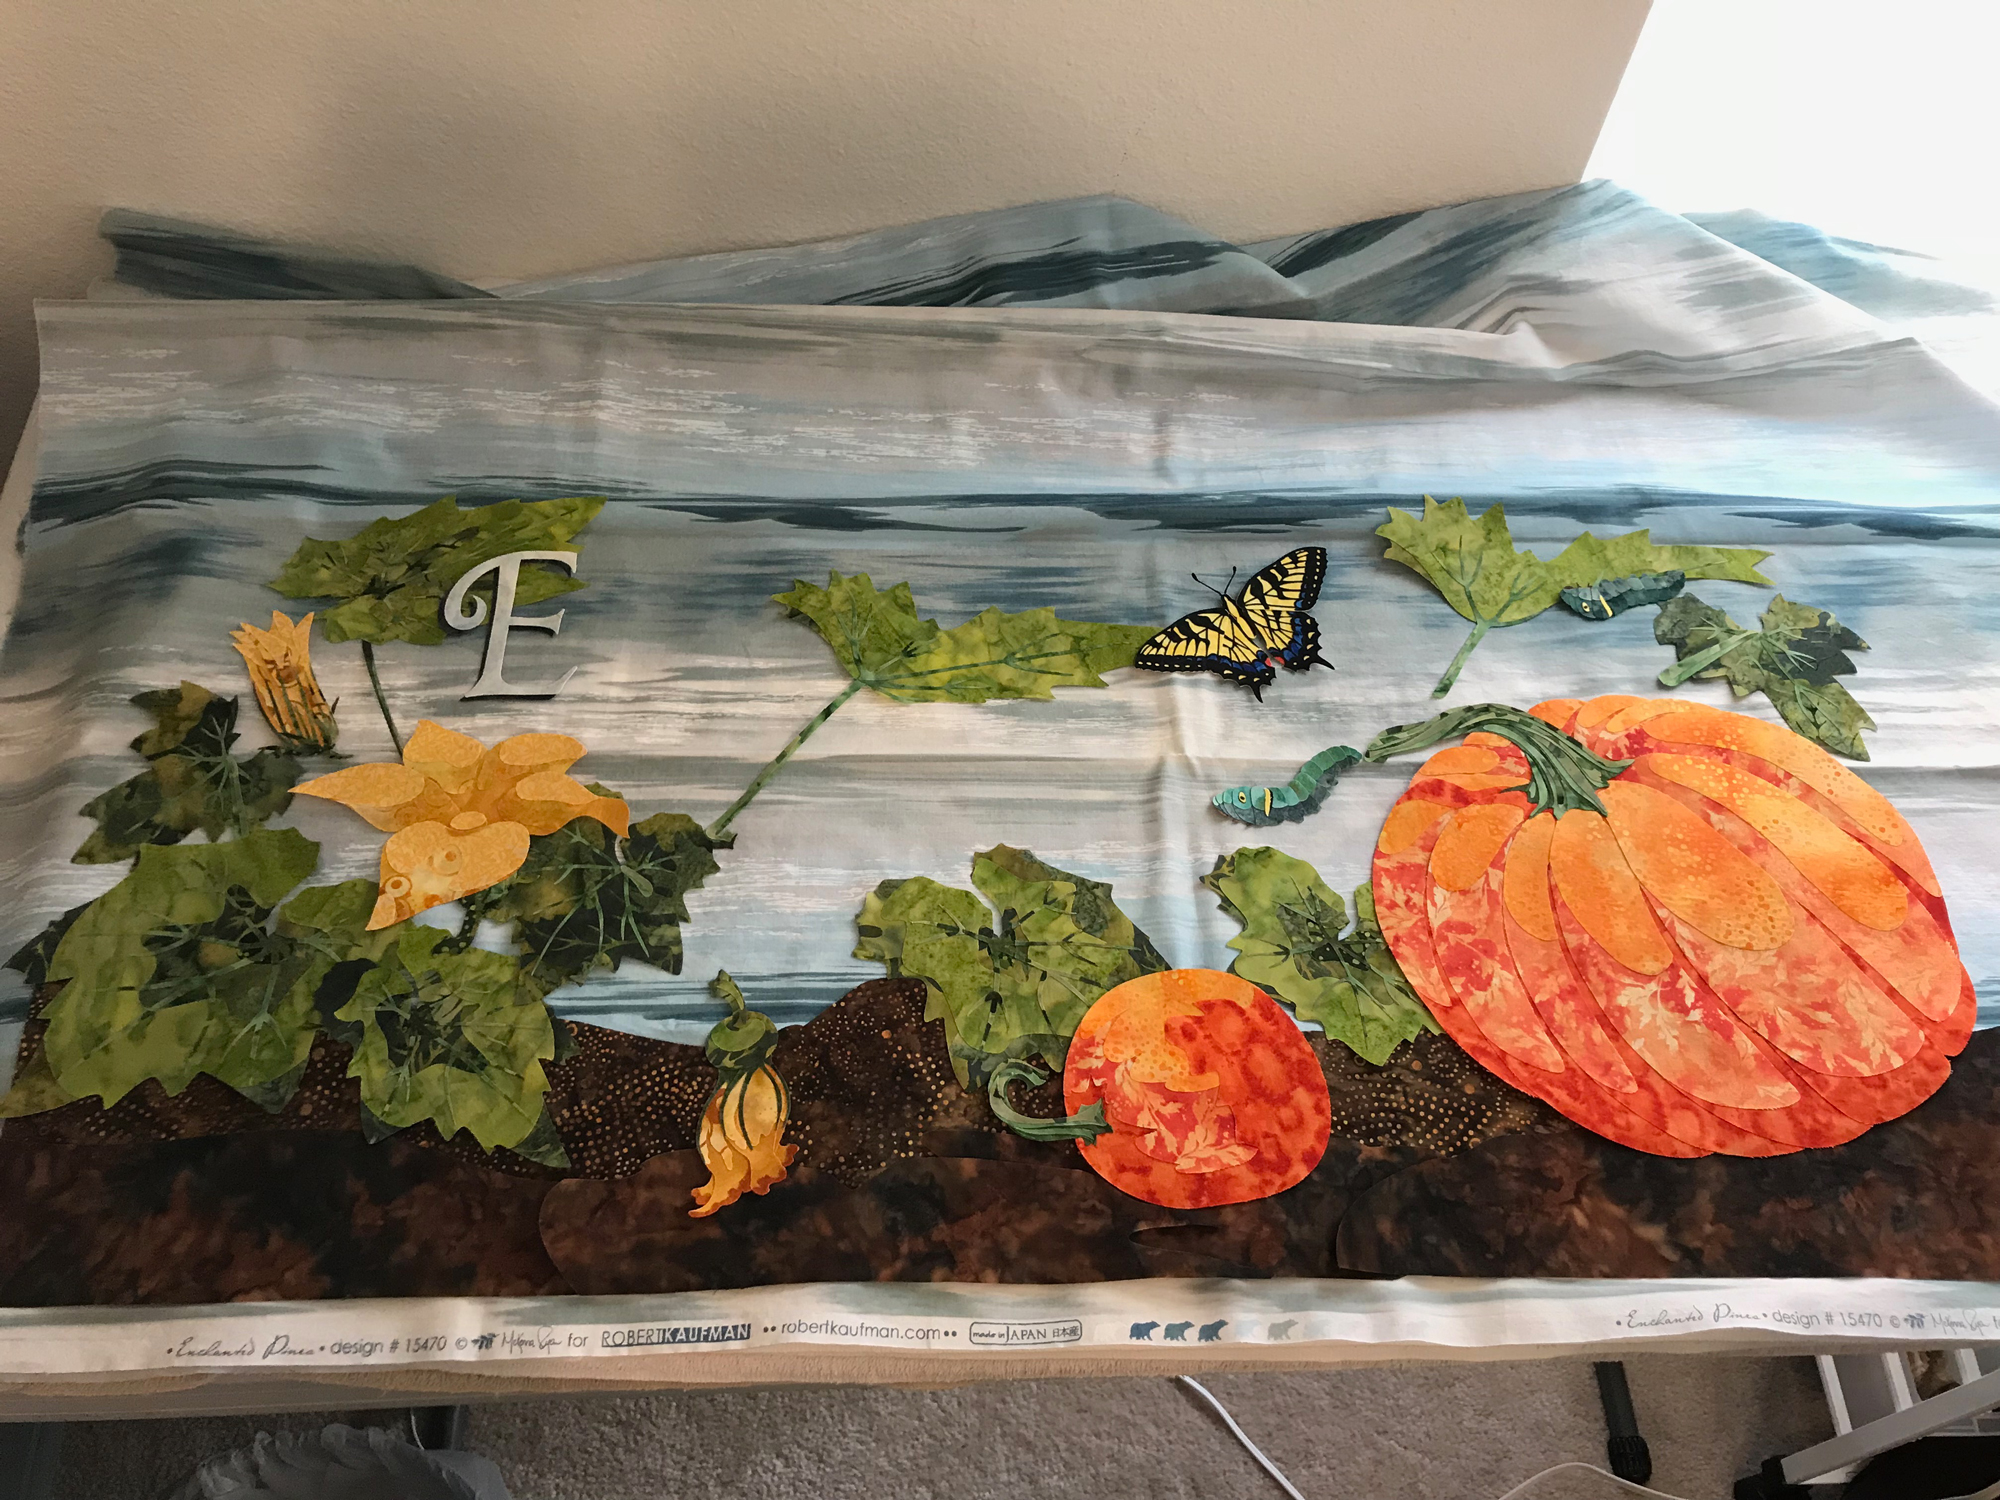
Here is the background I ultimately chose after everything was ironed together and trimmed. This is the finished quilt top.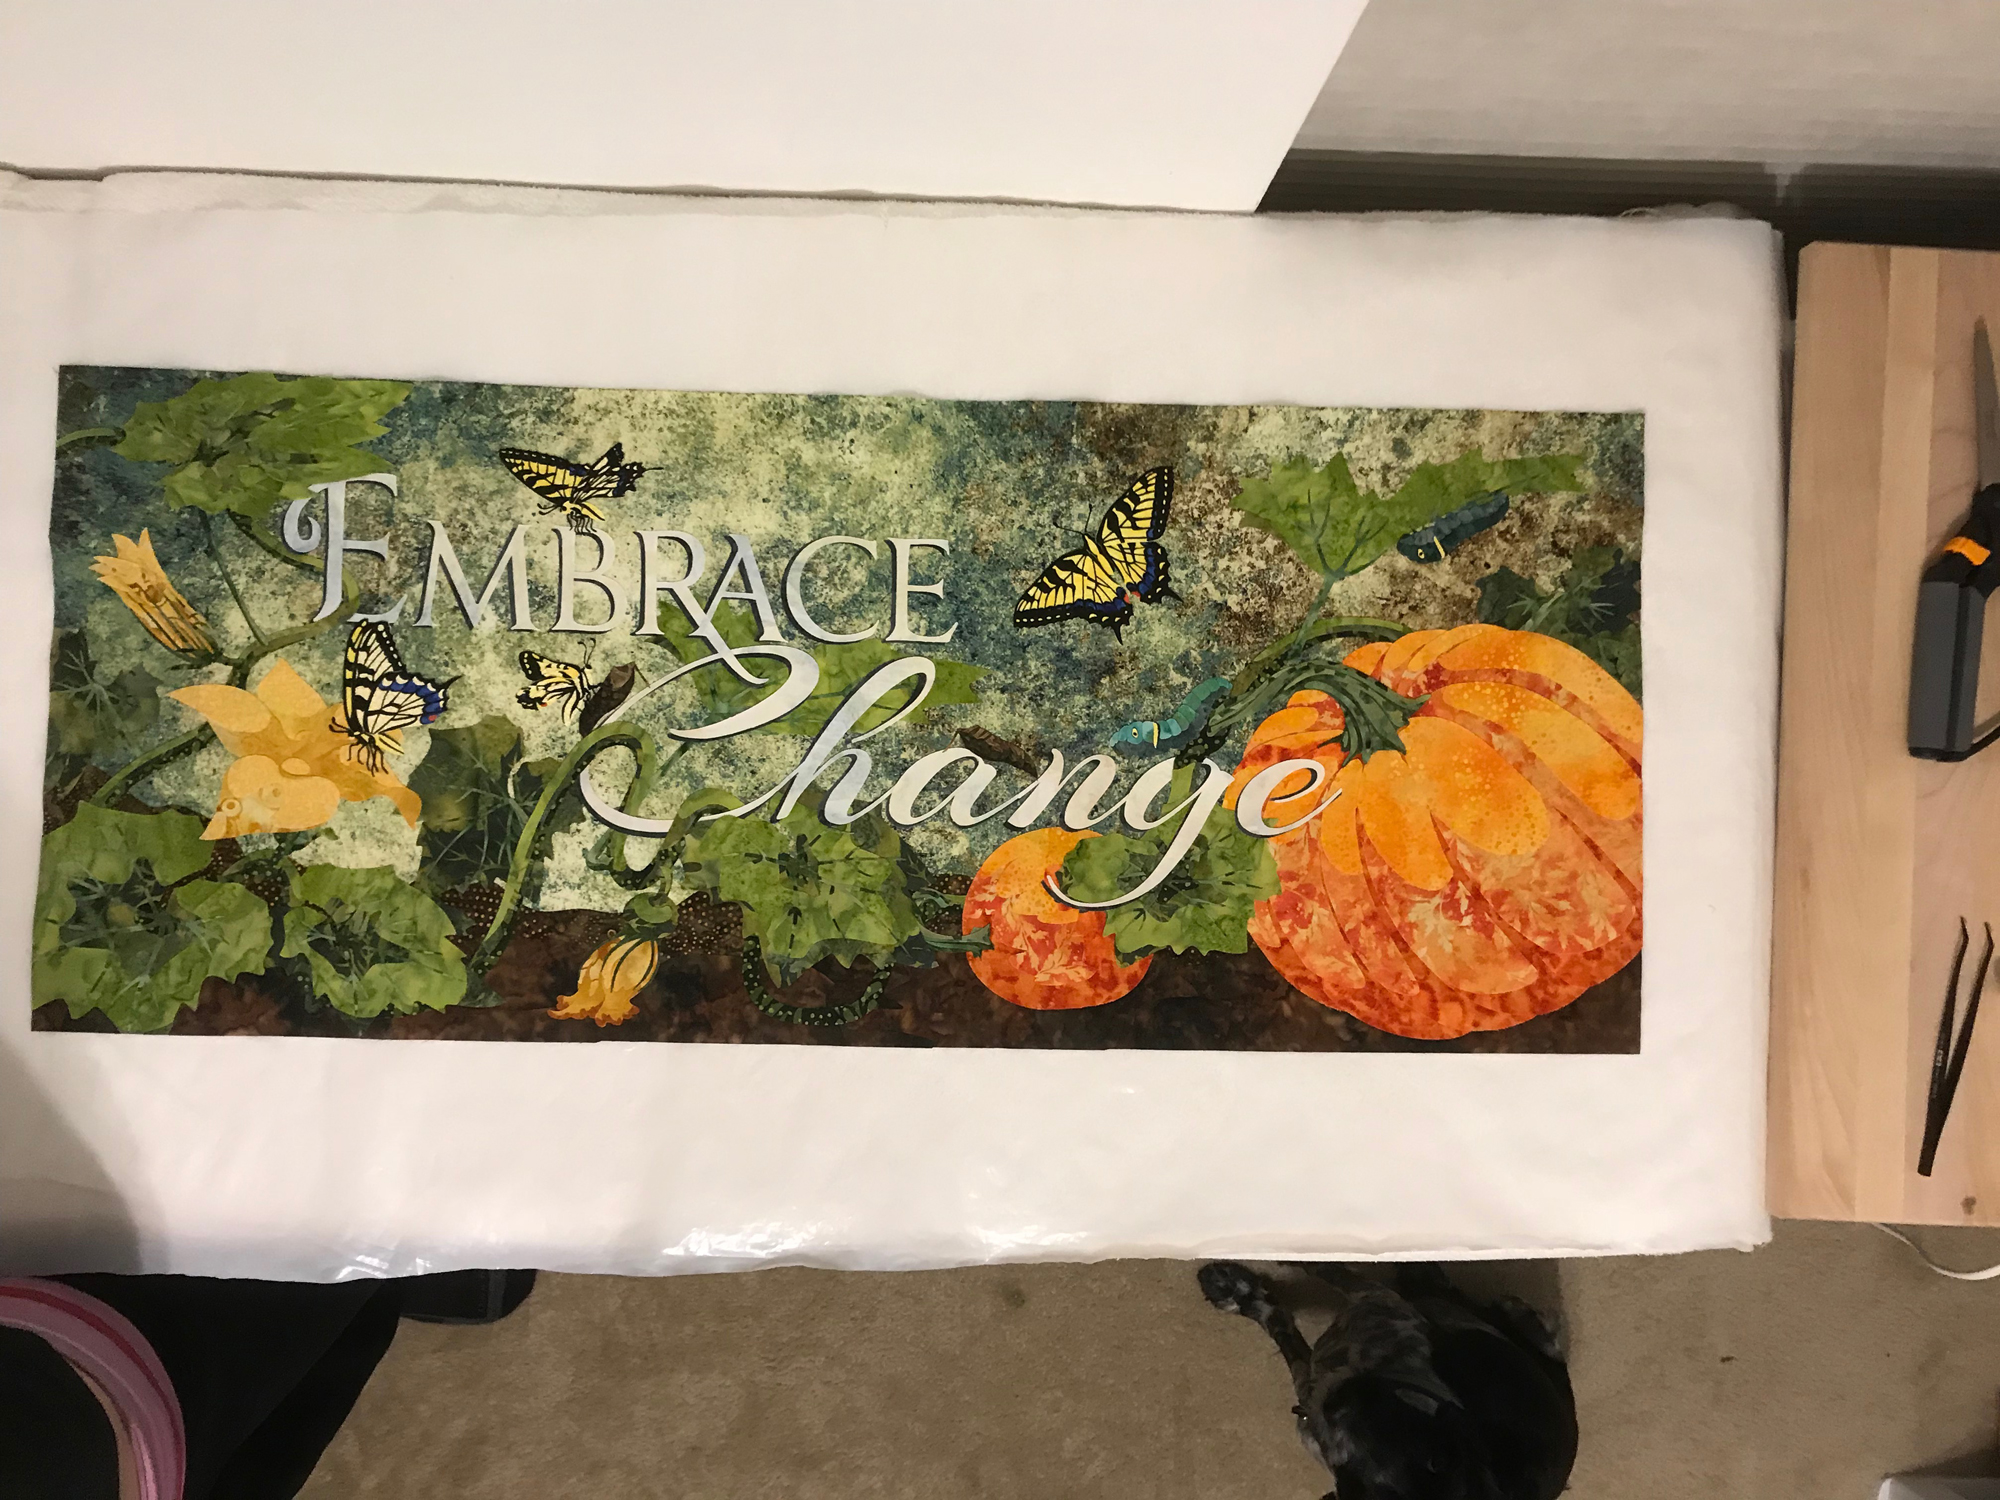
Step 7: Make the Quilt
When making a traditional quilt, typically you would add batting and backing under your quilt top to make a quilt sandwich and then stitch it. I was experimenting with making a quilt using no stitching at all (to apeal to crafters who don't own sewing machines), so I instead used fusible to attach my batting, backing, binding, and hanging envelope on back. Here is Embrace Change finished and hanging on the wall.