Great Egret Process
- Published:
- Length: 1212 words
- Reading Time: 7 minutes
My first appliqué wall hanging pattern is now available on my Etsy shop. I tested my pattern by following the instructions and created my own Great Egret wall hanging. Here it is: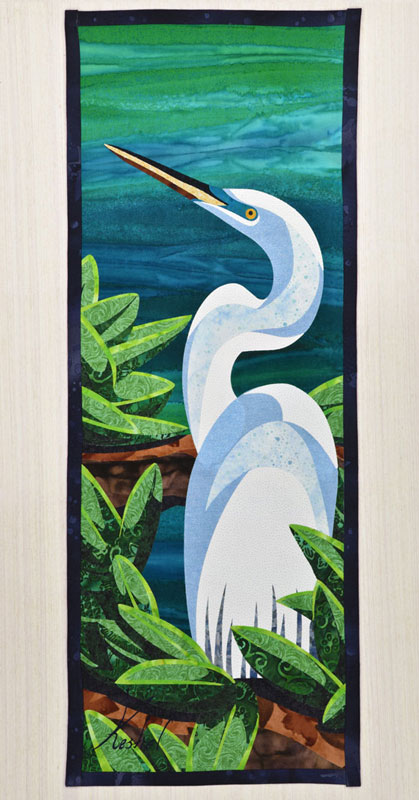
I took photos every step of the way to show my process as I followed the instructions I had written. Continue reading to see how my Great Egret came together.
Picking Fabrics
Page 4 of the instructions talks about choosing fabrics. These are the colors I ultimately chose to use.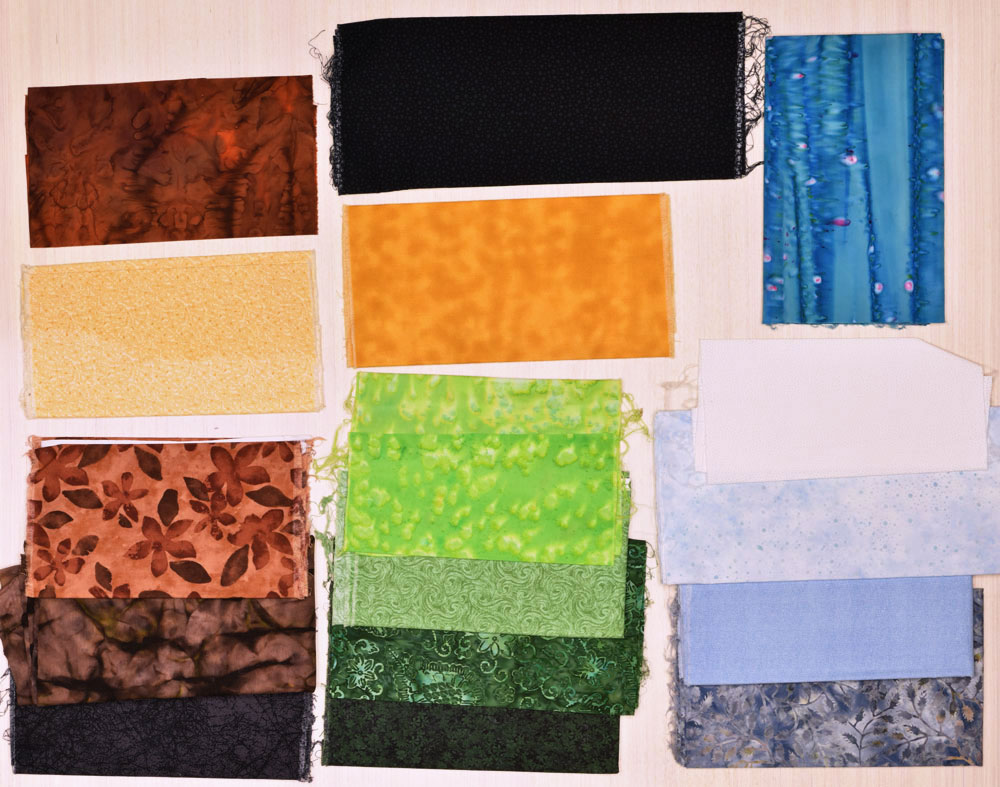
Fusible Swatches
Every fabric on Page 4 has a dimension listed under the name. I cut a swatch of paper-backed Wonder Under for each dimension except the Border and Backing fabrics. I also cut two fusible swatches for the White and Blue 1 (you can see those double stacked in the top right of the photo below).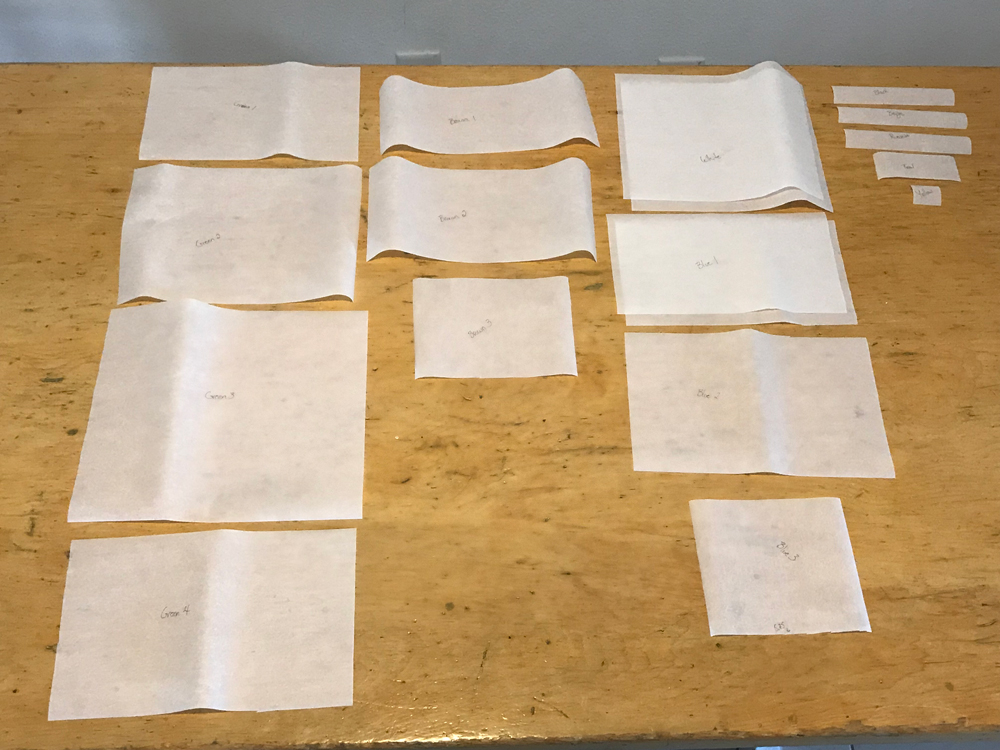
It’s also a bit hard to see, but I labeled each fusible swatch with the color fabric to which it corresponds. (If you do not own a DIY cutting machine and plan to trace the pieces onto the fusible, do that now.)
Treating the Fabric
I’ve ironed all the fusible swatches onto the correct fabrics and cut those swatches away from the rest of the material. I sprayed each one with Fray Stop and they are now drying on my kitchen table. I laid them over freezer paper to protect the wood tabletop.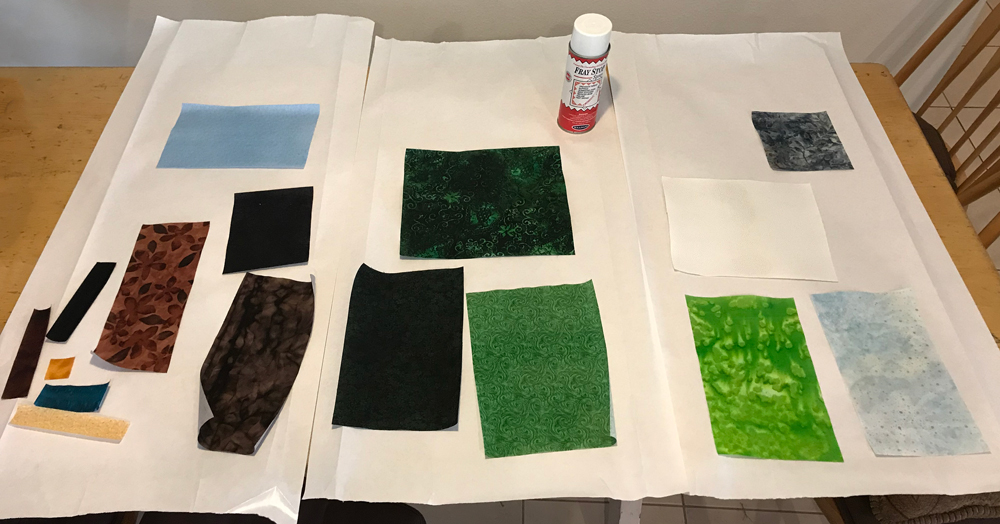
Once dry, I ironed each one a second time to ensure the fusible was well and truly attached.
Cutting the Fabric
This is my setup for having my Cricut Explore Air 2 cut my fabric. (If you aren’t using a cutting machine, this step will just be cutting all the pieces with scissors.)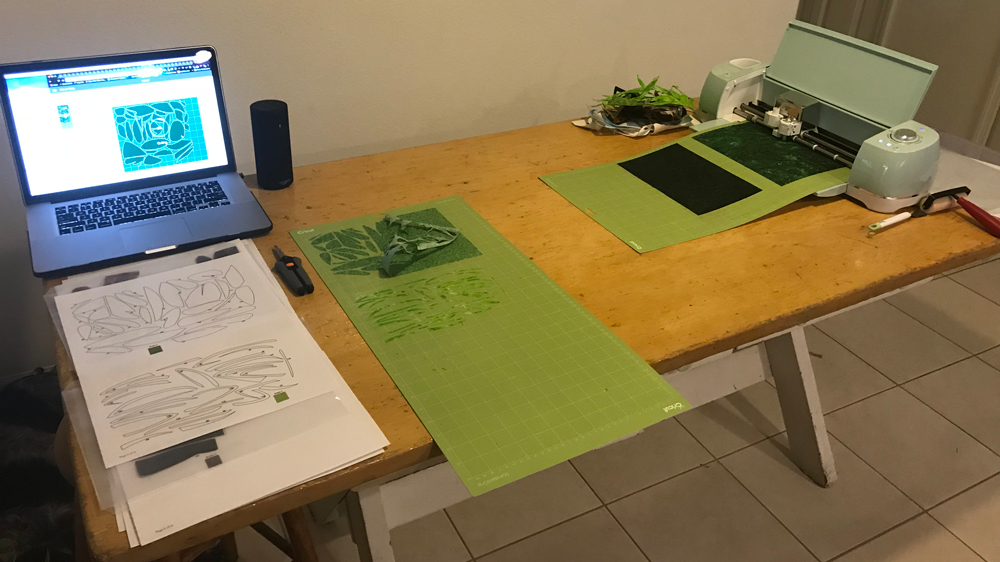
On the right side of the table is my Cricut. It’s currently cutting the 5th SVG file, which is Green #3 and Green #4. My Breyer roller is next to the Cricut by the edge of the table. Toward the left, I’m in the process of lifting the fabric from Green #2 and Green #1 before I transfer each piece to the number match pages on the far left. My laptop is running the Cricut software.
Transferring the Pieces
Here is a closer look at the cut pieces on the sticky mat before transferring.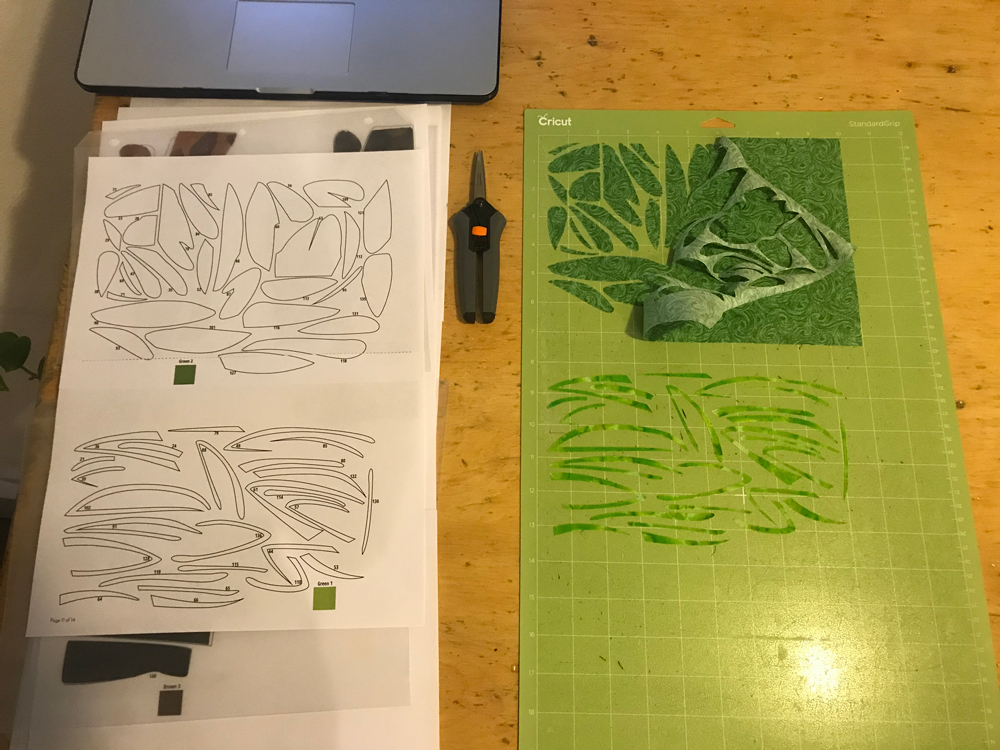
The process of lifting pieces off the sticky mat causes them to curl. I use clear plastic page protectors to flatten them.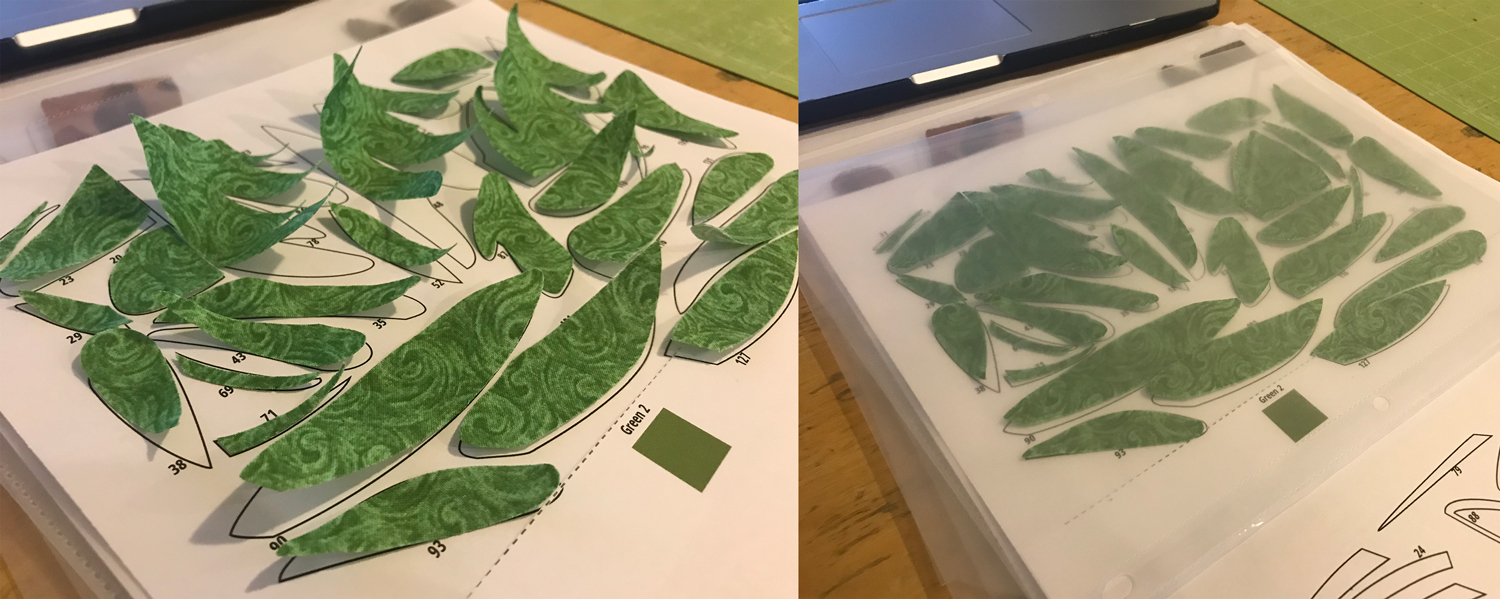
Assembly
This is my assembly space. I use a stack of 4 bath towels as an ironing-safe surface. On top of that is the printed, color template covered by my non-stick pressing sheet. My laptop has the breakdown page for The Egret, and the number match sheets with the fabric pieces are on the far right side of my table.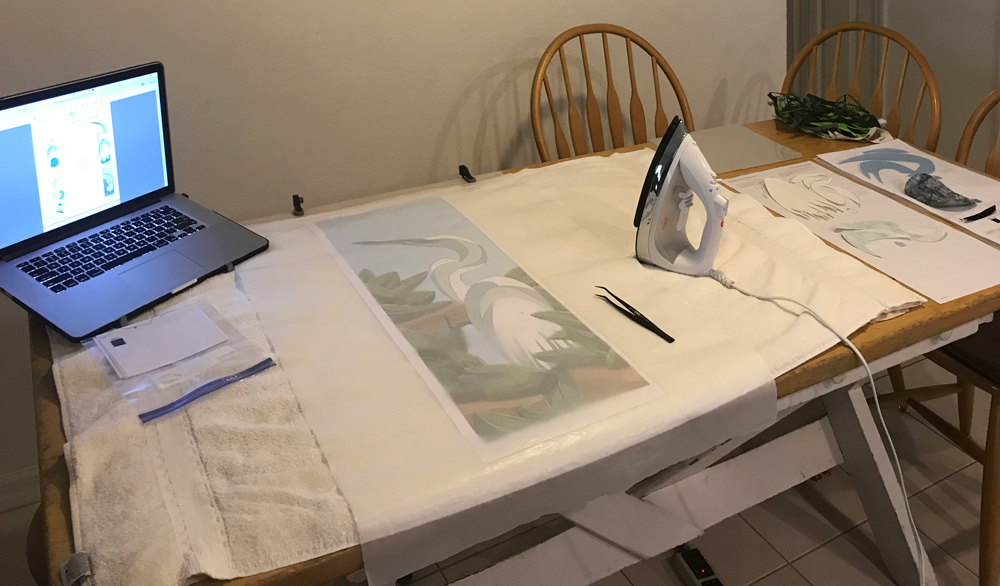
A closer look after I finished assembling the neck of the egret.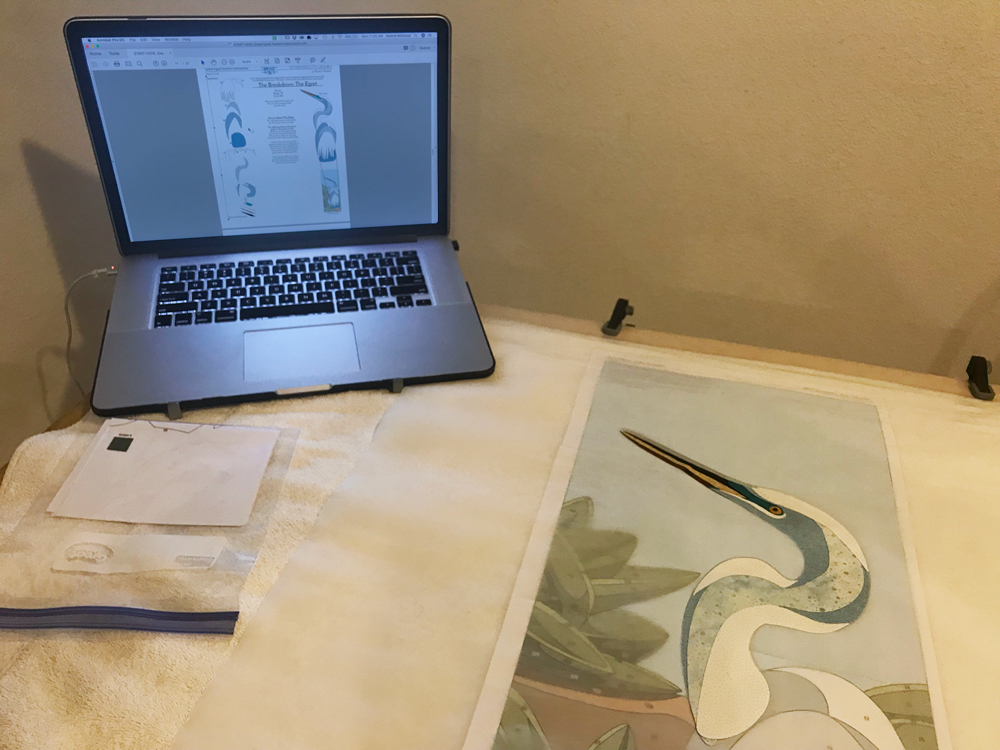
In this photo, I’m in the process of assembling Leaf Group C. I’ve finished “C1”, set it to the side, and am working on “C2”. I personally prefer to line up a few pieces to get them ready to place, which you can see between my template and iron. My style is to have the lower numbers closer to the edge of the table.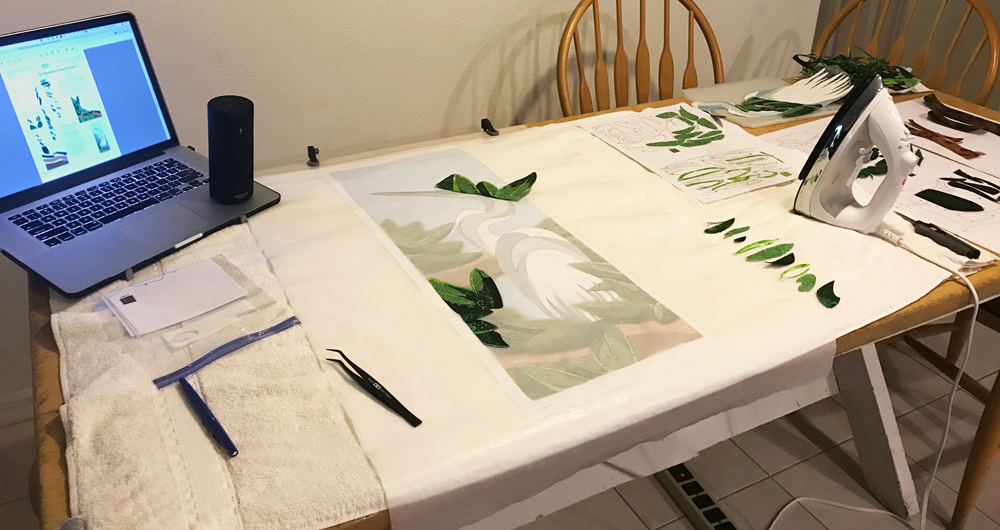
Combining the Sub-Groups
After I’ve assembled all five sub-groups, they’re ready to put together.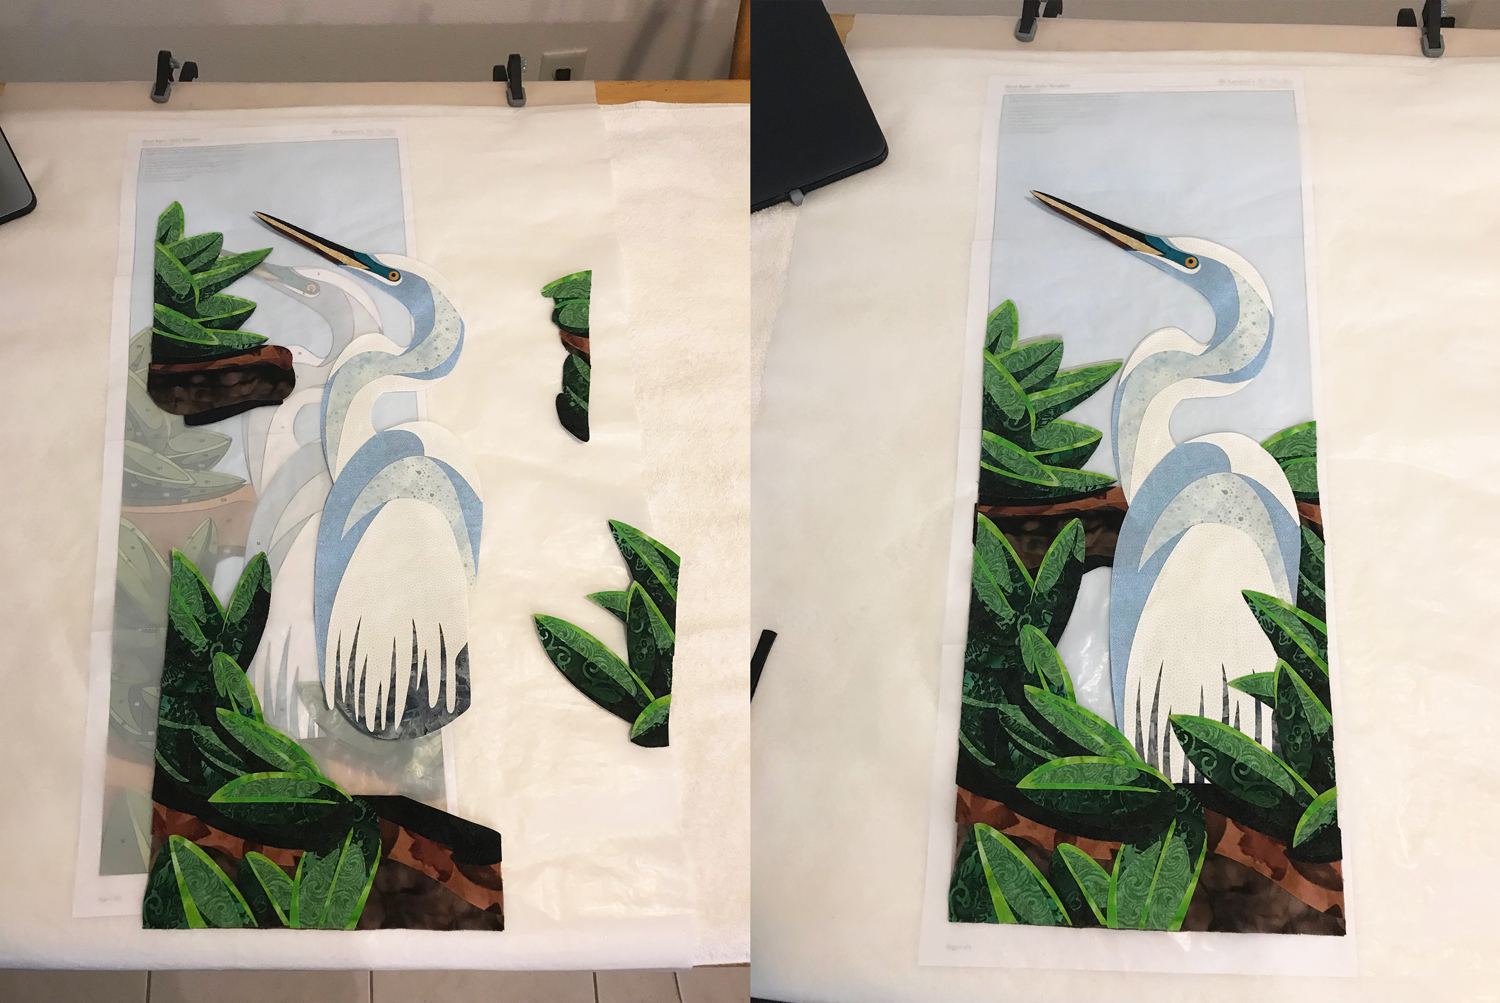
Picking a Background
This is one of my favorite steps. I always take my assembled fabrics to my local quilt shop and see how it looks on lots of different background materials. This pic shows a few different examples I considered. I ultimately chose the fabric in the center because I thought it looked like swampy water.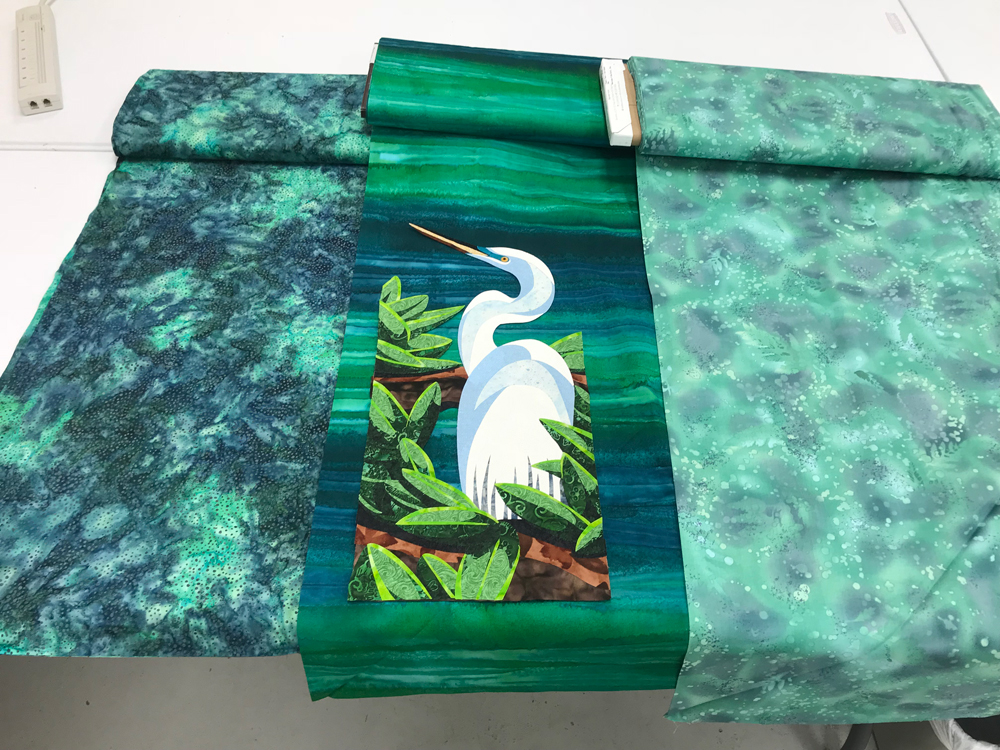
Making the Quilt Sandwich
I ironed the egret to the background material, batting, and backing. I used two 26” x 10” pieces of fusible to hold it all together.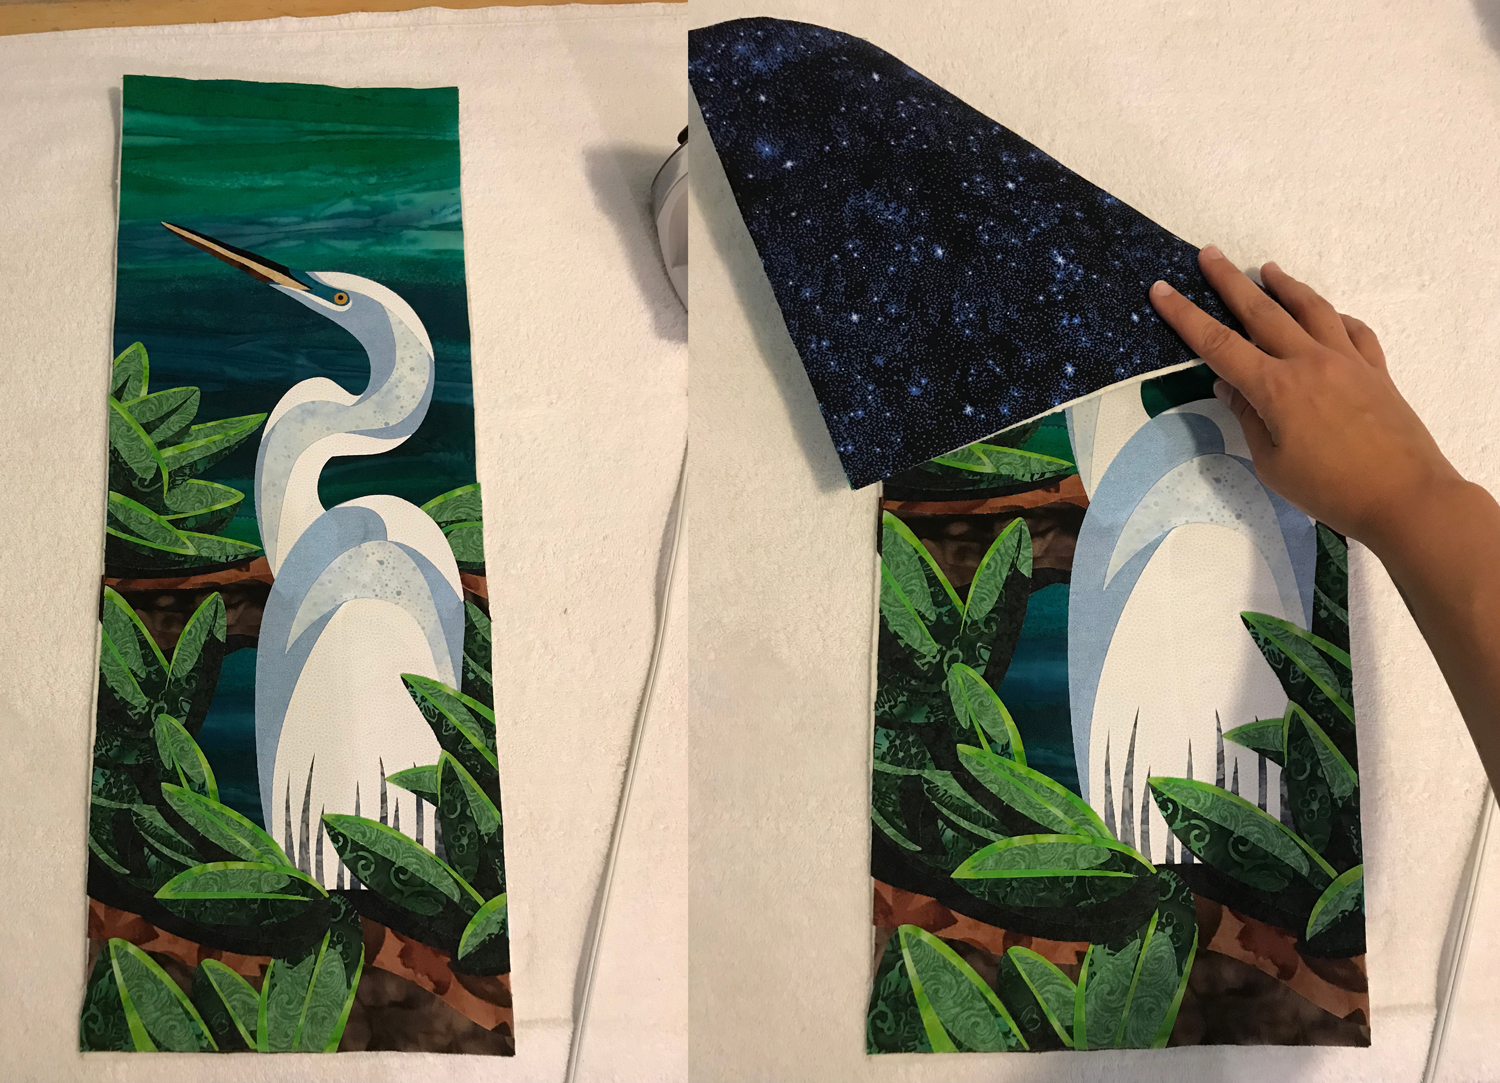
(If you’re planning to stitch your own picture, you might not want to use fusible to hold your sandwich together. That’s totally okay! Using that much fusible gives the sandwich a bit more stiffness, which I prefer because it helps the picture hang perfectly straight. Feel free to use your own technique.)
Making the Binding
I make my own binding by ironing a 2” wide strip of fabric in half, lengthwise, twice. I then slide a reverse-folded strip of 1” wide fusible in the center fold. (The fusible side gets folded out so it will be touching the fabric. The paper gets folded against itself.)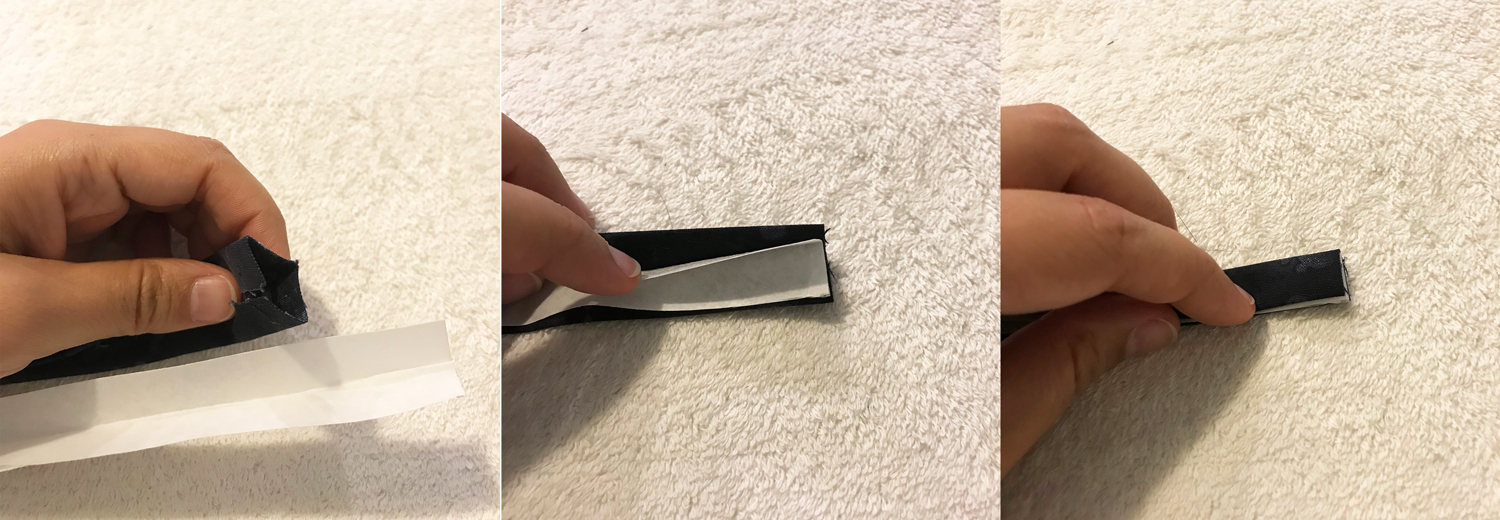
Applying the Binding
Each strip of binding gets ironed over one edge of the wall hanging. This is a close-up of how I fold over the edge at the corner to make it look finished. Not shown is a small piece of fusible I slipped into the corner after taking the photo to hold it in place.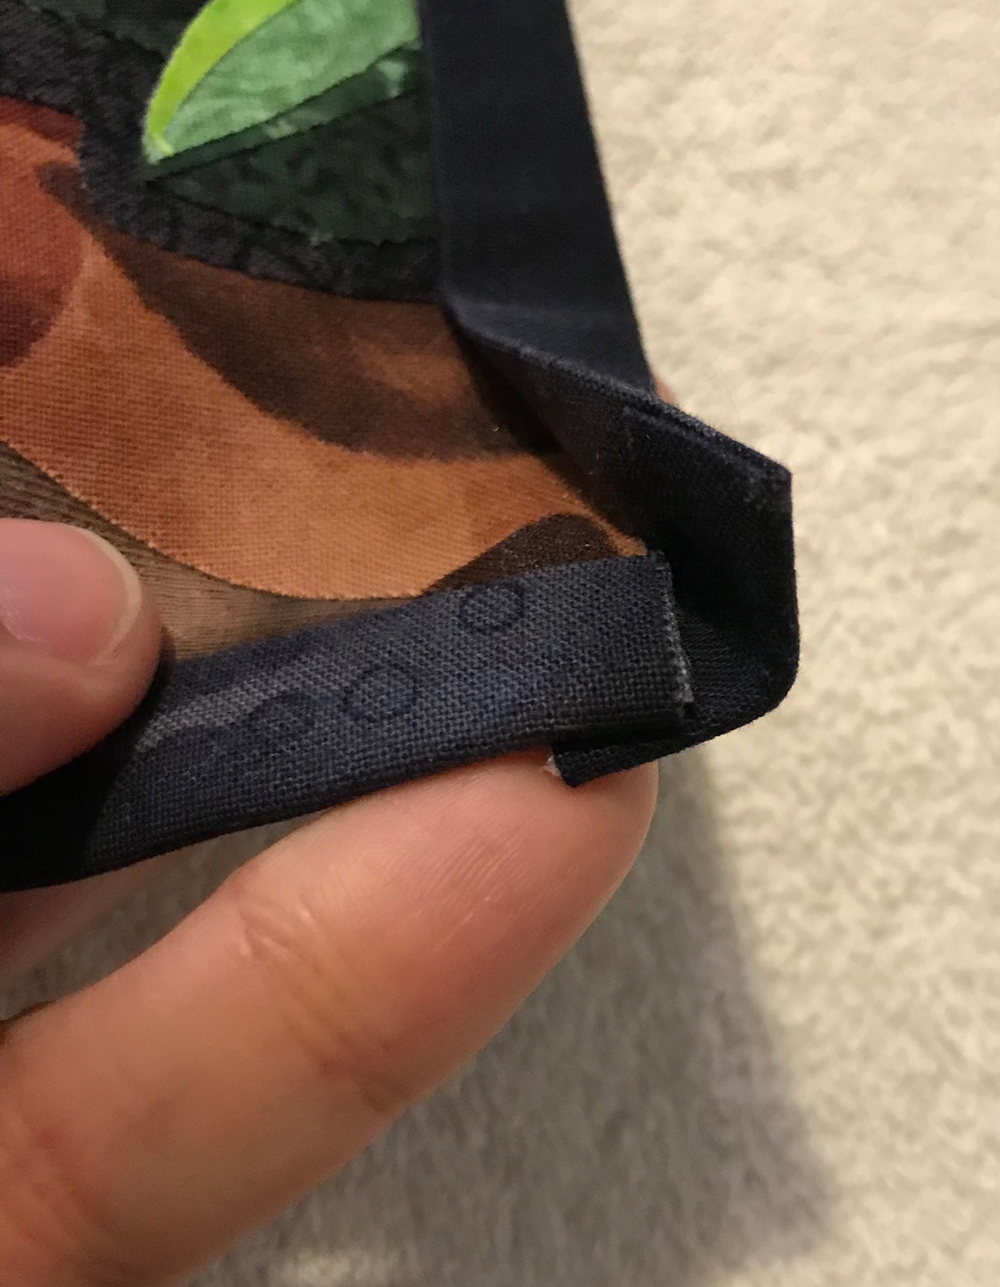
The Hanging Envelope
Here is a close-up of the edge of the hanging envelope on the back.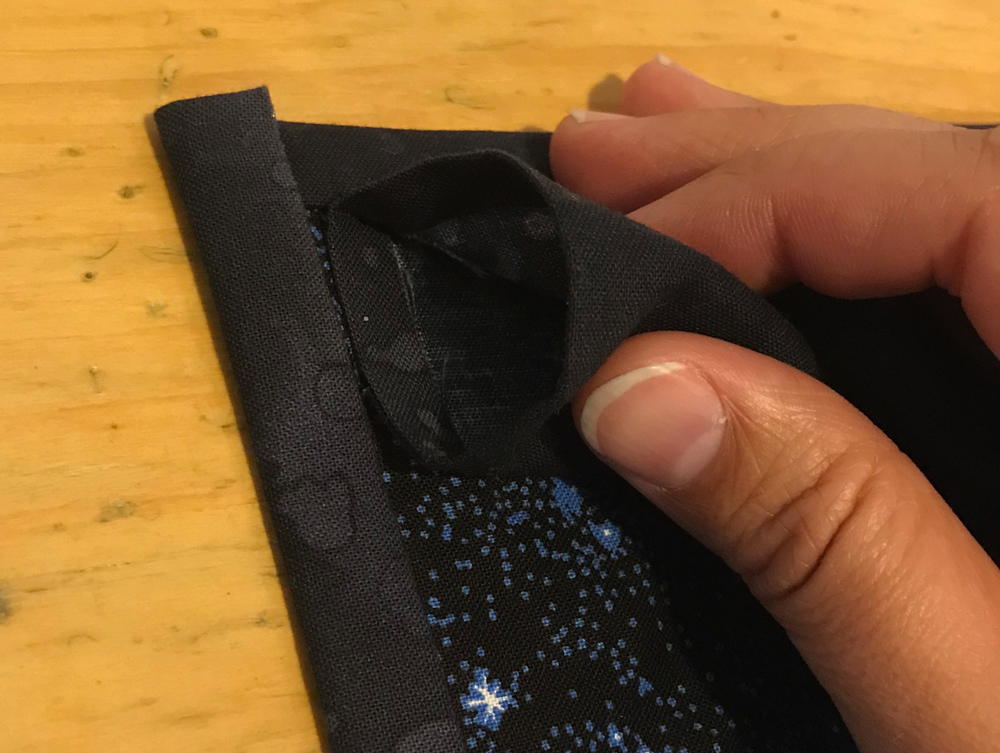
Finished!
Here it is! My Great Egret is finished and ready to hang.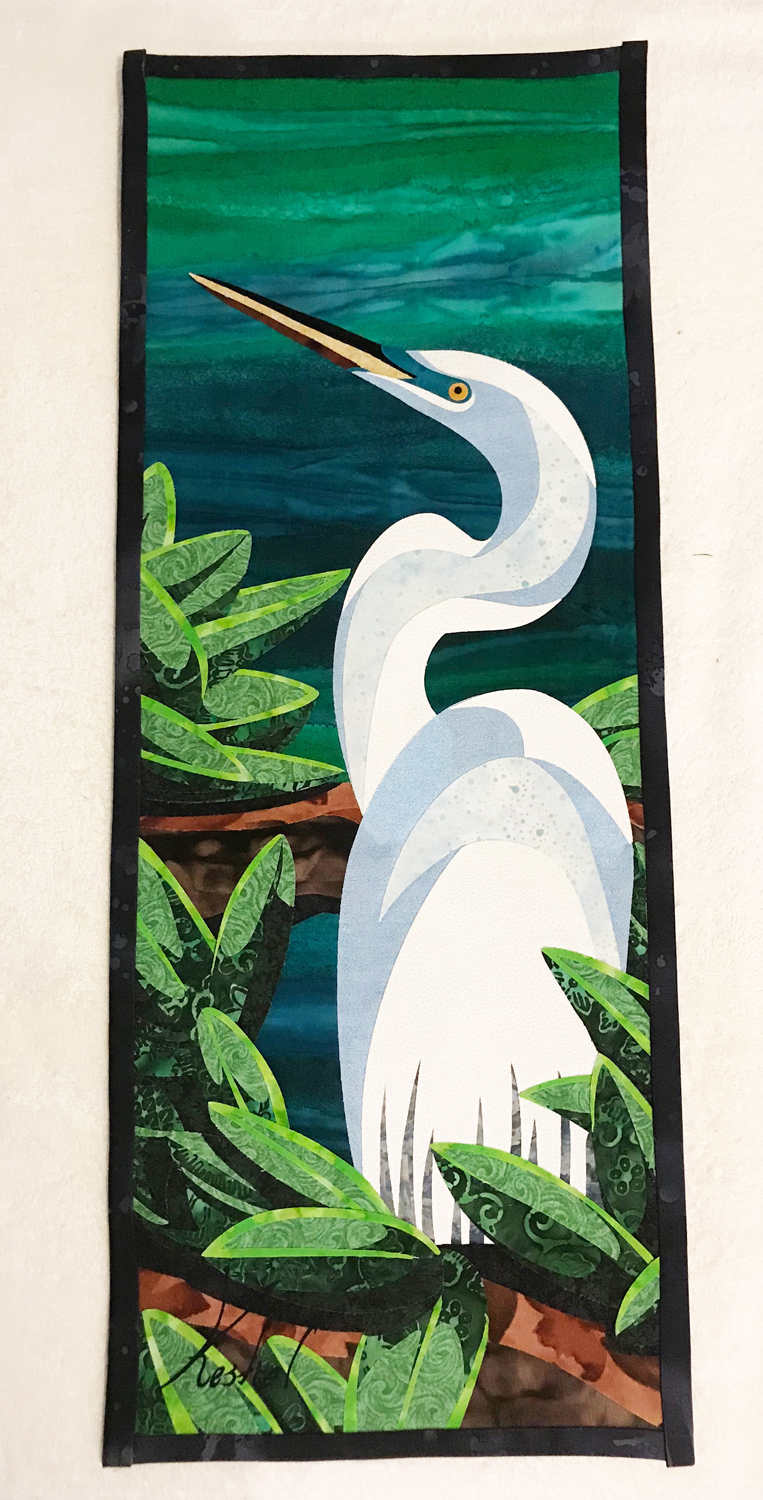
Try It Yourself
If that looked fun and you’d like to try it yourself, the pattern for this project is available on my Etsy shop in both a Standard Edition and Cricut Edition. Thank you for your interest!
