Jack-in-the-Pulpit Process
- Published:
- Length: 1414 words
- Reading Time: 8 minutes
A new appliqué wall hanging pattern is now available on my Etsy shop. I tested my pattern by following the instructions and created my own Jack-in-the-Pulpit wall hanging. Here it is: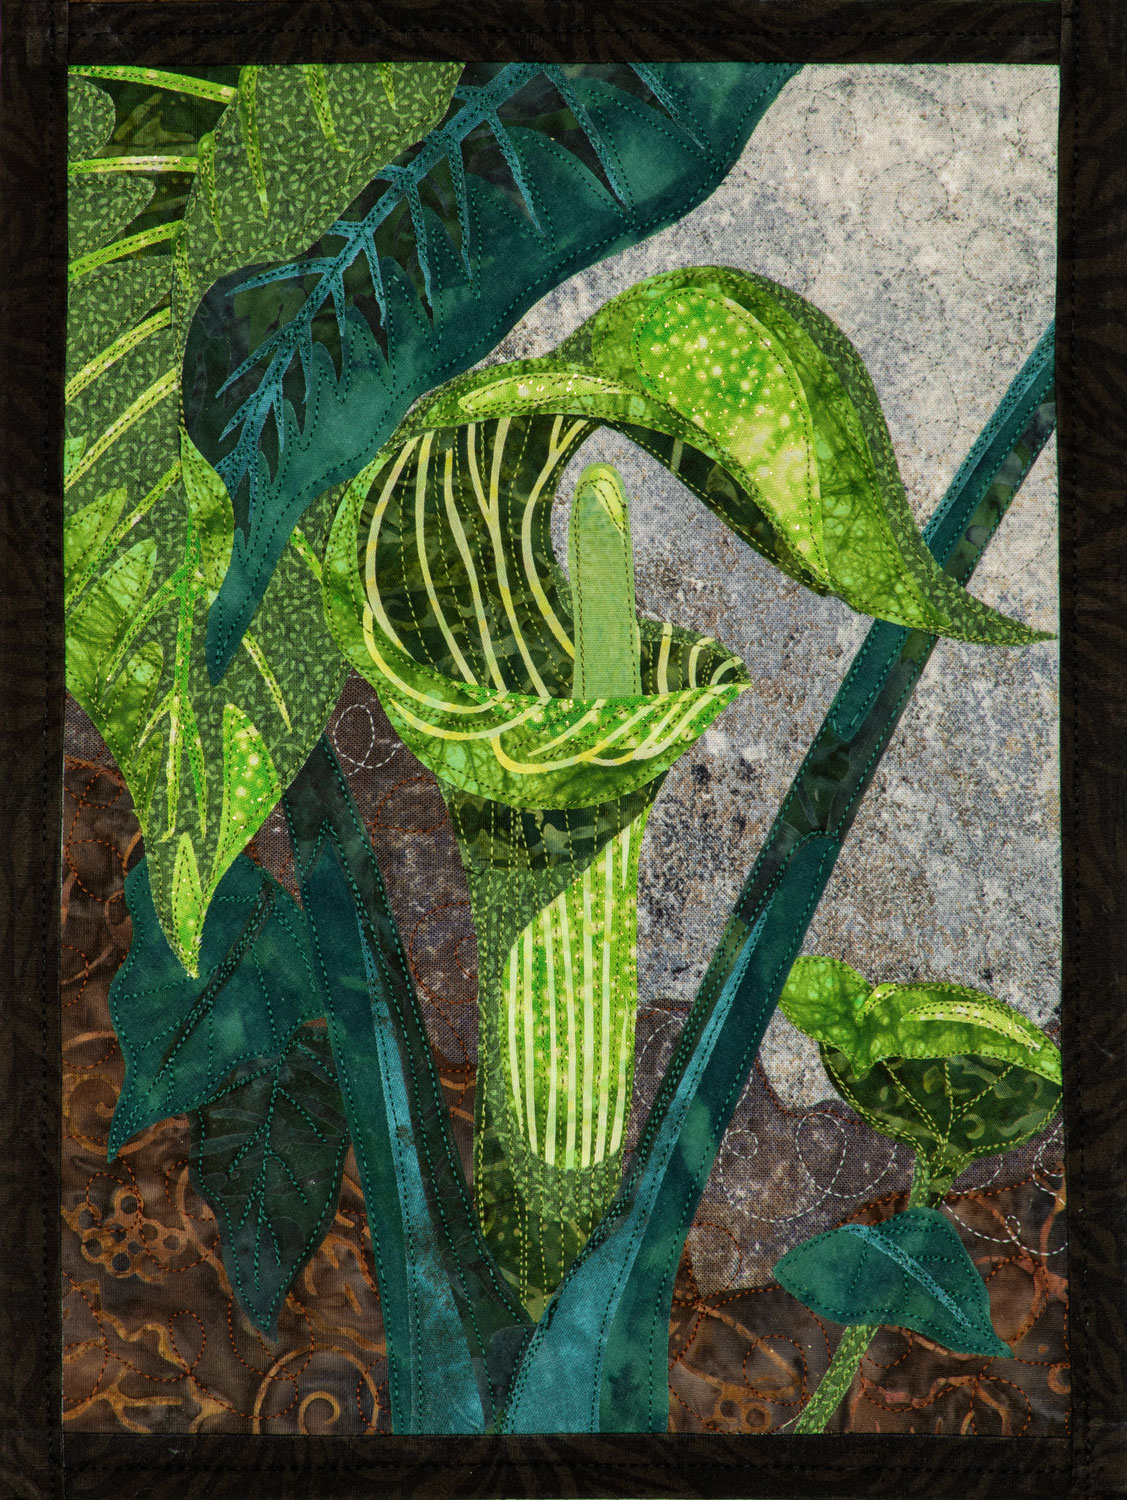
I took photos every step of the way to show my process as I followed the instructions in the pattern. Continue reading to see how my Jack-in-the-Pulpit came together.
Picking Fabrics
Page 4 of the instructions talks about choosing fabrics. These are the colors I ultimately chose to use.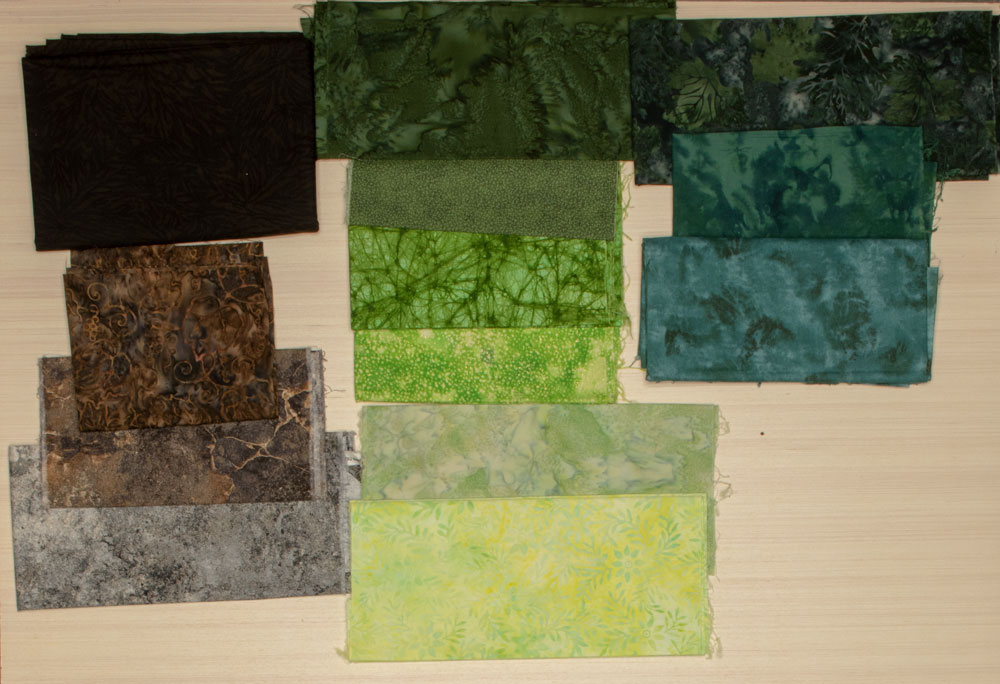
Fusible Swatches
Every fabric on Page 4 has a dimension listed under the name. Each of those dimensions is arranged into a cutting guide, displayed on Page 6. I cut each swatch from my bolt of Wonder Under, following the cutting guide.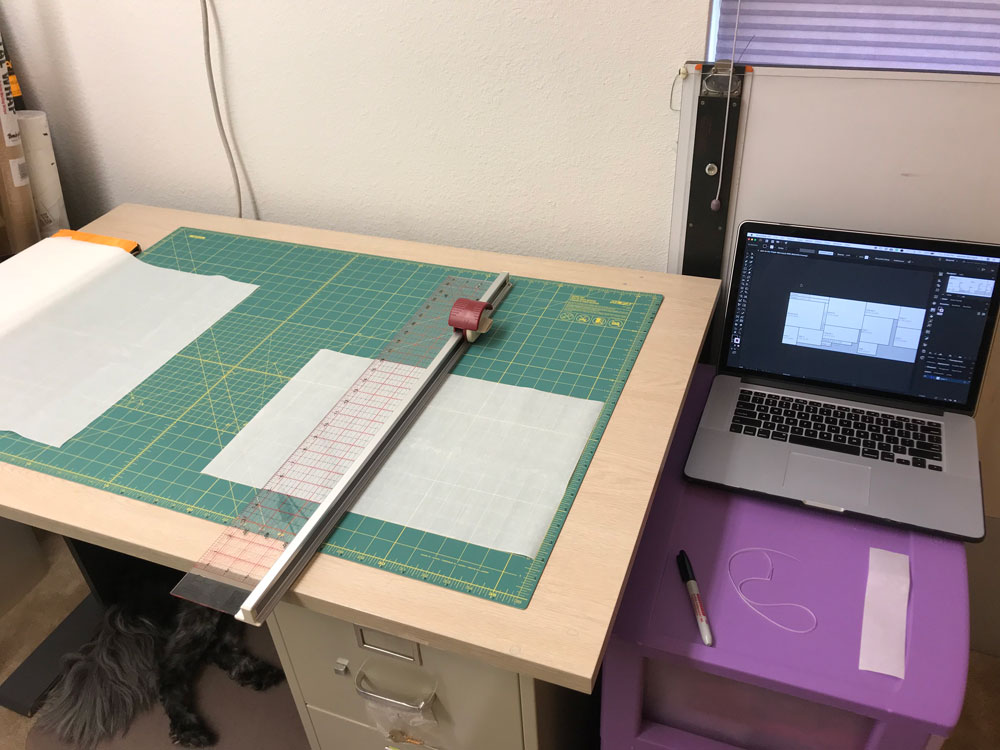
It's not visible in the above photo, but I labeled each fusible swatch after it was cut with the color fabric to which it corresponds. (If you do not own a DIY cutting machine and plan to trace the pieces onto the fusible, do that now.)
Treating the Fabric
The next step was to iron all the fusible swatches onto the correct fabrics and cut those swatches away from the rest of the material. I sprayed each one with Fray Stop and set them out to dry.
(Note: I used Fray Check on Sage 1. That fabric will have the most delicate cuts, so I wanted to use the absolute best fray retardant.)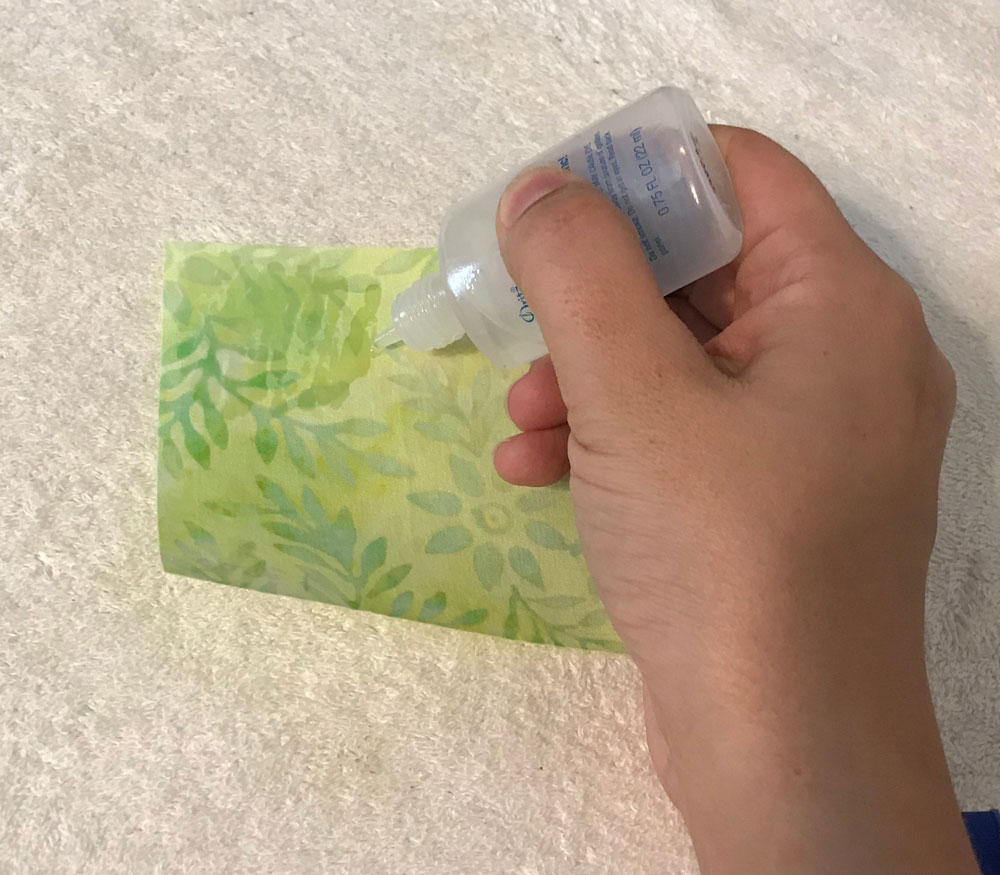
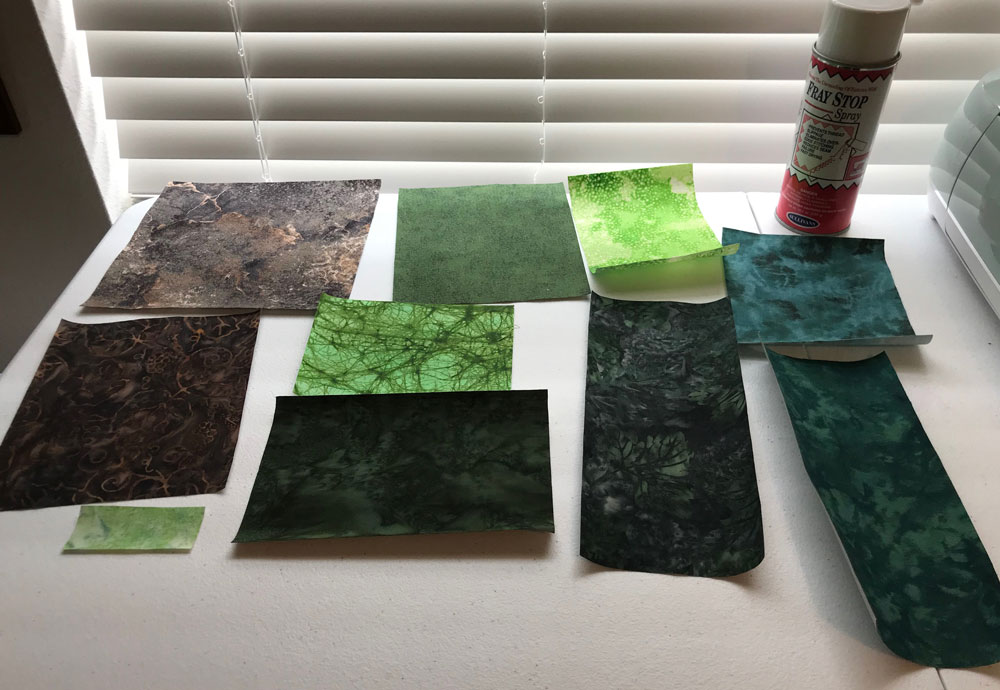
Once dry, I ironed each one a second time to ensure the fusible was well and truly attached.
Cutting the Fabric
This is my setup for having my Cricut Explore Air 2 cut my fabric. (If you aren’t using a cutting machine, this step will just be cutting all the pieces with scissors.)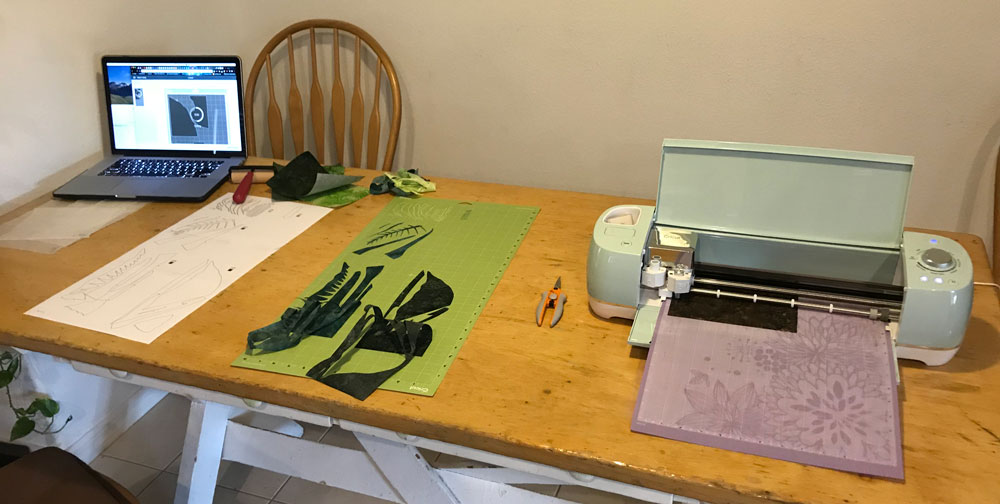
On the right side of the table is my Cricut. It's in the process of cutting Grey 1 and Grey 2 (that's what those two swatches are called in the pattern even though I ended up picking brown fabrics). In the middle of the table, I'm in the process of lifting the cut fabrics off the mat. My laptop is running the Cricut software on the far left.
This is a close-up of Sage 1 after cutting. These delicate bits of material are the veins on the Jack-in-the-Pulpit flower. This is why I treated this fabric with Fray Check, even though Fray Stop was just fine for all the others.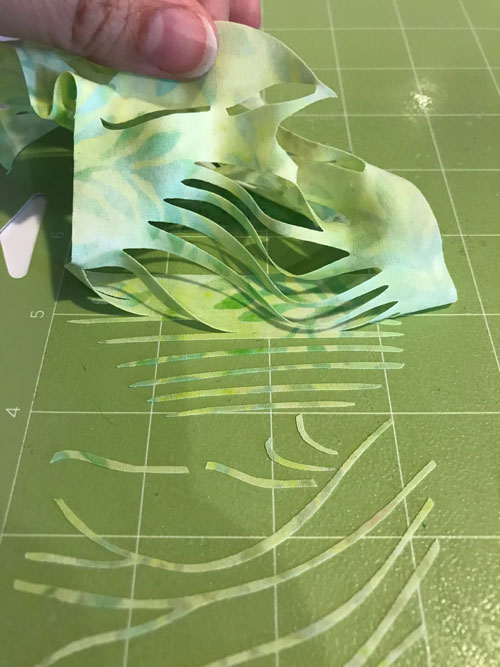
Transferring the Pieces
The process of lifting pieces off the sticky mat causes them to curl. I use clear plastic page protectors to flatten them.
Assembly
This is my assembly space. I use a stack of 4 bath towels as an ironing-safe surface. On top of that is the printed, color template covered by my non-stick pressing sheet. My iPad has the pattern displayed, and the number match sheets with the fabric pieces are on the far right side of my table.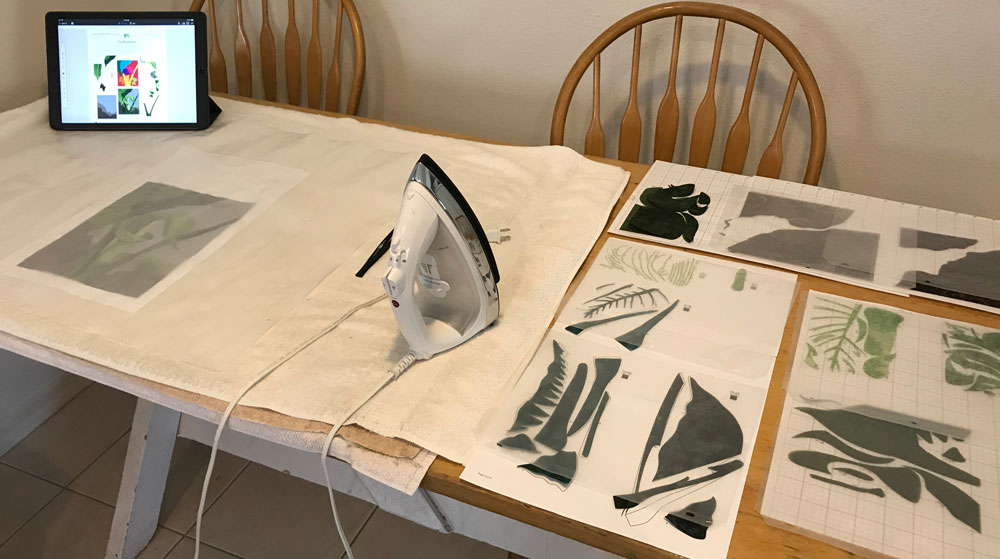
Here is a closer look at my process of assembling the body of the Jack. This component is called sub-group Jack A in the pattern, and assembly instructions can be found on Pages 15 and 16.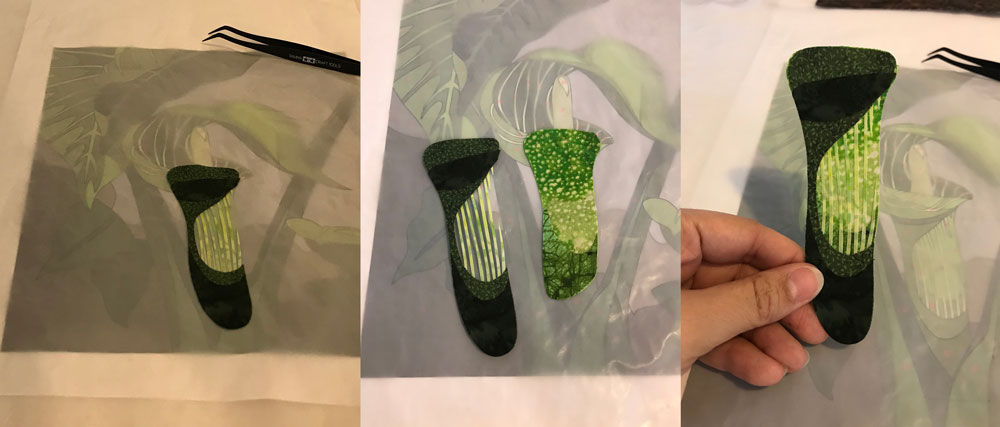
In this photo, I’m in the process of assembling Jack Stems. I’ve placed piece #23. My style is to have the next handful of pieces lined up and ready to place, so pieces #24-#30 are lined up on the right. I find that easier than having to hunt for each one as needed.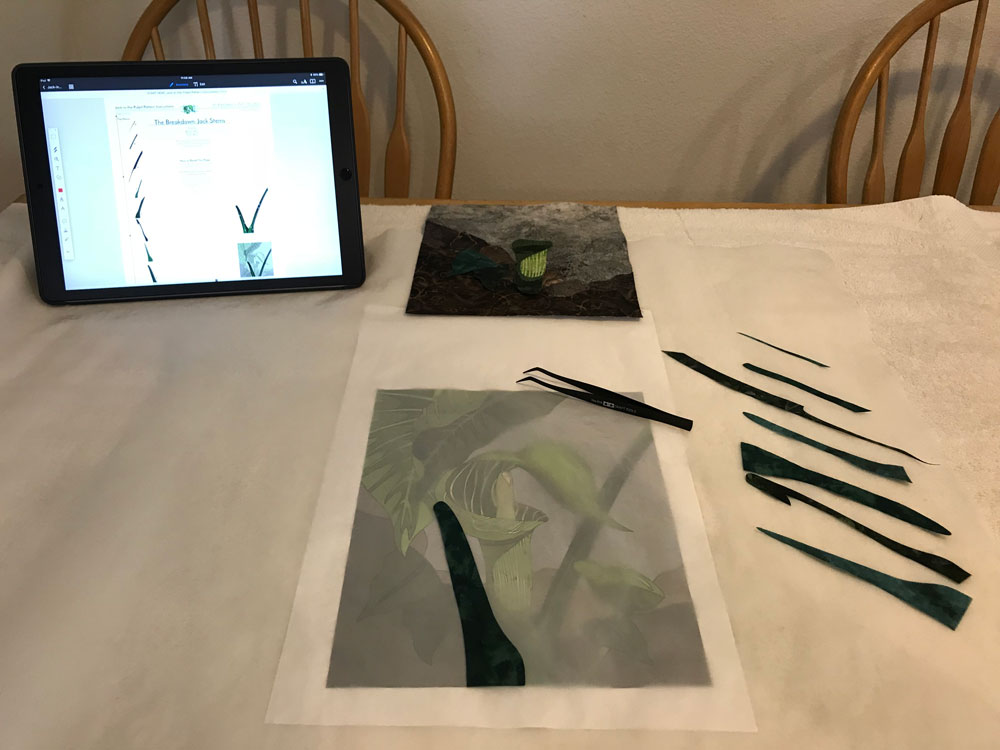
Combining the Sub-Groups
After I’ve assembled all of the sub-groups, they’re ready to put together.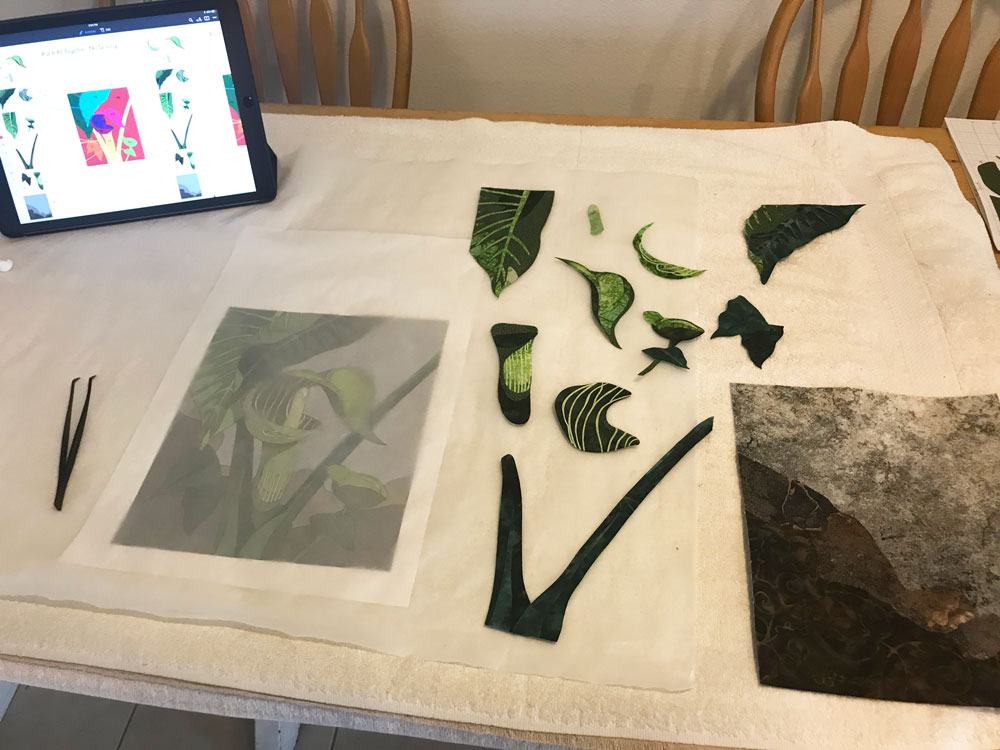
If you plan to stitch your Jack-in-the-Pulpit, you will want to make your quilt sandwich now and stitch each sub-group after you iron it in place. See page 28 for more instructions.
I did not plan to stitch this sample piece, so I instead followed the instructions on page 27. Each of my sub-groups were ironed to each other and then placed on the background.
The first image below shows all sub-groups except the background ironed together. In the second image, I'm holding the connected Jack, stems, and leaves in the air to show they're connected together. The last image is after I've ironed the Jack, stems, and leaves to the background fabrics.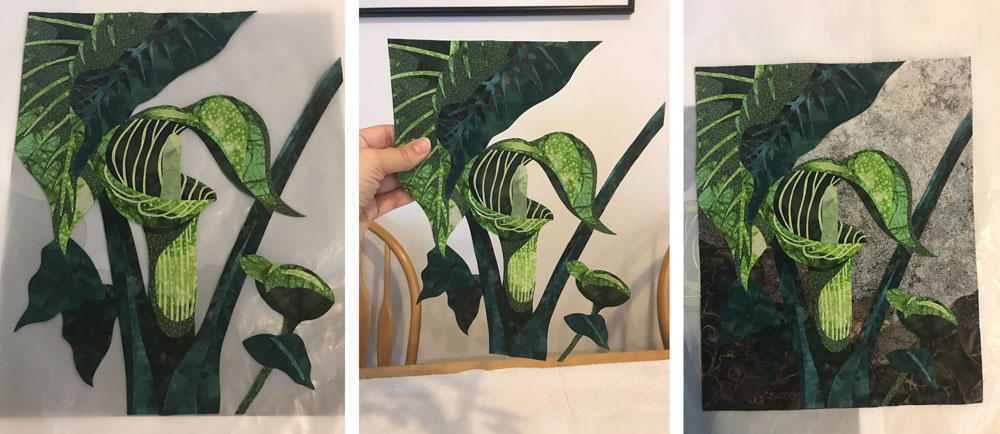
Making the Quilt Sandwich
I ironed the assembled Jack to the batting and backing. Then I trimmed the excess and made sure my corners were square.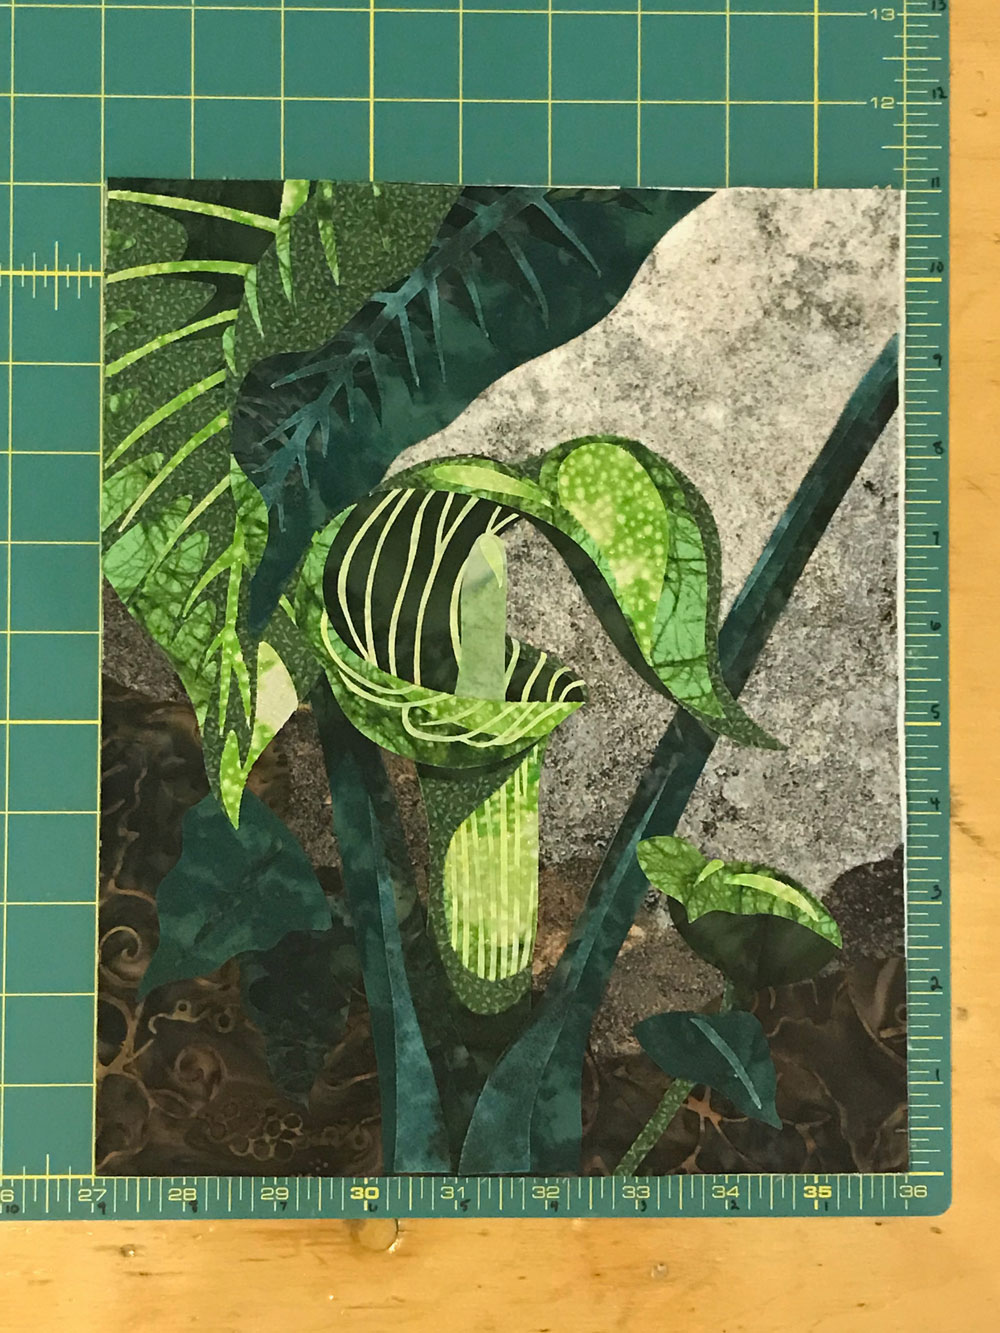
Making the Binding
I make my own binding by ironing a 2” wide strip of fabric in half, lengthwise, twice.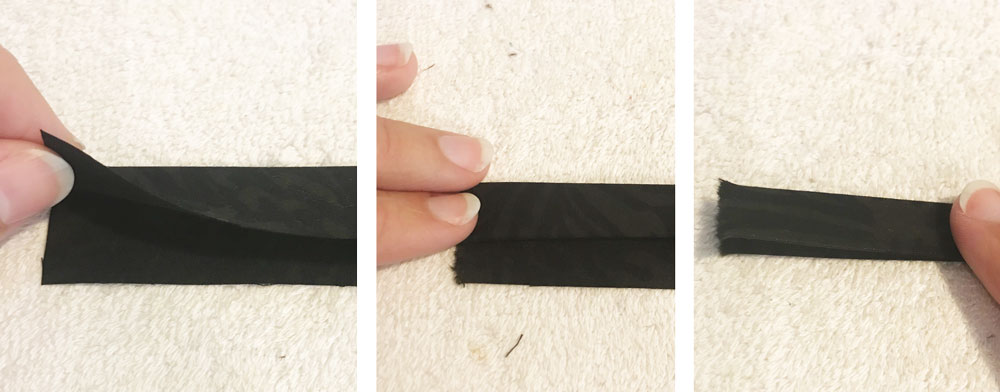
I then slide a reverse-folded strip of 1” wide fusible in the center fold. (The fusible side gets folded out so it will be touching the fabric. The paper gets folded against itself.)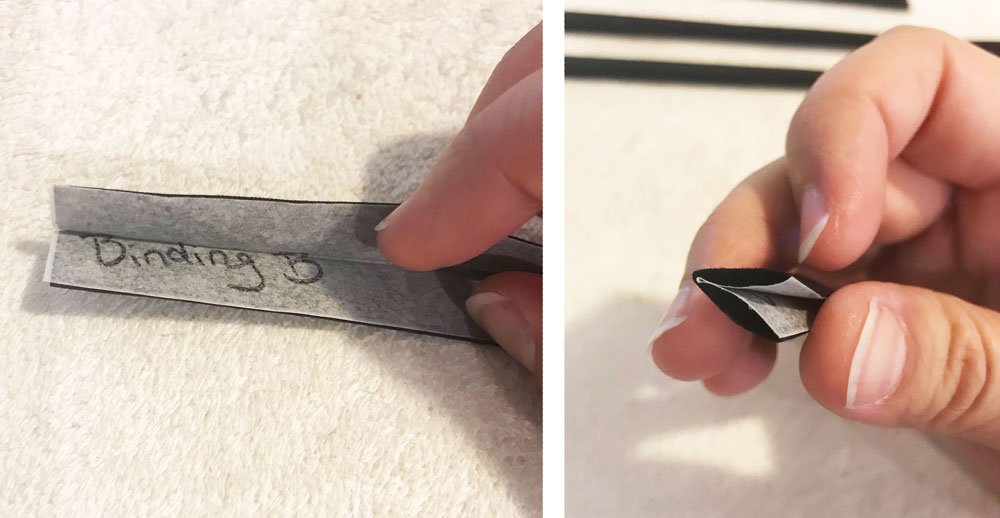
Applying the Binding
Each strip of binding gets ironed over one edge of the wall hanging. Make sure the wall hanging is tucked all the way to the fold in the binding.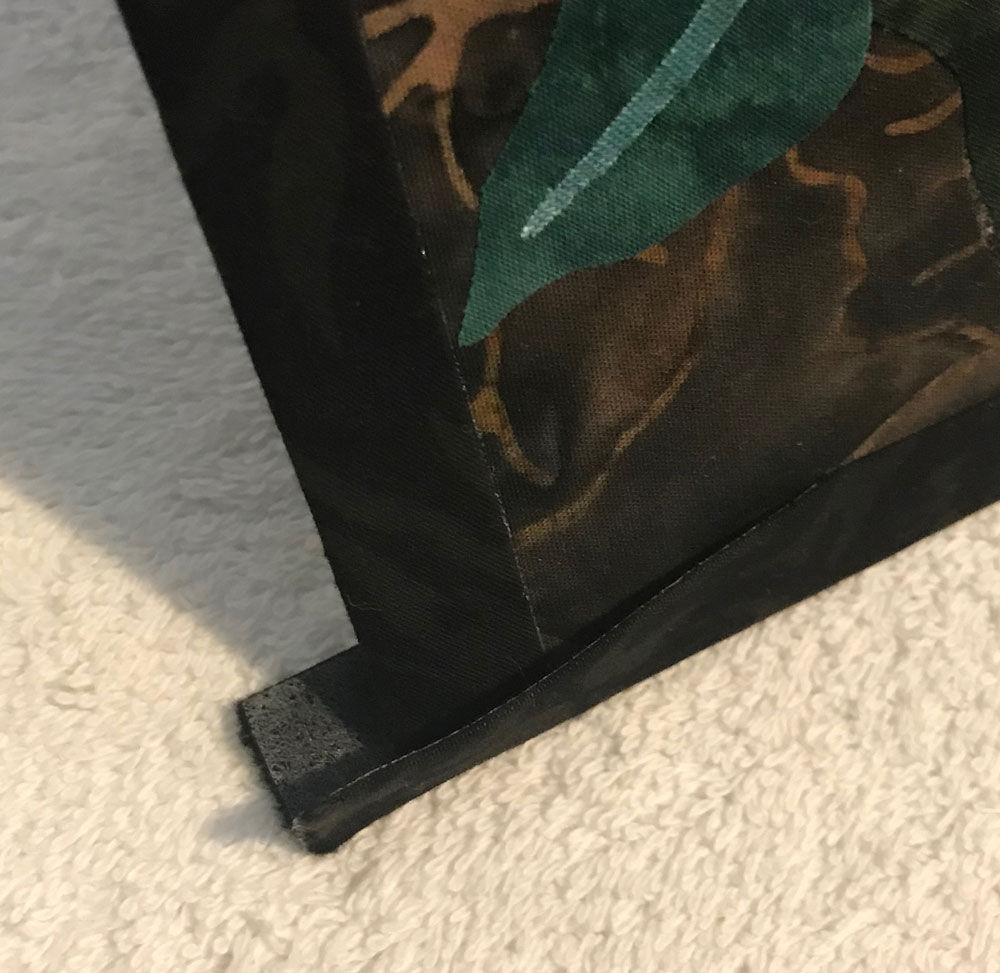
This is a close-up of how I fold over the edge at the corner to make it look finished. The second photo shows how I slip a small piece of fusible into the corner to hold it in place.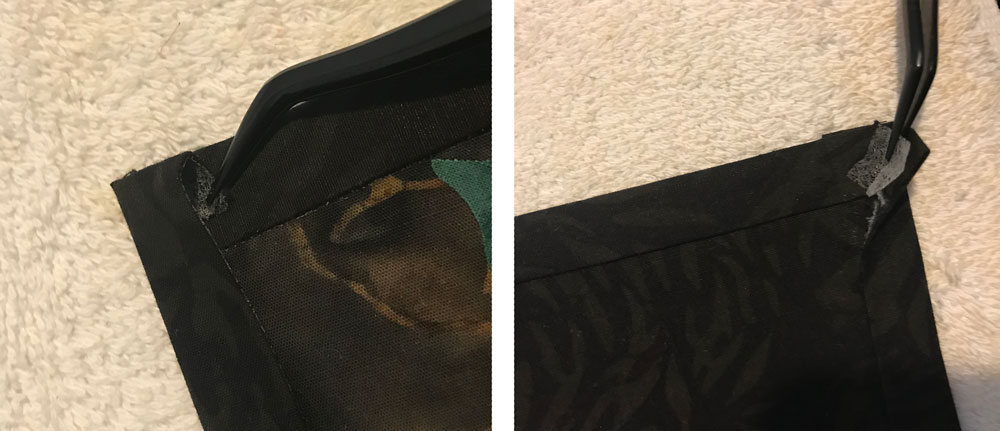
The Hanging Envelope
These photos show the process of making and attaching the hanging envelope (or hanging sleeve), as described on Pages 32 and 33.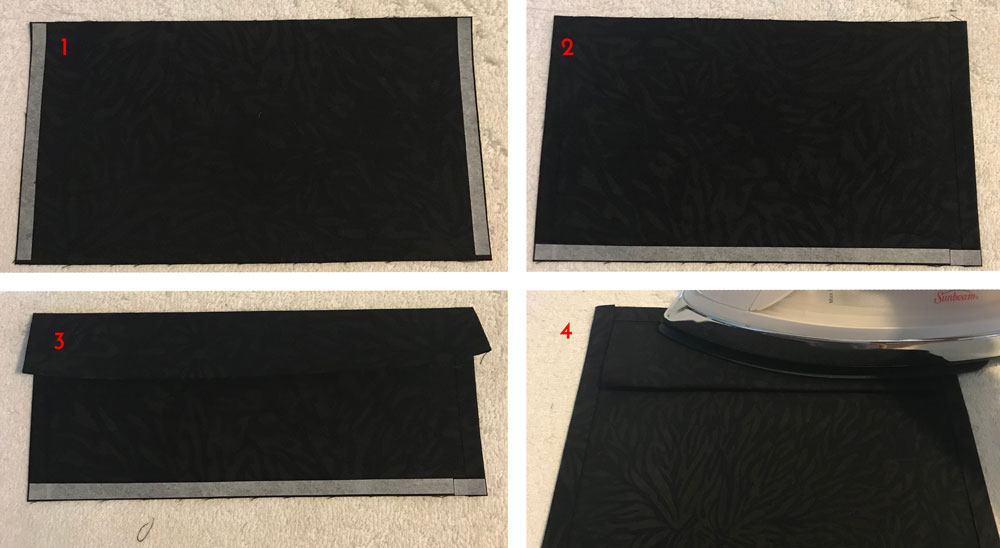
Finished!
Here it is! My Jack-in-the-Pulpit is finished and ready to hang.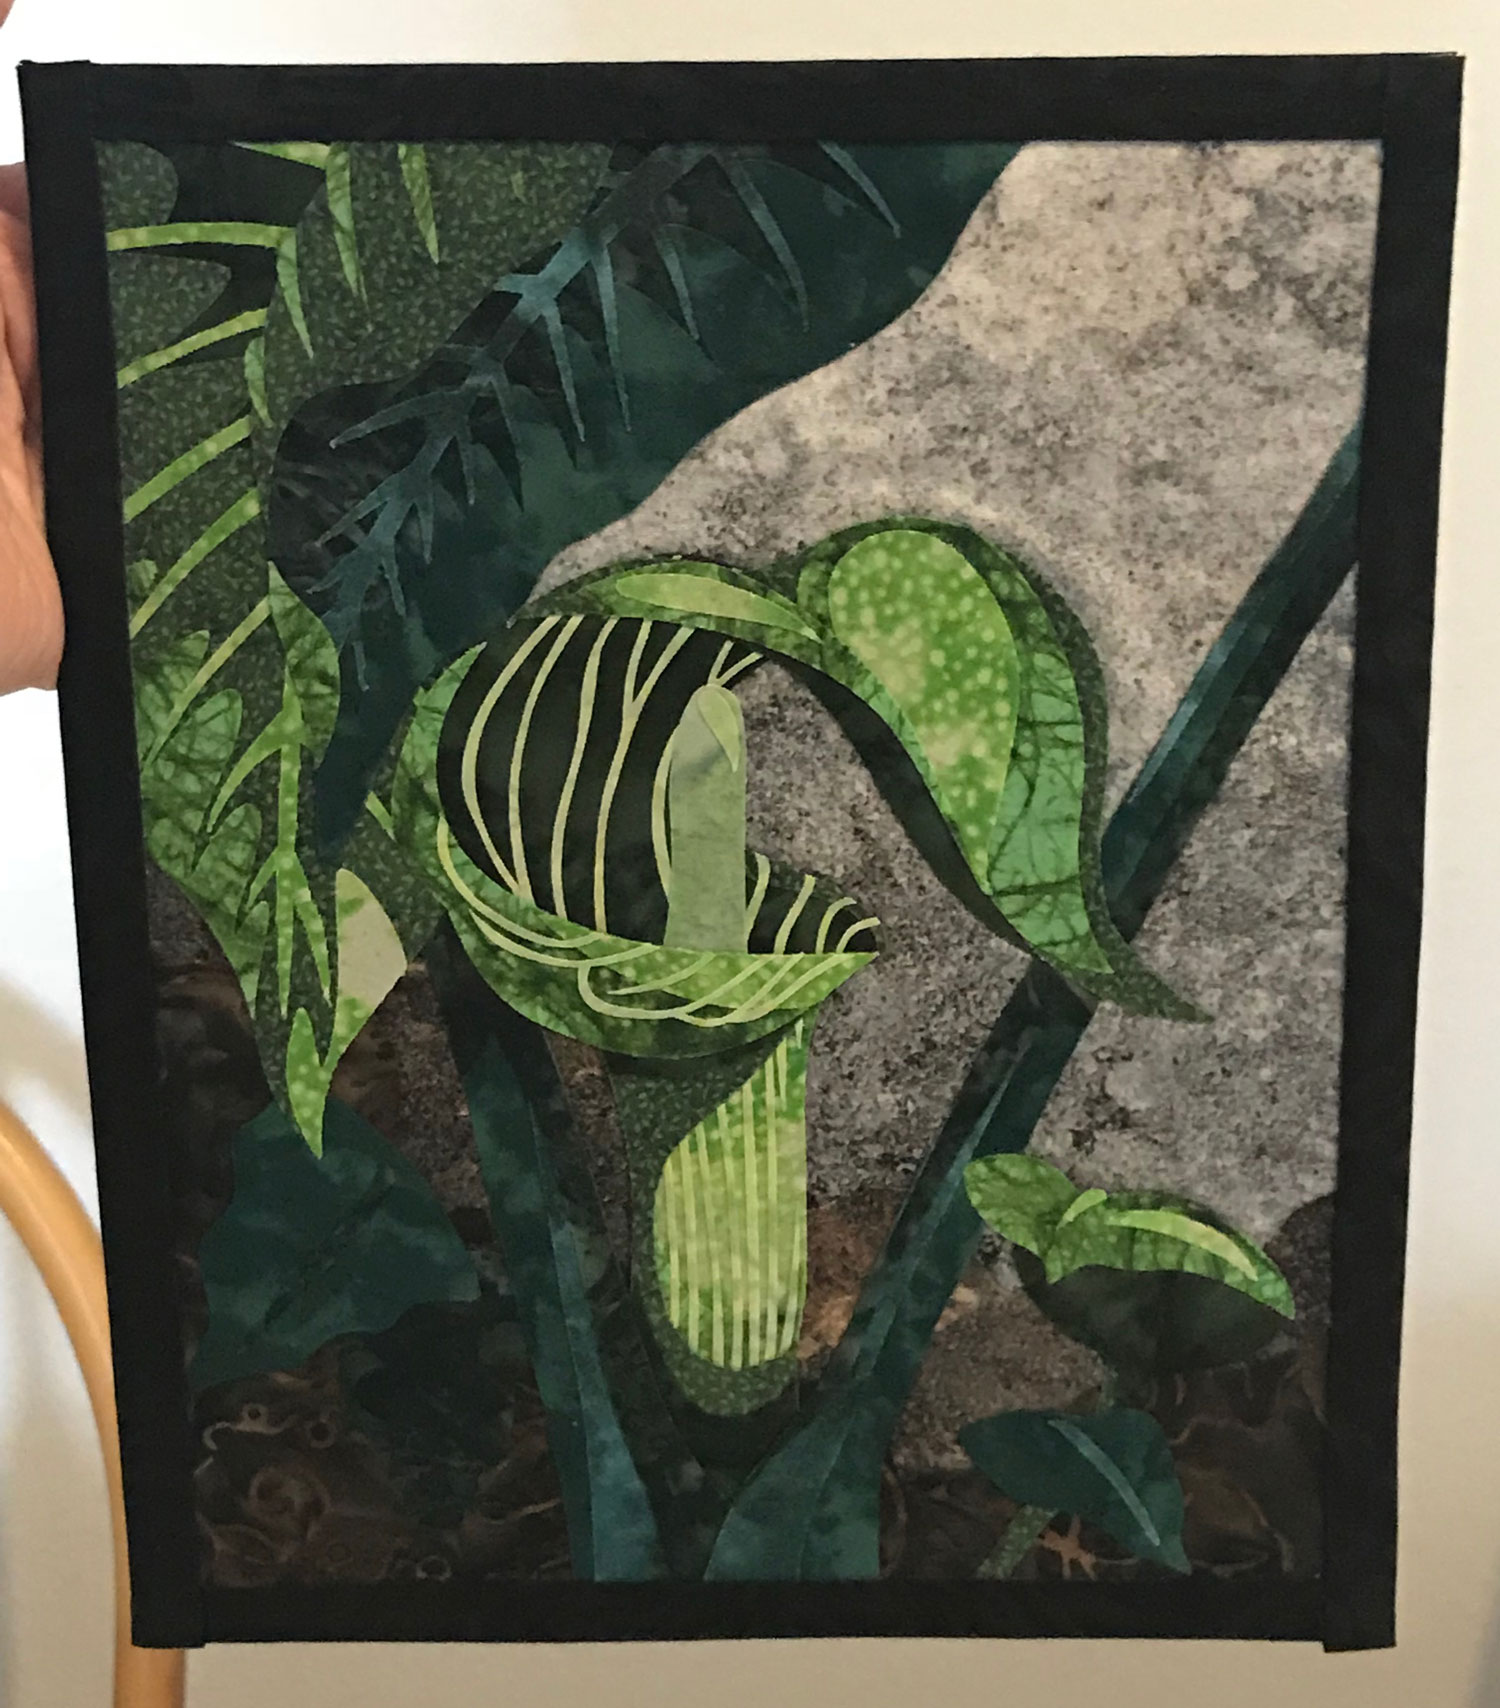
Try It Yourself
If that looked fun and you’d like to try it yourself, the pattern for this project is available on my Etsy shop in both a Standard Edition and Cricut Edition. Thank you for your interest!
