Link Process
- Published:
- Length: 1029 words
- Reading Time: 6 minutes
After nearly 200 hours of designing, cutting, assembling, and stitching, my latest quilt is finally finished. Here it is: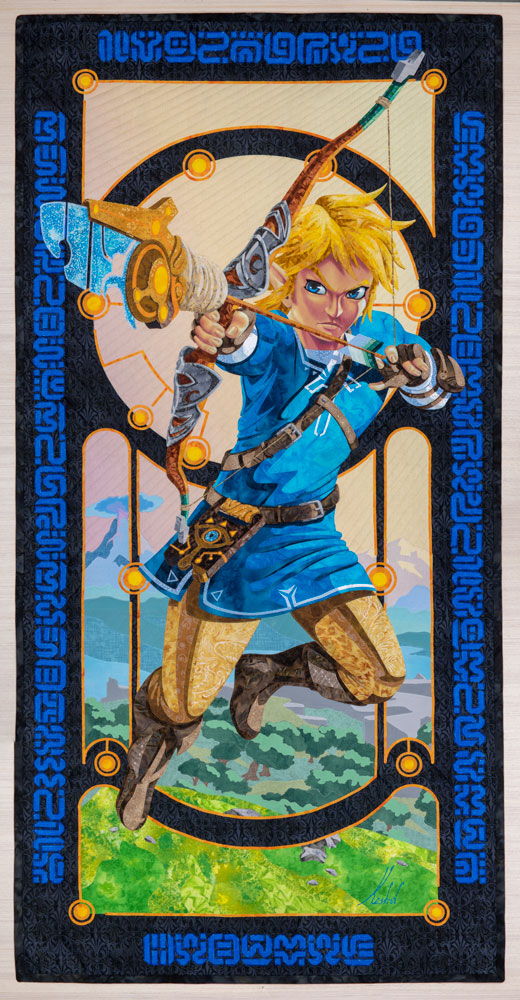
The character is Link, from Nintendo's Legend of Zelda video games. If you're interested in reading my two cents on fanart and copyright, please see my blog post on the topic. Otherwise, read on for process pics of this project.
Step 1: Draw the Design
Although I was inspired by the Link from the video game Legend of Zelda: Breath of the Wild, I used all of my own artwork for this quilt. Link started out as a sketch on my iPad in the app Concepts.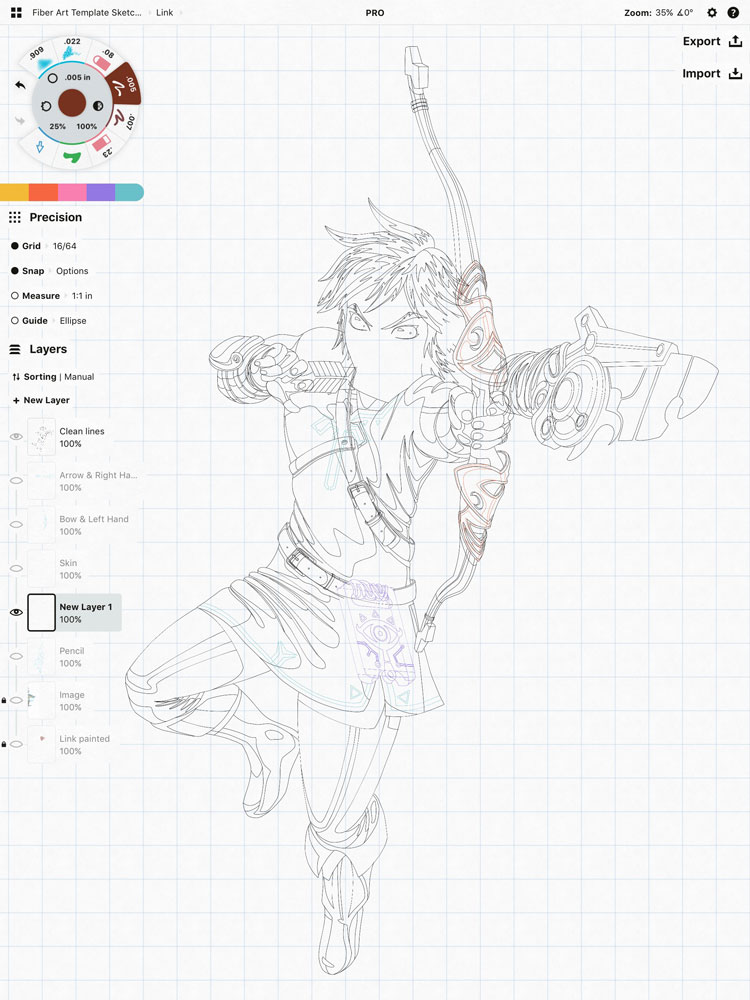
It took me a while to figure out how I was going to do his face and fingers, but I ultimately decided to draw them myself in full color and have them printed from Spoonflower. Here's a screenshot from Procreate, the app I use for full color drawings: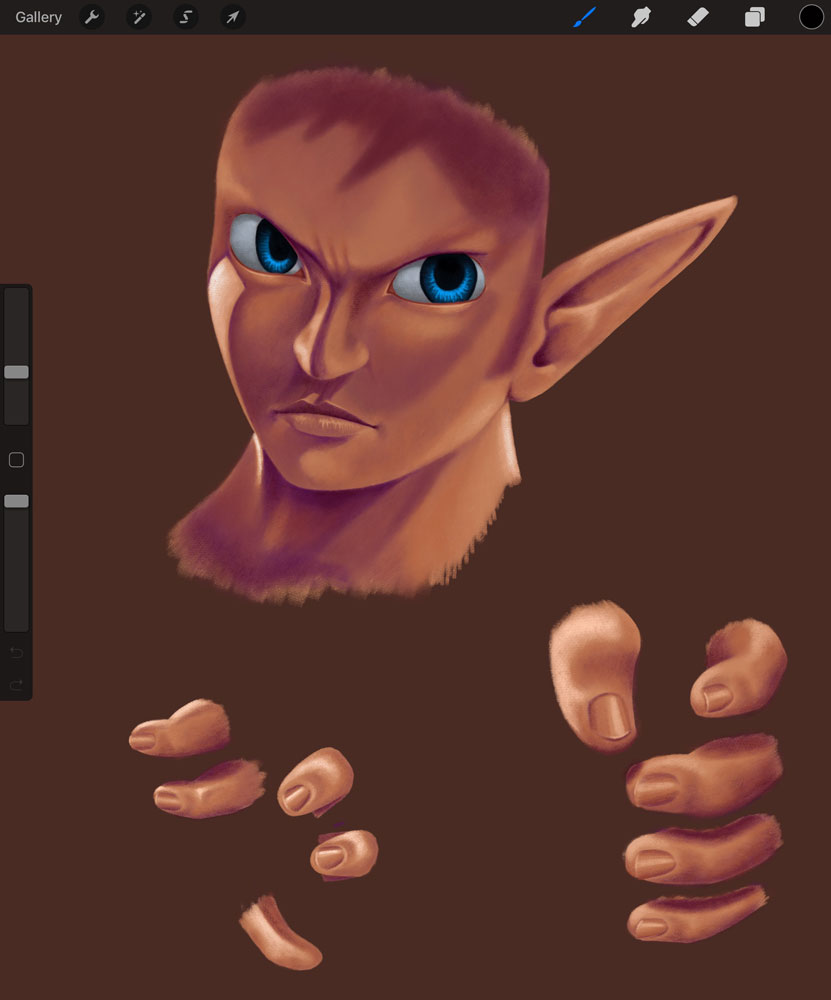
Step 2: Create a Template
Next step is to turn my drawing into a finished, colored template in Adobe Illustrator. I remove extra points, connect lines, and generally clean up the drawing before adding fill color. I also spent time creating the other details of the image.
The background is a scene from Breath of the Wild. I drew it in Illustrator. The art nouveau-style cutouts are outlined in a Sheikah-themed border, another recurring element from the game. The runes around the outside edge are Sheikah writing.
All in all, here was the finished template with the colored portrait and fingers in place. The blocks to the right are the different fabrics I would need.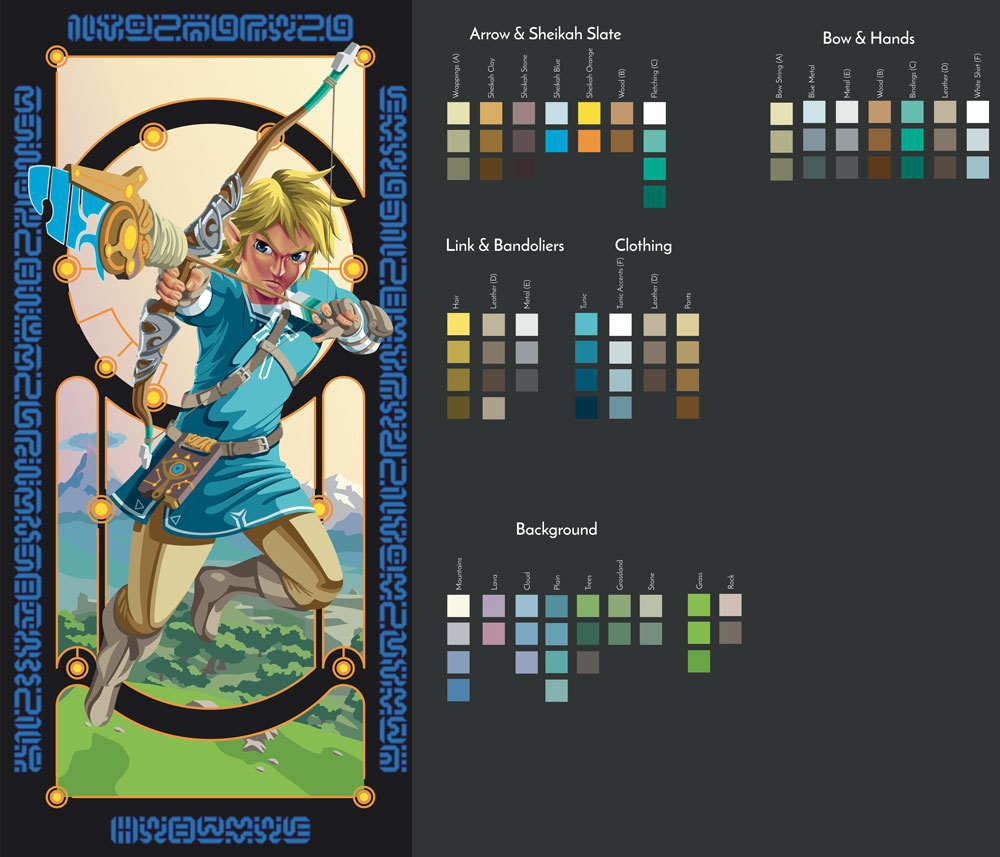
Step 3: Figure Out Overlap
Each filled area of the template ends up being one piece of fabric. The pieces that are underneath other pieces get overlap (so that the pieces on top will be able to fuse to the pieces below).
During the process of figuring that out, each piece also gets its own number so I know where it goes after it's cut. This design contained so many separate, complicated elements, I separated each grouping into its own file to simplify things. For example, here is the arrow and Sheikah Slate, and all the pieces that make up those two groups.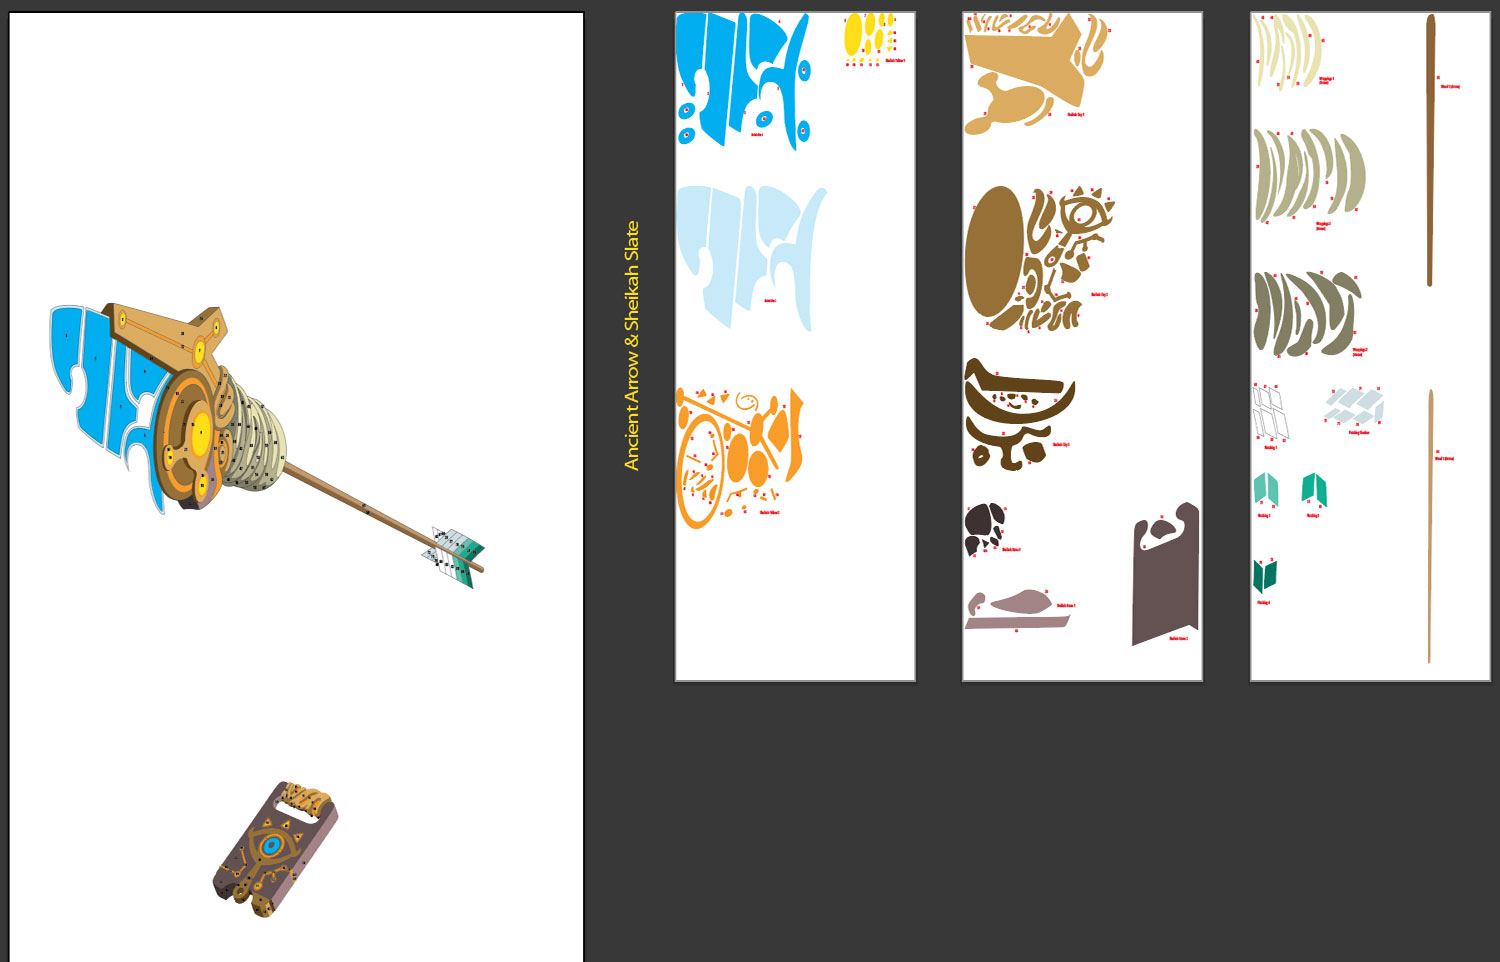
The artboards on the right, with all the individual pieces, are what get sent to my Cricut for cutting.
Step 4: Pick Fabric
Now I need to pick my fabric. This was extremely important for this picture, in particular. I wanted to have bright, dramatic light on Link in the foreground, but accurately show the distant landscape behind him. That meant I needed to accurately match the values of the colors of the fabrics I ultimately chose for the quilt to the colors I had used in my template.
To do that, I used two methods. The first method was to use the camera on my phone to look at my fabrics in grayscale, effectively removing the color and making it much easier to judge value.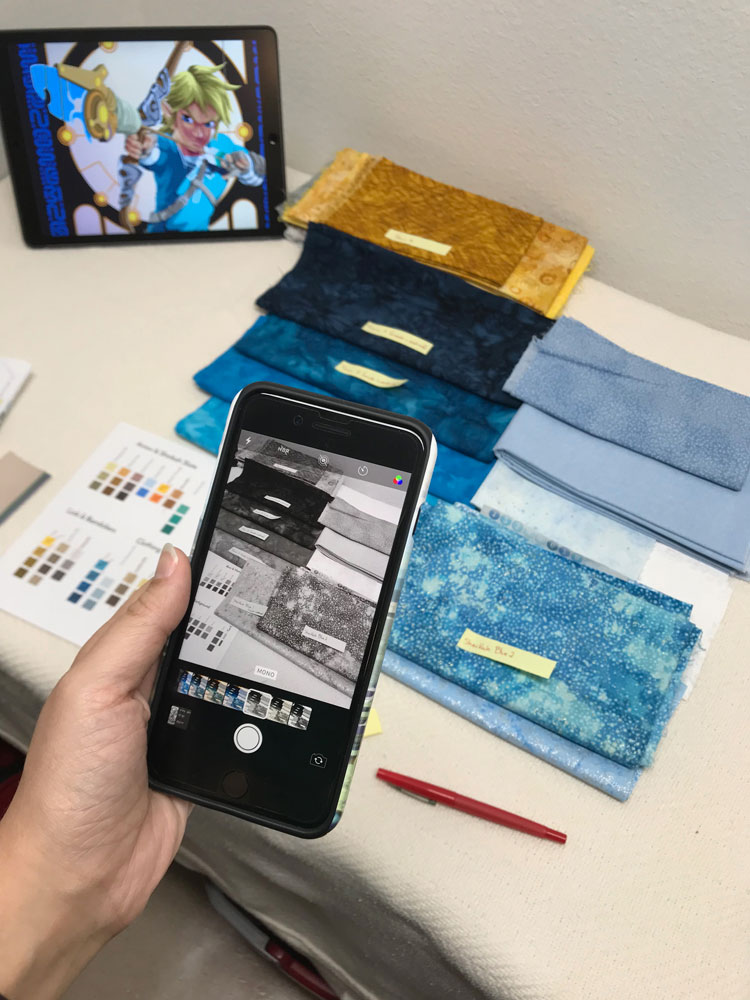
The second method involved my printing swatches of the colors I needed to match and physically matching them to fabrics to the best of my ability. I literally walked around 4 different quilt stores with paper swatches in one hand and my cellphone in the other, holding those strips of paper up to every fabric in sight while checking the value on my phone.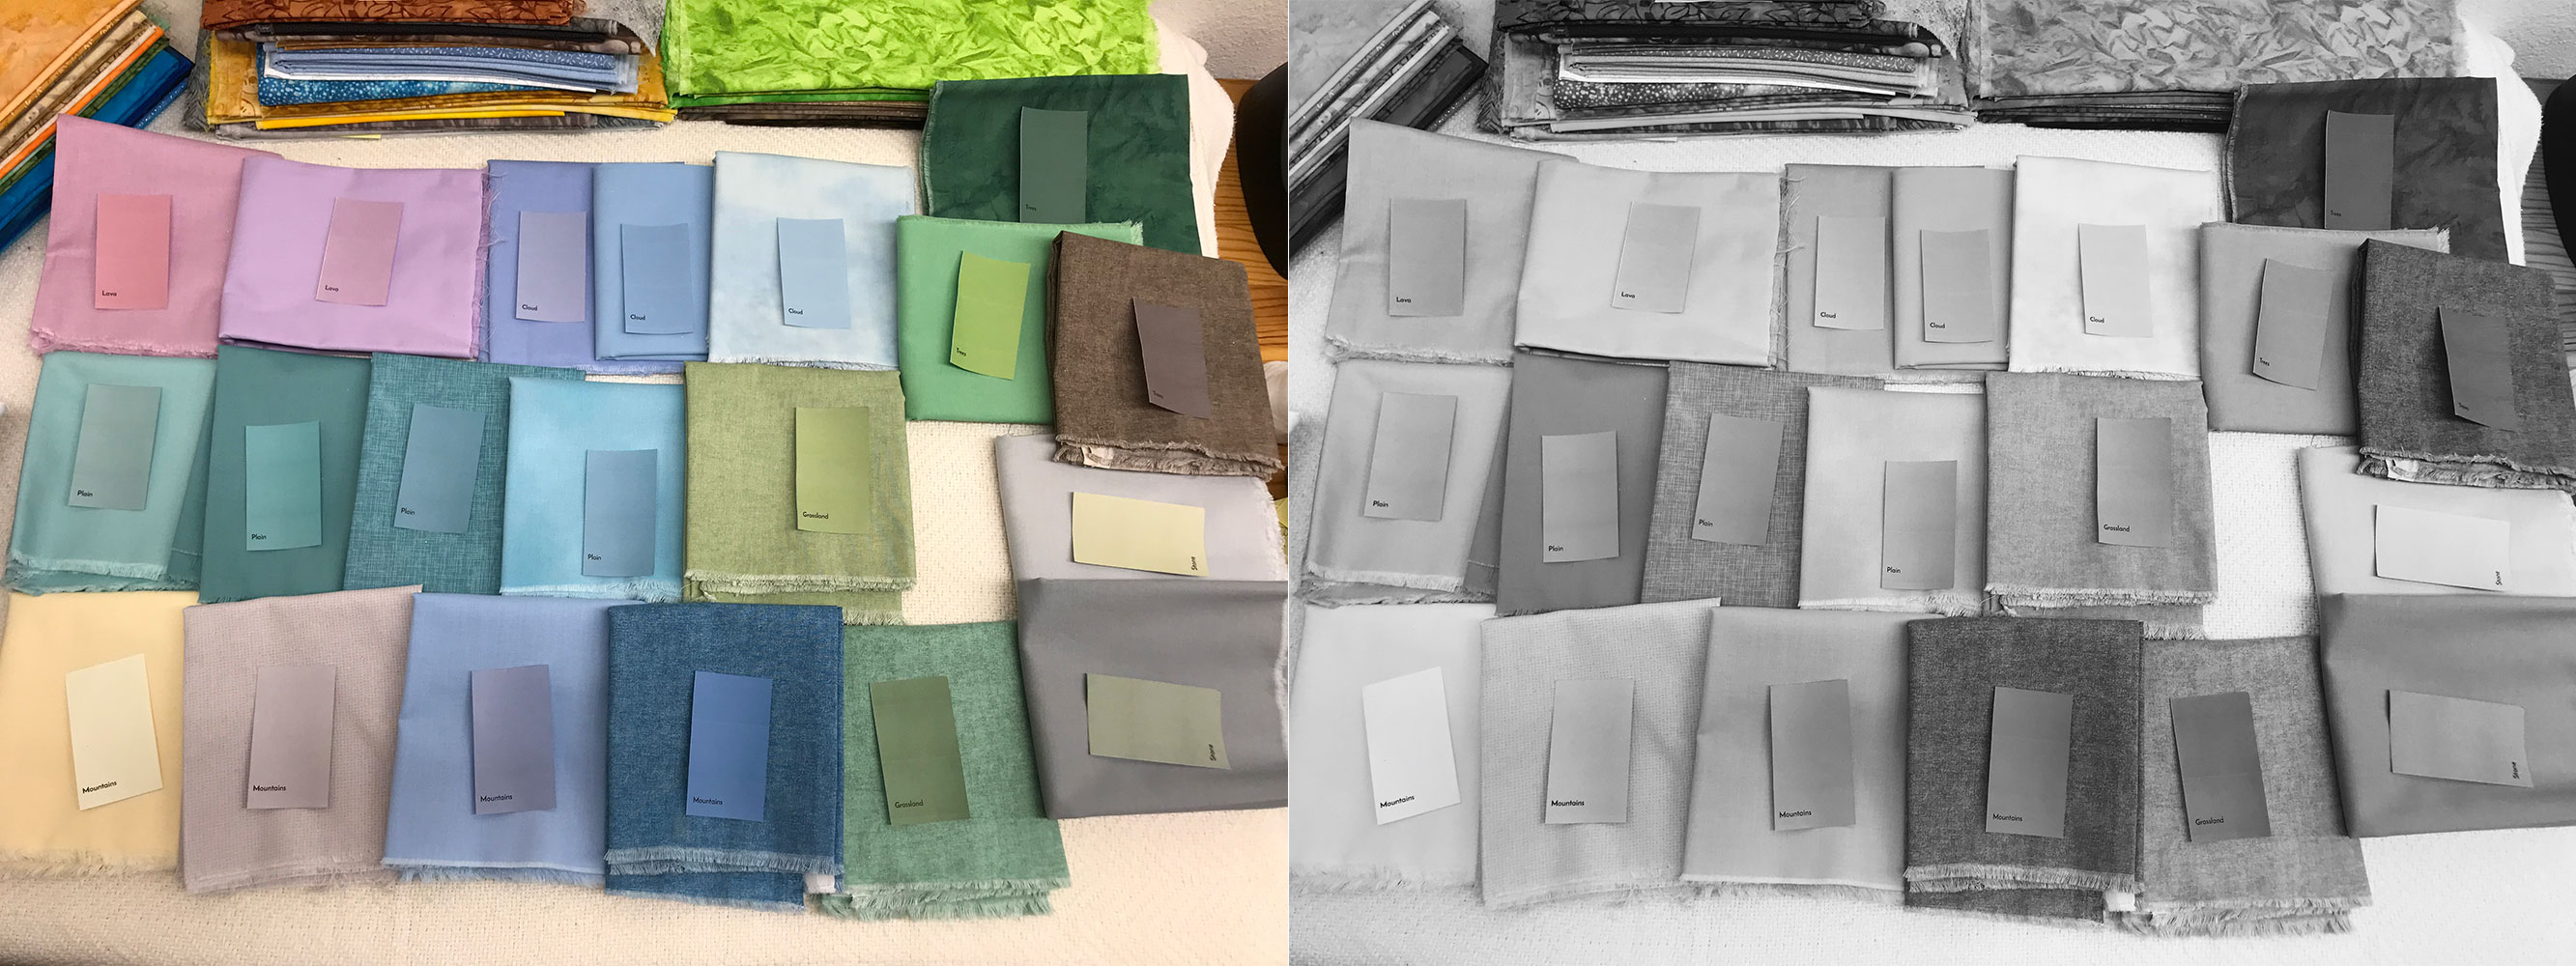
Since Link's face and fingers were printed from Spoonflower, I did not have to choose any fabrics from a store for him. However, I did have several versions of him printed at the same time because I didn't know how the colors on my screen would translate to ink.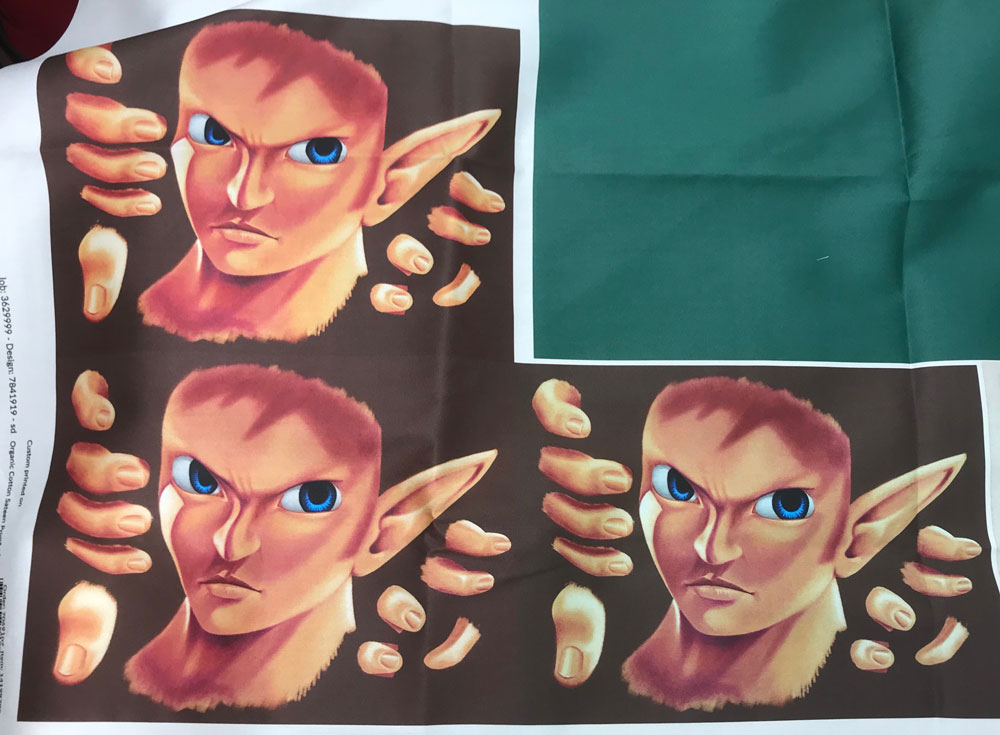
Step 5: Cut Everything!
This is my setup for cutting all fabric with my Cricut, on my kitchen table as per usual. I've also got my two fuzzy "helpers" sleeping on the job!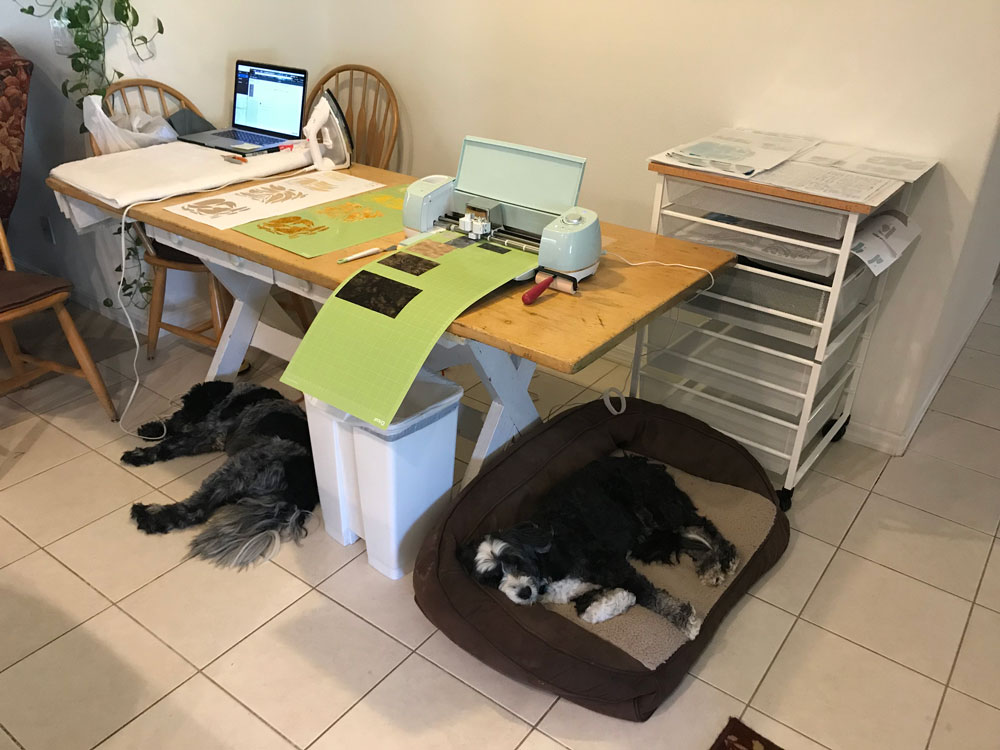
Step 6: Assemble the Pieces
Here is my kitchen table once again, but this time with my assembly setup. I have my ironing-safe towels, iron, template, non-stick pressing sheet, and all the pieces that need to be combined to make up the bow.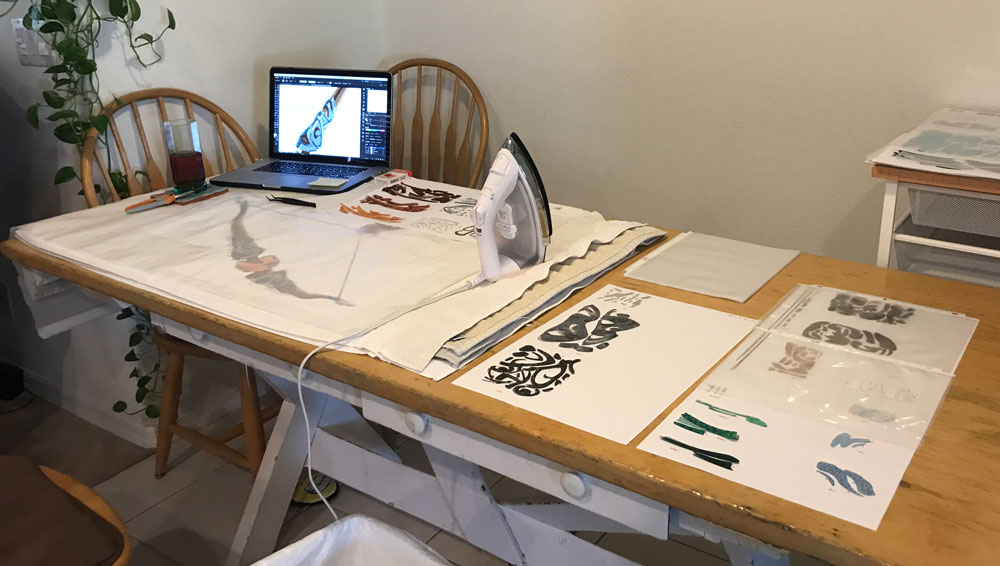
This is me, demoing my CraftOptics for my SAQA group, assembling the bow.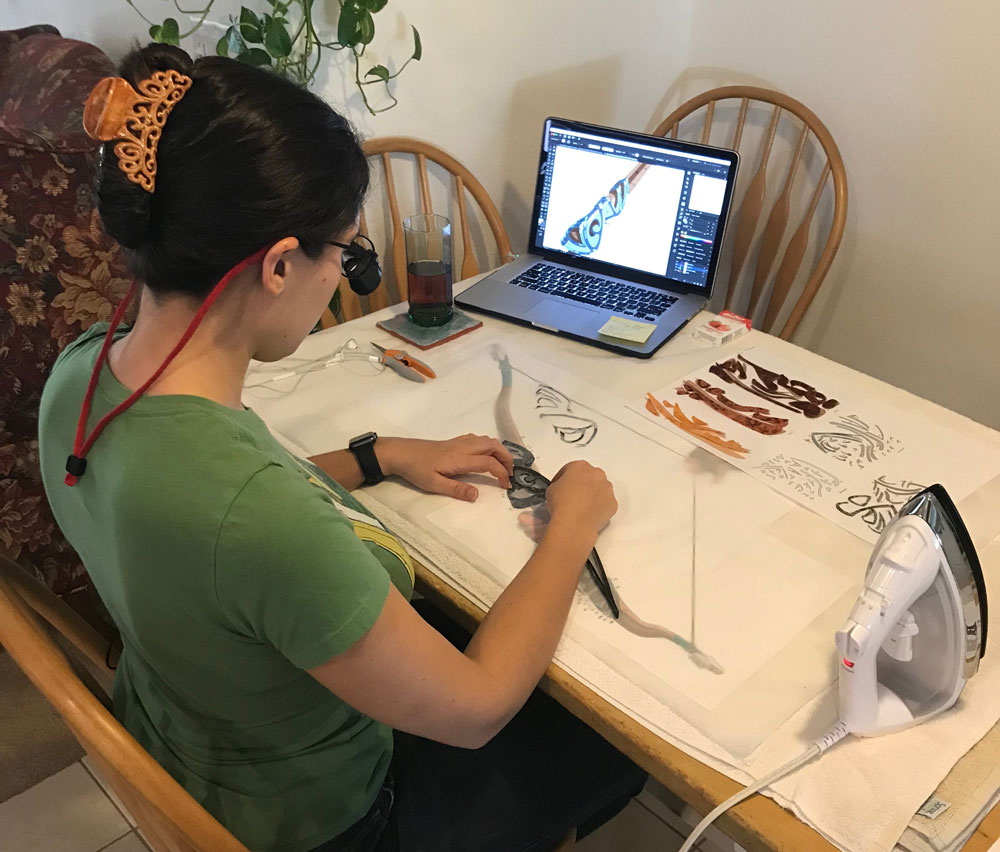
Step 7: Stitch It!
I sewed Link using a primarily raw-edge applique technique. There's no fancy stitching on this quilt. I also used 100wt thread so the stitching would be invisible. Here's the quilt with the runes, background, and orange outlines stitched in place, but before Link was sewn down.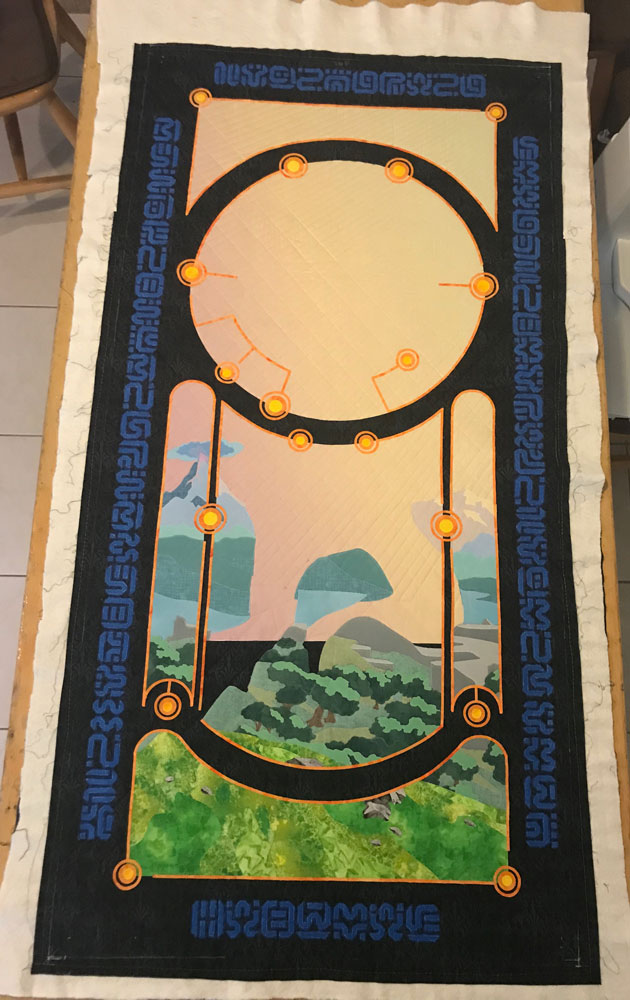
Step 8: Binding, Hanging Sleeve, and Signature
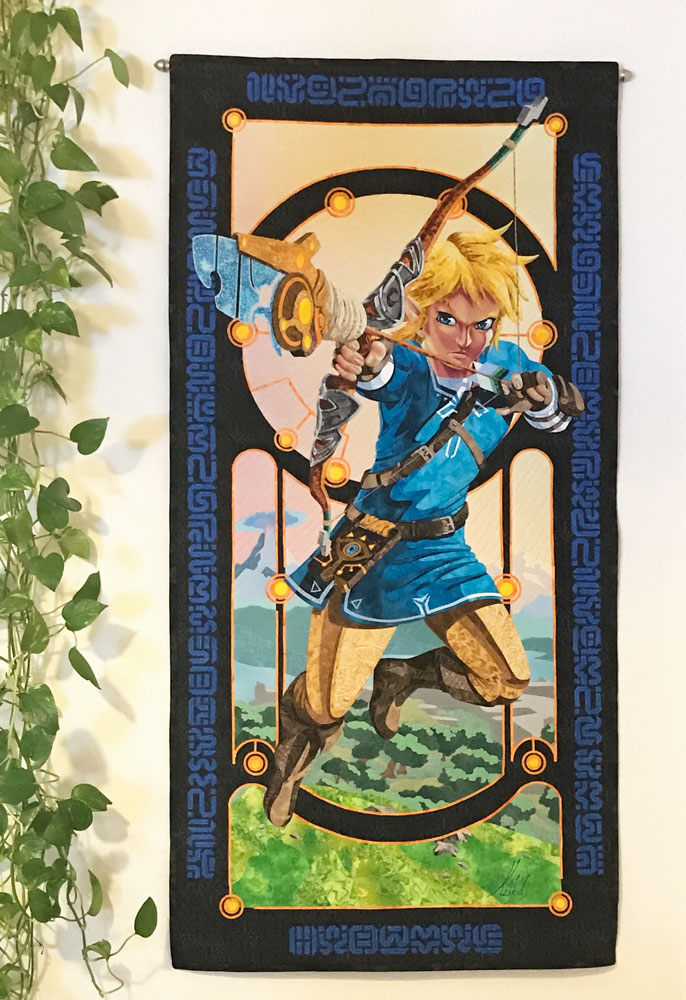
Last but not least, I finished the edges with a black binding and added a 4" sleeve to the back. I also embroidered my signature in the bottom right corner. Here's Link hanging on my wall.