How to Prepare Your Fabric for DIY Cutting Machines
- Published:
- Length: 1041 words
- Reading Time: 6 minutes
Cutting fabric pieces with scissors is almost entirely a thing of my past, thanks to DIY cutting machines. Although there are several brands, I personally use a Cricut Explore Air 2 (you can read more about why I chose Cricut over the other contenders in my blog post here.)
My Cricut has saved me countless hours by cutting thousands of fabric pieces for me, but it hasn’t always been a smooth process. Cutting fabric on a DIY cutter is tricky, regardless of brand, and it took me lots of experimentation to figure out how to get the cleanest cuts. This post is all about sharing what I’ve learned so you can hopefully save yourself hours of frustration.
Why Is Cutting Fabric Tricky?
The way DIY cutting machines work is to use a dragging blade to cut material held in place by a sticky cutting mat. Think of using an Xacto knife, except the blade on the cutting machine is really, really small. The dragging blade creates friction between the knife and the material. If the material isn’t properly treated before cutting, it can easily fray or pull up from the sticky mat and get destroyed.
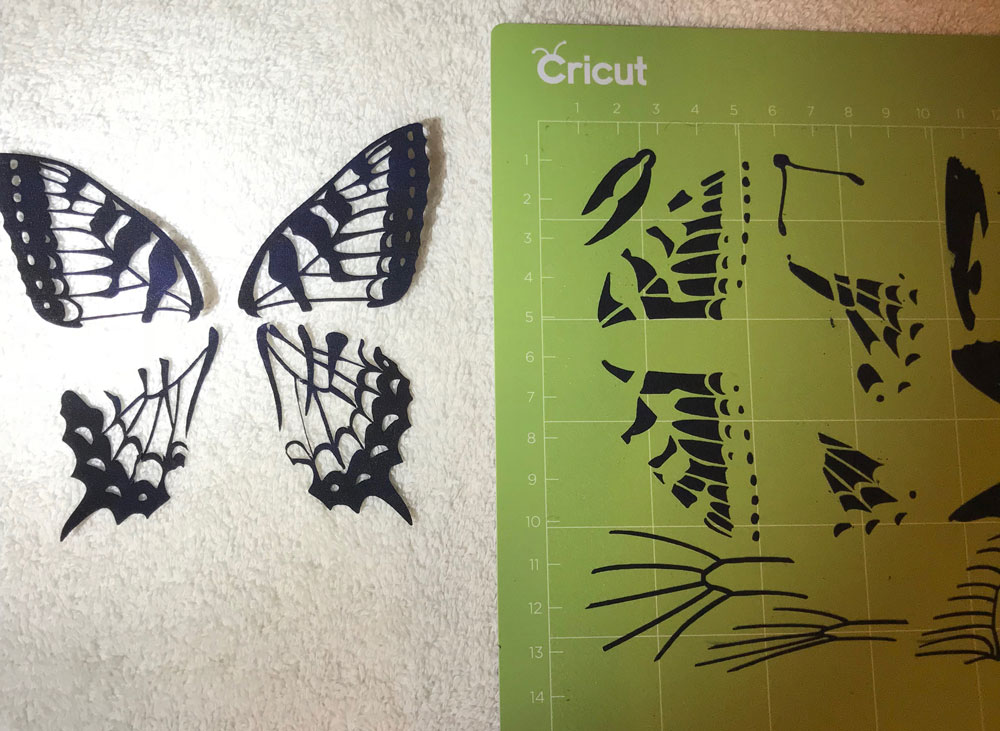
However, if you're careful, and properly prepare your fabric for cutting, your machine will do amazing things. Here is a photo of Tiger Swallowtail wings I cut on my Cricut. Each wing is one single piece of fabric.
The following three steps are the best way I’ve found to end up with the cleanest cuts of fabric.
Step 1: Use Batik Fabrics
Batik fabrics cut more cleanly than prints. These days, I try to use as many batik materials as possible for my designs because it’s so, so much easier to get clean cuts from a batik.
Step 2: Treat Your Fabric
“Treat your fabric” refers to two different things. The first part is to use some sort of fusible. I personally tend to use Wonder Under. If it’s a paper-backed fusible, remove the paper before attaching the fabric to the sticky mat (fusible side down).
Why does that matter? There simply isn’t enough friction between fabric and the sticky mat if there’s no fusible on the back. I’ve also tried to use fabric with the paper still on, and the fabric has pulled right off the paper while being cut, leaving the paper attached to the sticky mat.
The second part of this step is to use a fray-retardant chemical on your fabric before cutting.
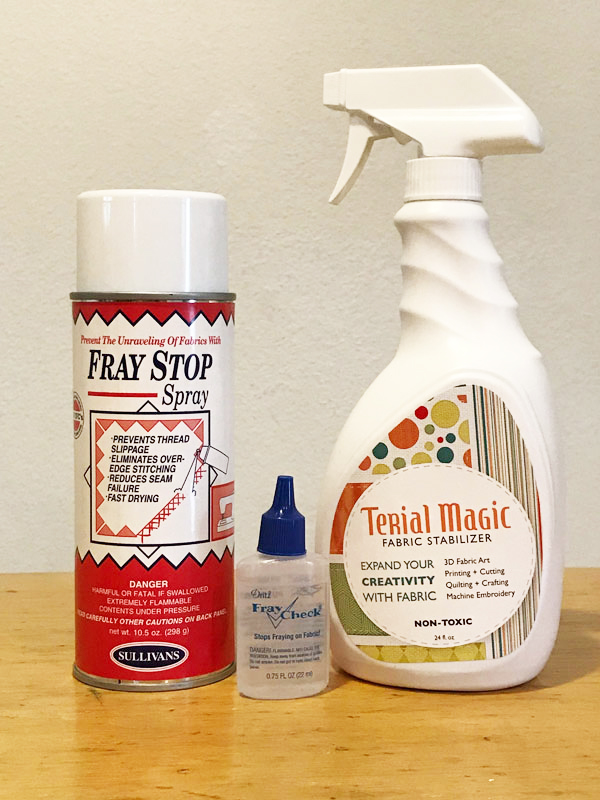
Fray Check works the best, but those little bottles get annoying. I only use Fray Check for the most delicate cuts (such as butterfly wings).
I also use Fray Stop, which is an aerosol. One can of Fray Stop will cover quite a lot of fabric, about 35-40 square feet, so this is what I use the most.
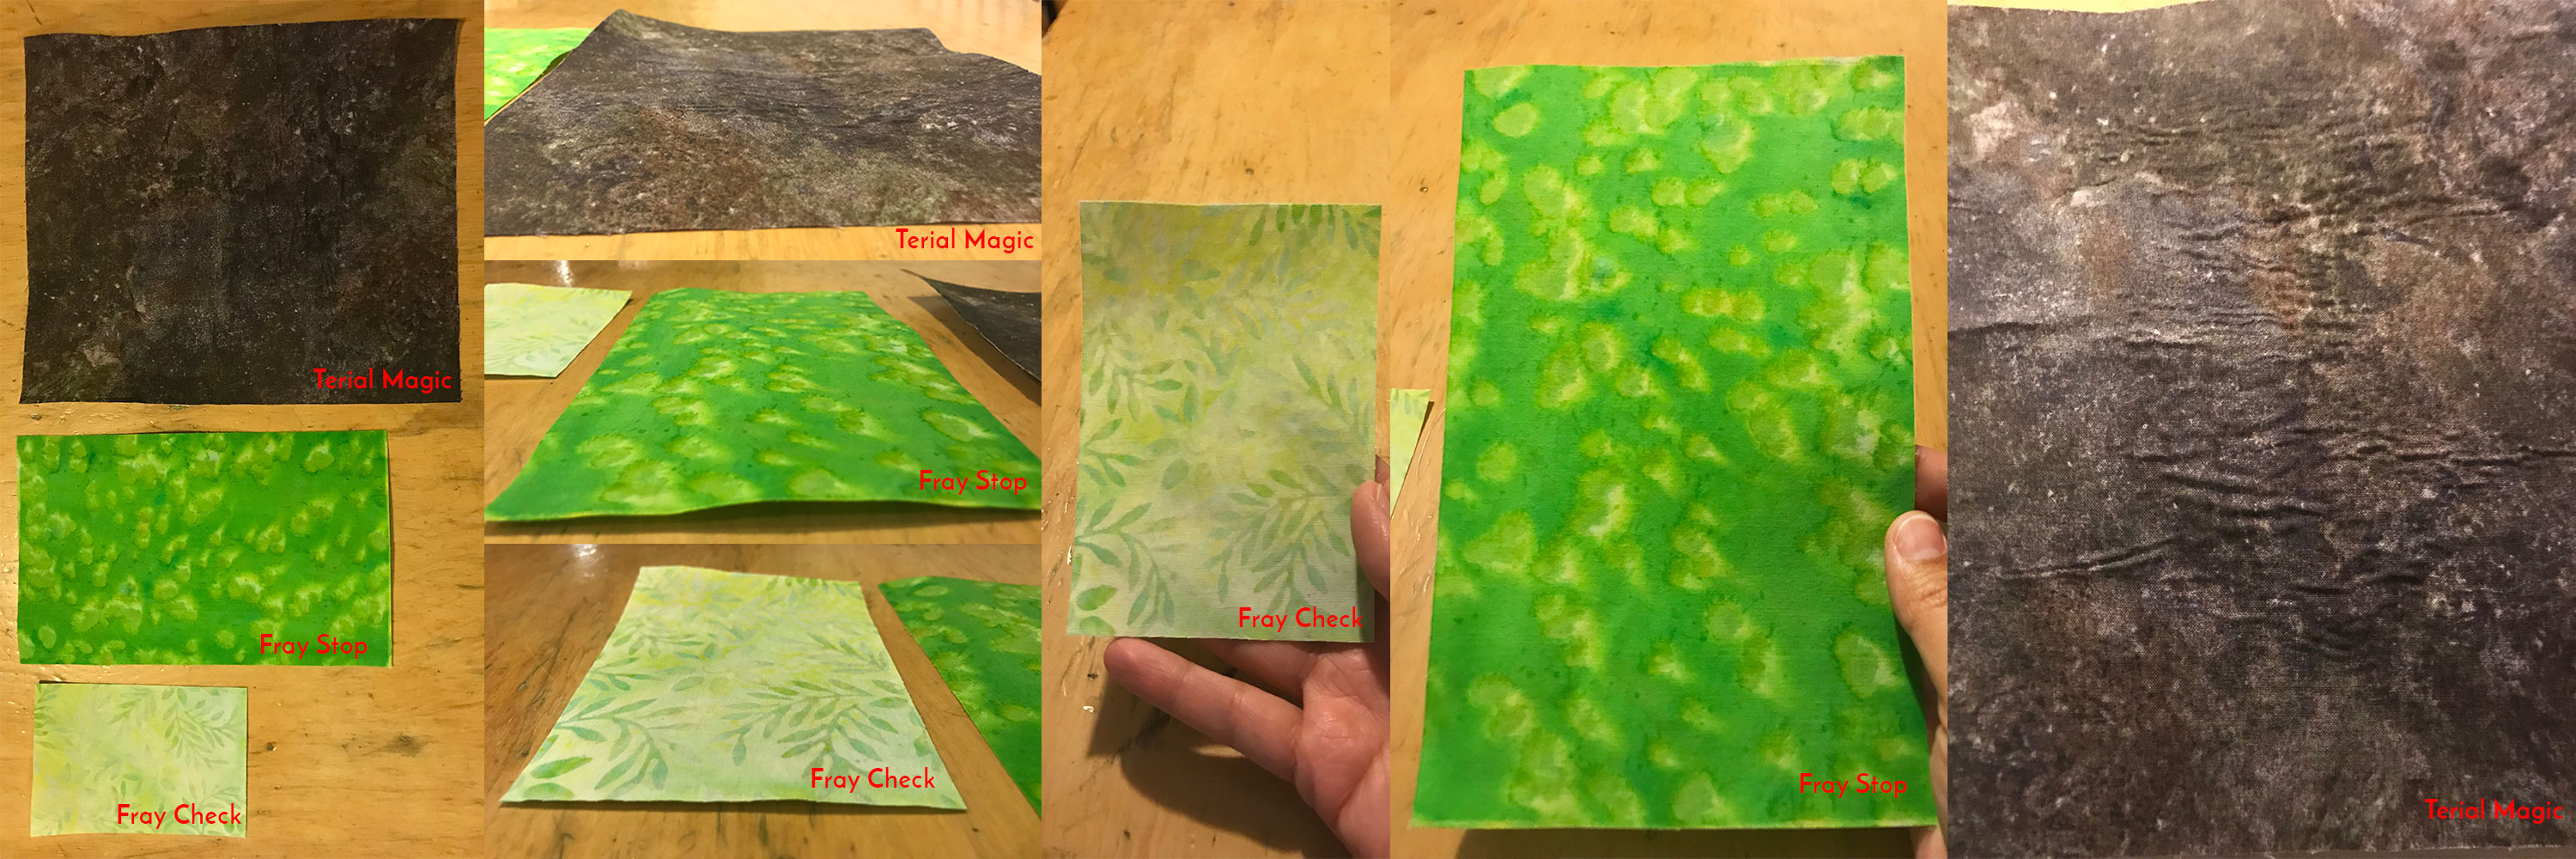
Terial Magic will also work as a fray-retardant, however it is by far my least favorite of the three options. My experience has been that Terial Magic leaves the fabric wrinkly after it’s dried. This is bad for cutting because each of those wrinkles is a section of fabric not attached to the sticky mat, which in turn can cause the blade to jump or skip and not cut correctly.
I’ve treated each of the three swatches of fabric below with a different chemical. Notice how the brown fabric (which was treated with Terial Magic) is much more wrinkly than the other two.
CAUTION: Terial Magic also sort of prevents the fusible from sticking to the fabric. Large chunks of the fusible end up stuck to the Cricut sticky mat instead of remaining attached to the fabric. I've never had that problem with the other two chemicals.
Two last, but very important, things to do in this step: Once your treated fabric has dried, iron it again. The fusible can peel right off the back of the fabric when pressed to the sticky mat, so it’s best to always iron twice before cutting. (Note: You will need to clean your iron periodically after ironing fabric treated with Fray Stop or Terial Magic. Just wipe your iron with a dryer sheet while it's hot and it'll take the glue build-up right off. Be careful not to burn your fingers!)
Second: Use a roller to press your material evenly onto the sticky mat. Push hard and make sure the fabric is firmly attached.
Step 3: Use A Fresh Blade & Sticky Mat
Just like any other metal blade, DIY cutting machine blades can and do get dull. Use a fresh blade for every project. It’s a very small, but worthwhile, expense to ensure you’re using a blade that's sharp.
As for the sticky mats, I am typically able to get 5-10 cuts on one mat before I discard it. The mats do lose their "stick" over time, so they will need to be replaced. If your mat doesn't seem to be holding the fabric well, get a new one. (Note: There are guides online detailing how to "re-stick" a sticky mat using a Krylon spray. I've tried that, and my experience has been the spray is too sticky. It pulls the fusible from my fabric even after it's been ironed twice.)
What If There Are Still Cutting Mistakes?
Even with the best preparation, sometimes mistakes still happen. Perhaps the fabric wasn’t quite as attached to the mat as I thought, or maybe I was trying to cut pieces that were too small and too close together. Whatever the reason, now there’s this piece of fabric that’s ripped, or not cut, or in some other way not good enough to use in my finished picture. What should I do?
I felt this post was long enough as is, so I talk about how to deal with mistakes in another post, here.
