Mine Cart Madness Process
- Published:
- Length: 795 words
- Reading Time: 4 minutes
As has become our tradition, my husband once again requested a fanart quilt for his birthday. This time he wanted a design from the video game Donkey Kong Country...specifically the level that was most memorable to him: Mine Cart Madness.
In Mine Cart Madness, Donkey Kong and Diddy Kong race along an abandoned coal mine in a mining cart, all the while dodging monsters, jumping broken track, and, of course, collecting as many bananas as possible. There are no brakes on this crazy train. It's go-go-go full speed all the way, and you (the player) either jump at the perfect instants or you die.
I ended up making three of these quilts. The first was the Artist Proof, which my husband helped on as it was his birthday present. The other two are limited editions to be used for art shows and a donation to Summer Games Done Quick (more info on that at the bottom). This post has photos from the making of all three.
Step 1: Draw the Design and Template
Donkey Kong Country is a 2D platformer game released back in 1994. This is a screenshot from Mine Cart Madness in the original game:
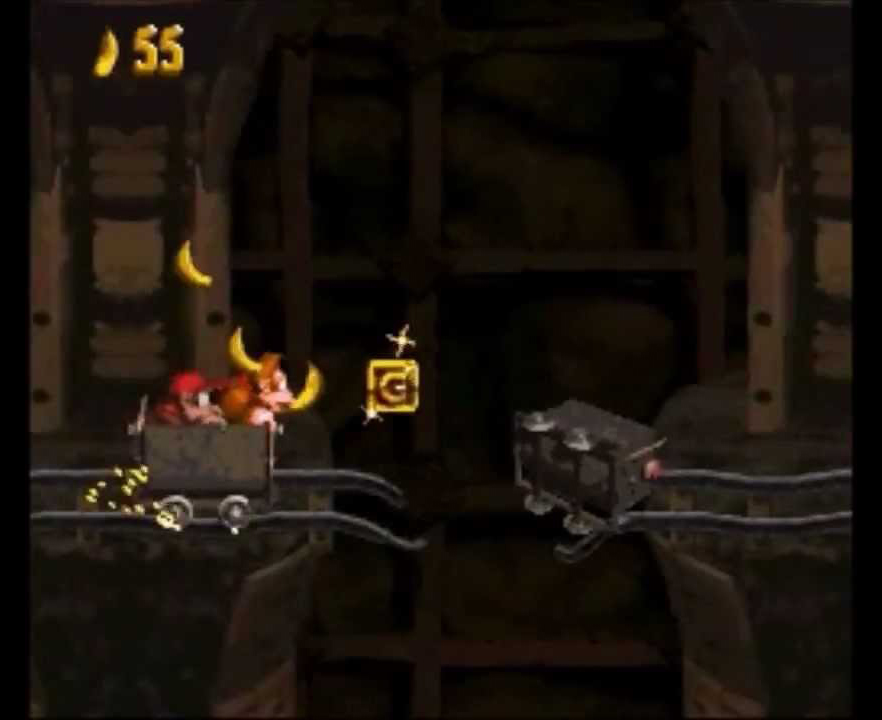
Although exciting to play through, that flat art style wasn't going to cut it for one of my art quilt compositions. I used my illustration skills to come up with something a bit more dynamic: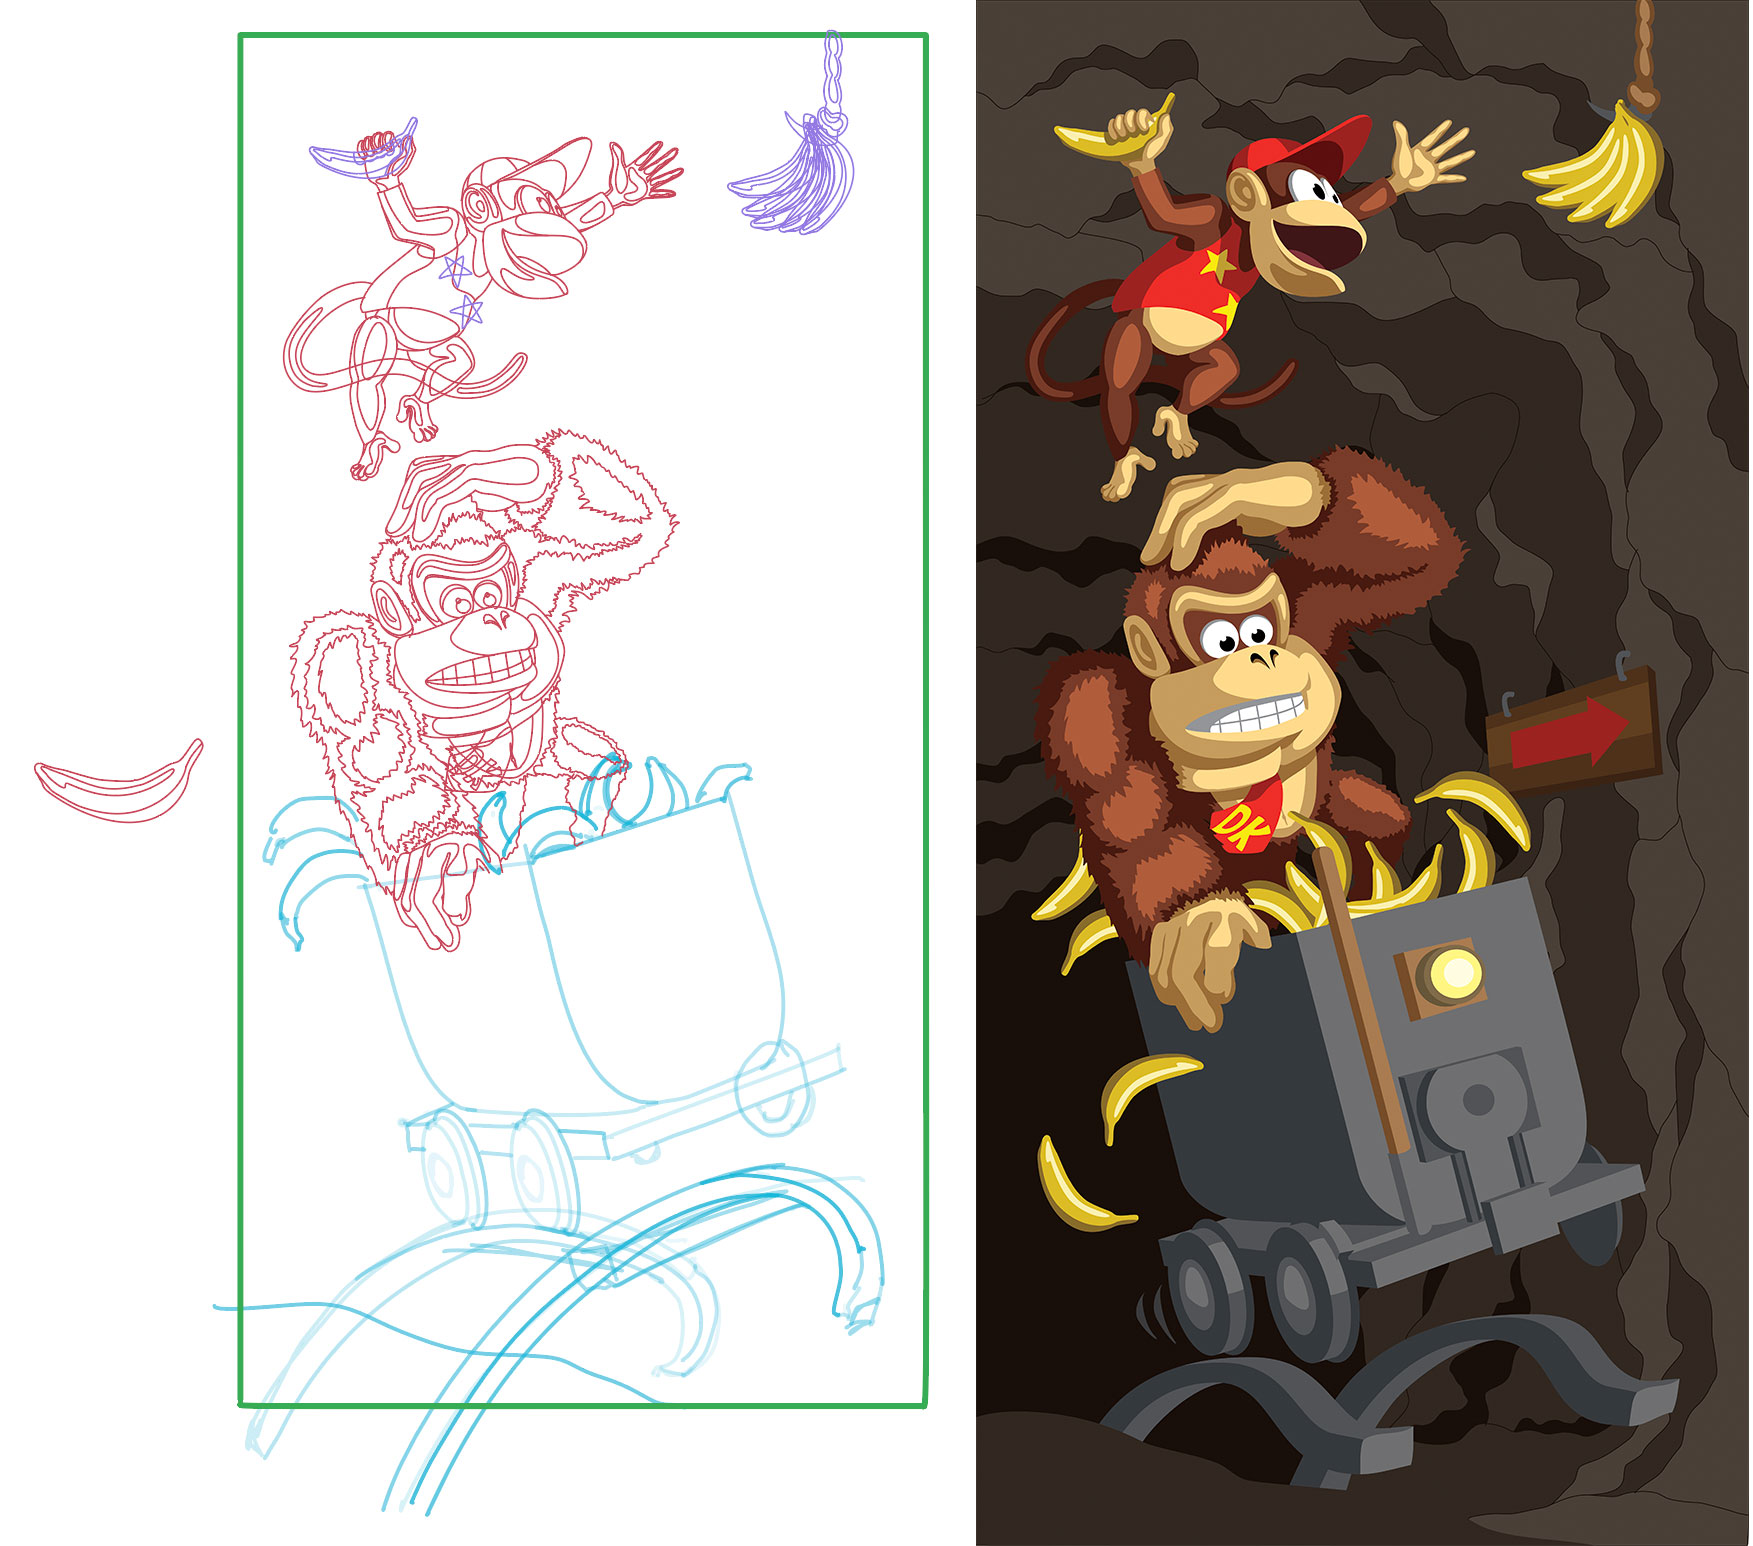
As usual for me, the initial sketch was drawn in Concepts, a vector-based app on my iPad. That's the image on the left. The image on the right is the fully-colored drawing once I finished it in Adobe Illustrator.
Step 2: Picking Fabric
Next came picking fabric. This is an important process that involves using custom color swatches to help me select the correct colors and values for each part of the picture. Here are the fabrics chosen for this quilt, along with the color swatches for each: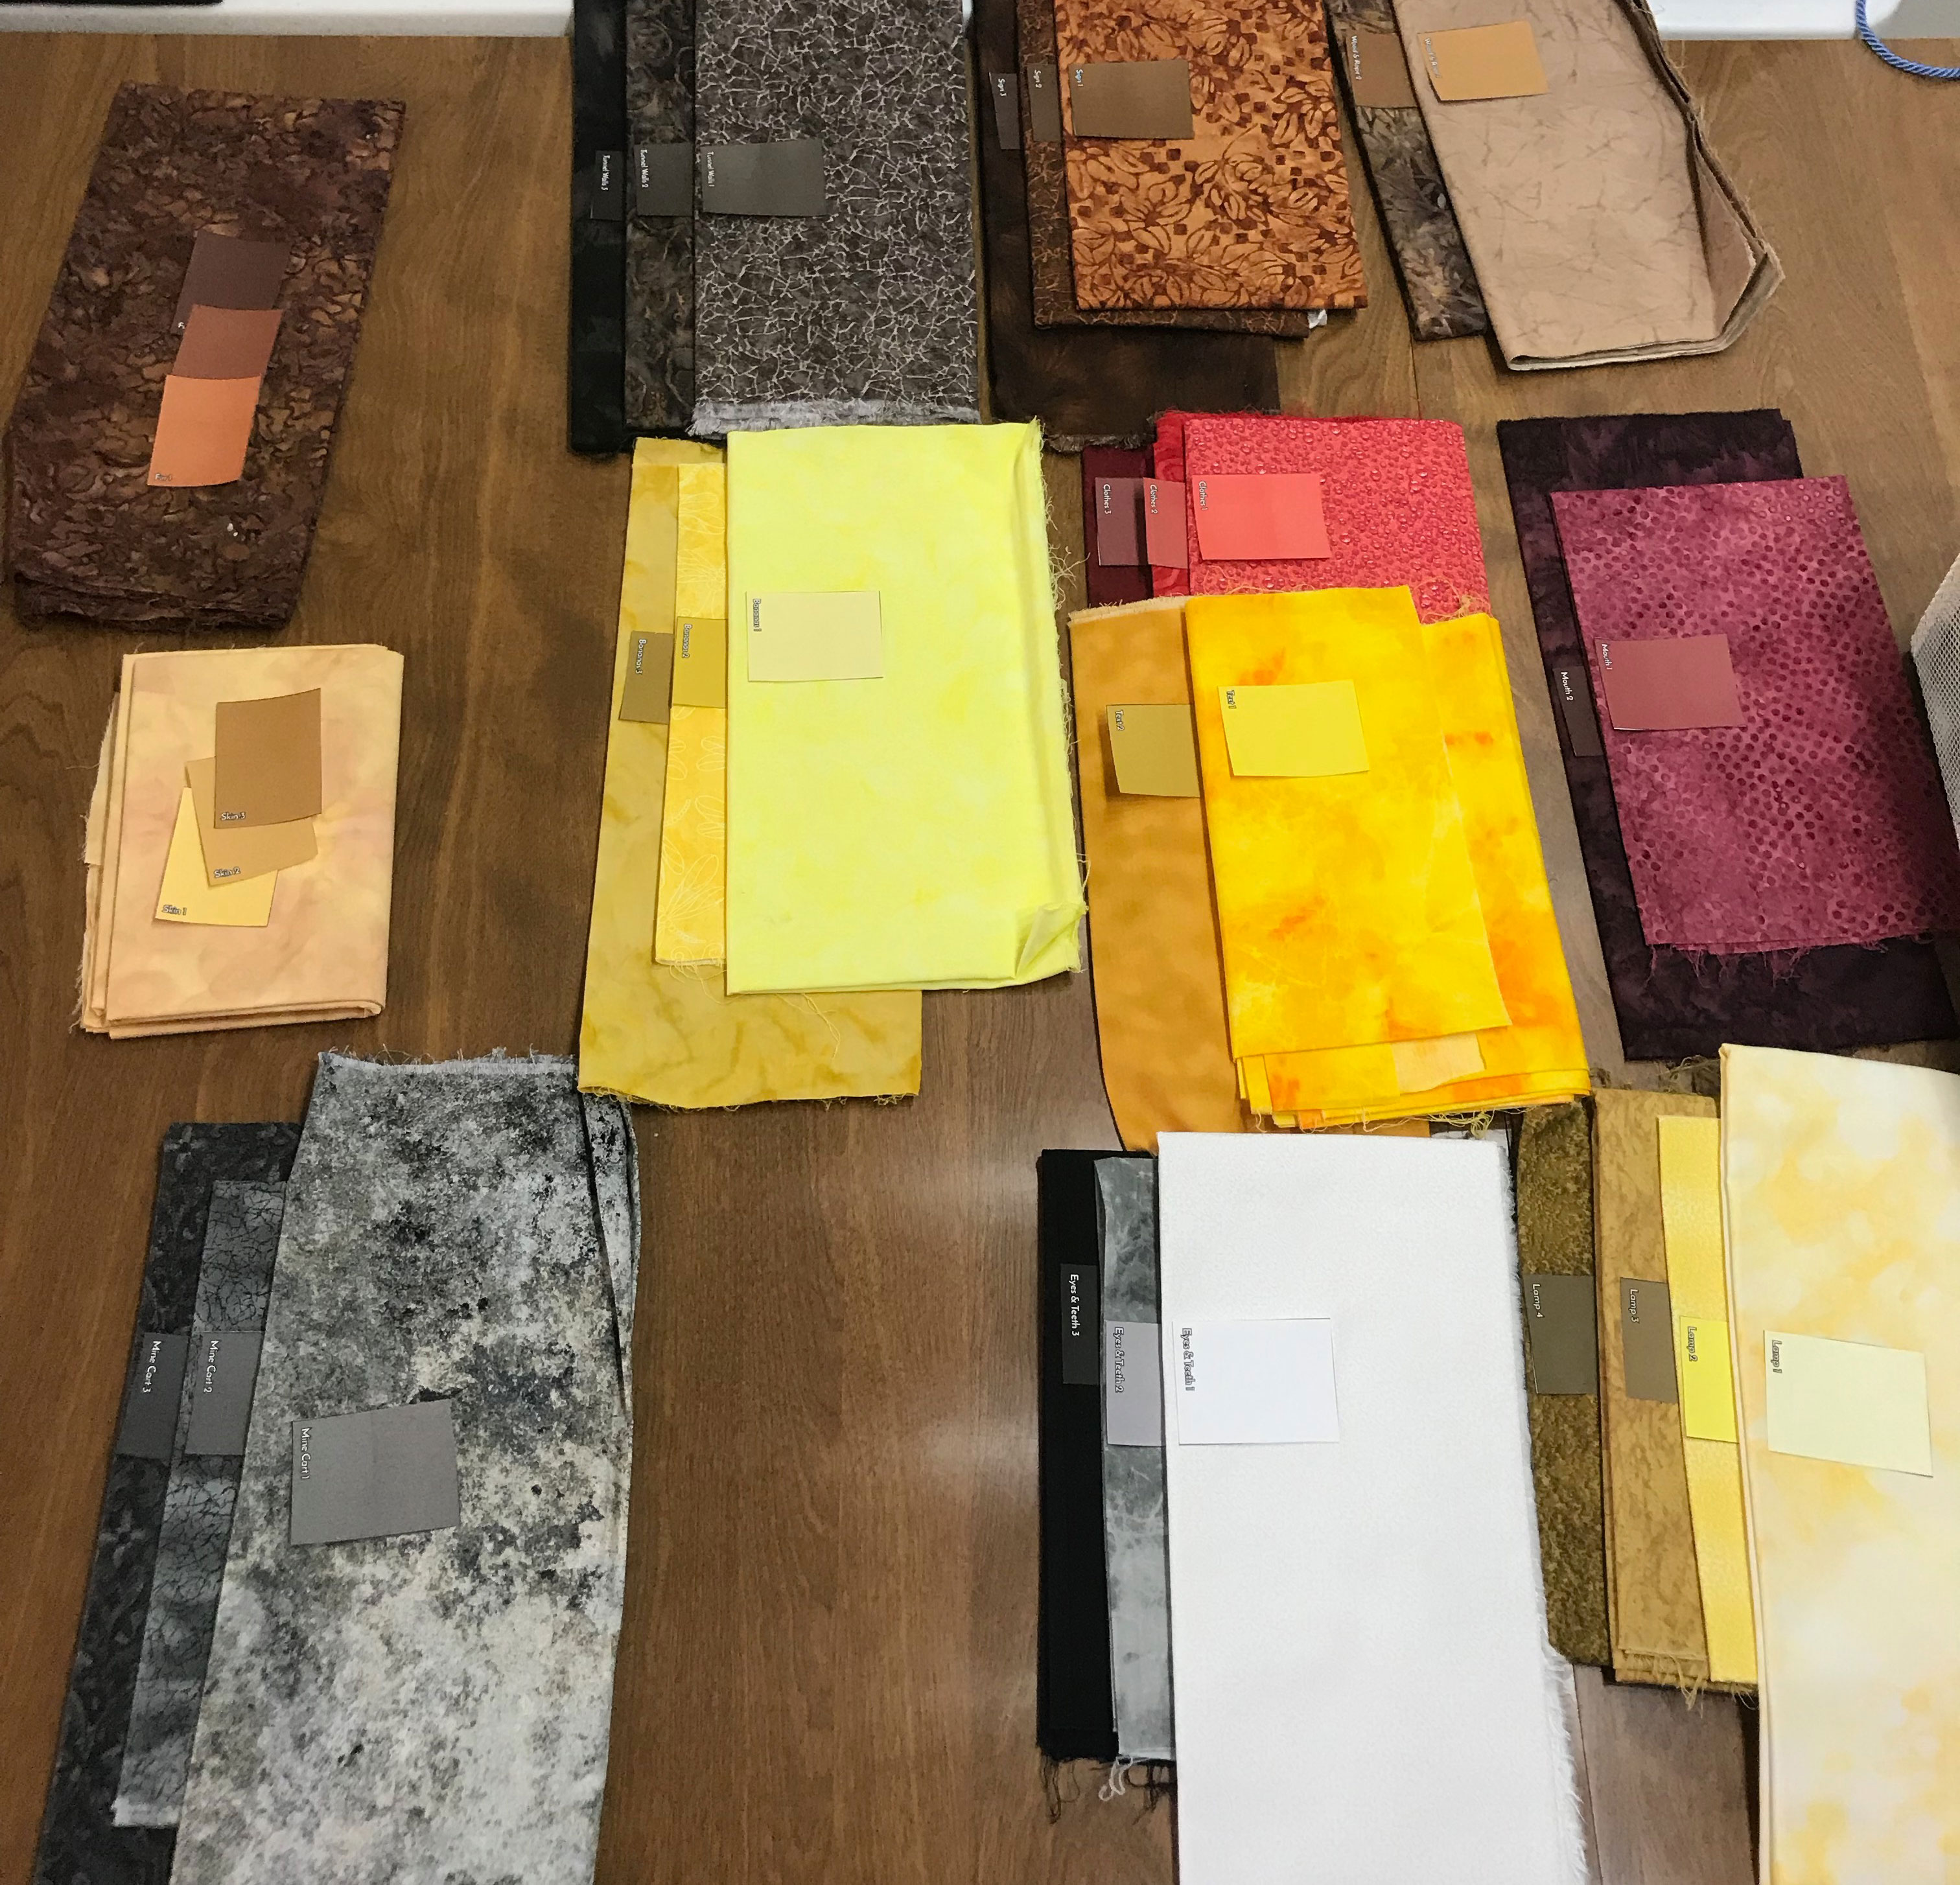
Step 3: Cutting the Fabric
My quilts are all made from fused applique fabric pieces. This one in particular is made up of 346 total pieces, and every single one was cut on my Cricut Explore Air 2. In this photo, my Cricut is on the right. I'm in the process of lifting cut pieces of fabric from an already-cut sticky mat in the center. Then I transfer the fabric pieces to the paper number guide on the left.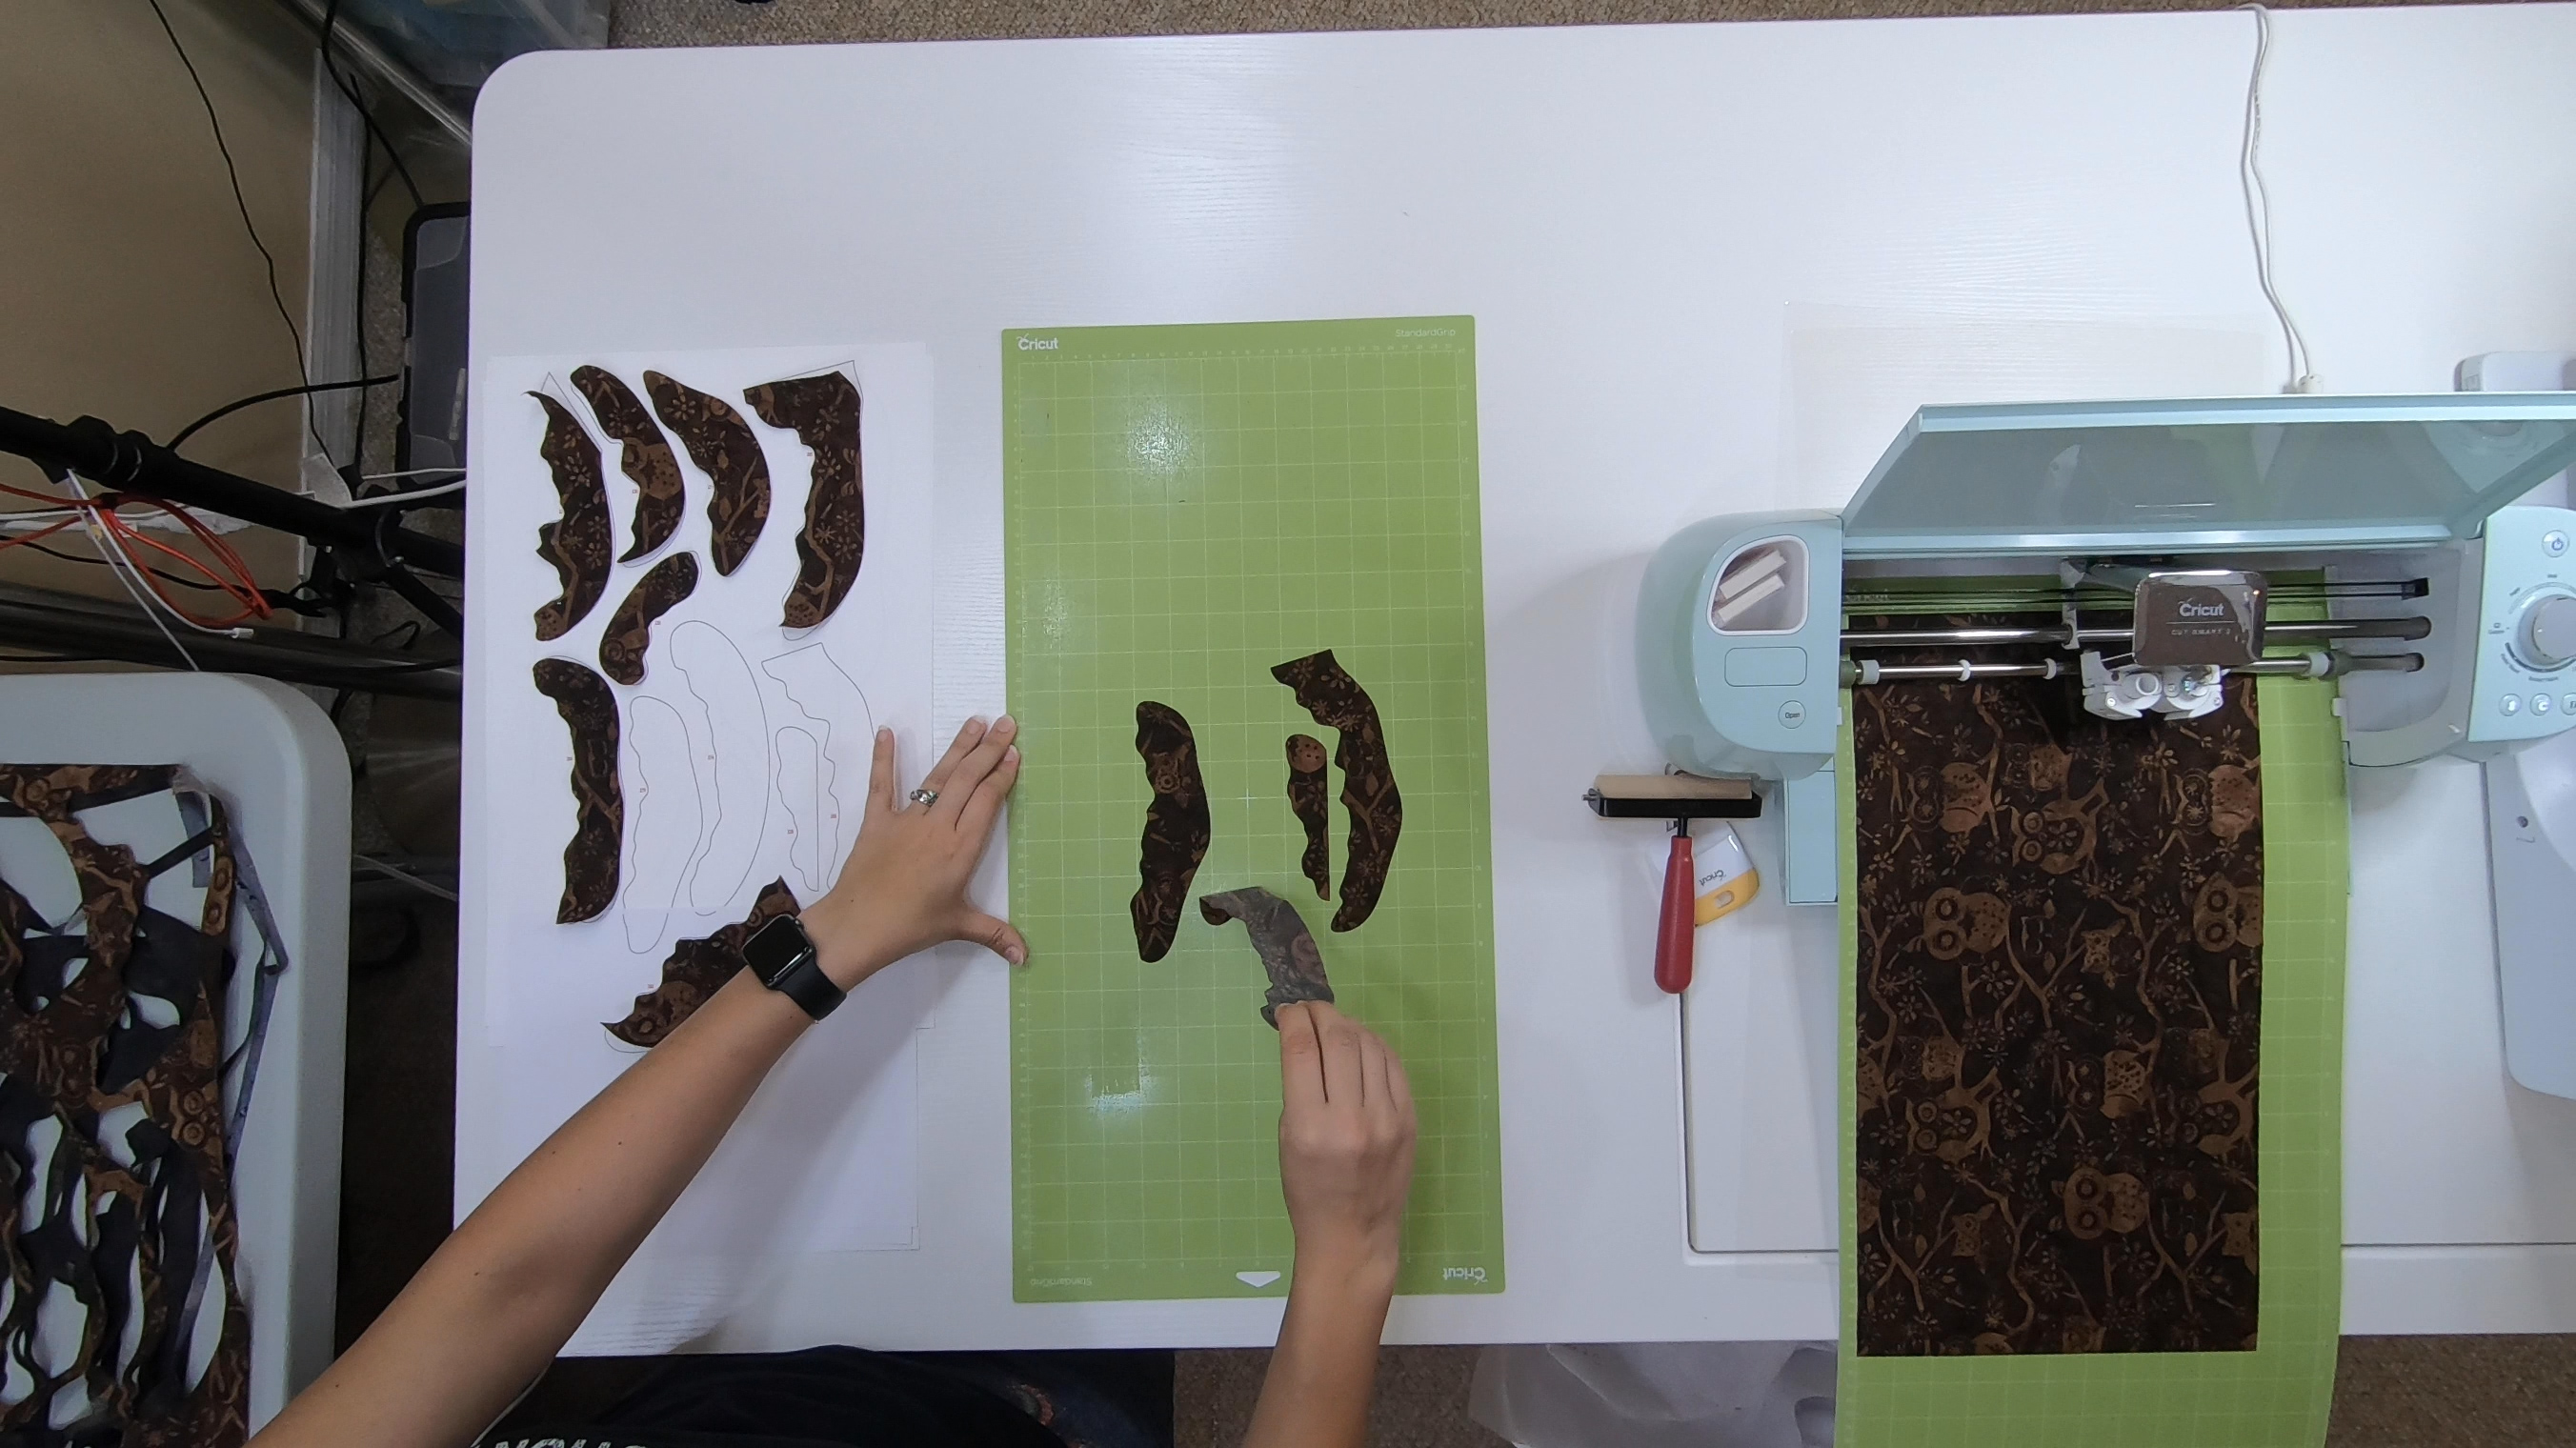
Step 4: Assembly
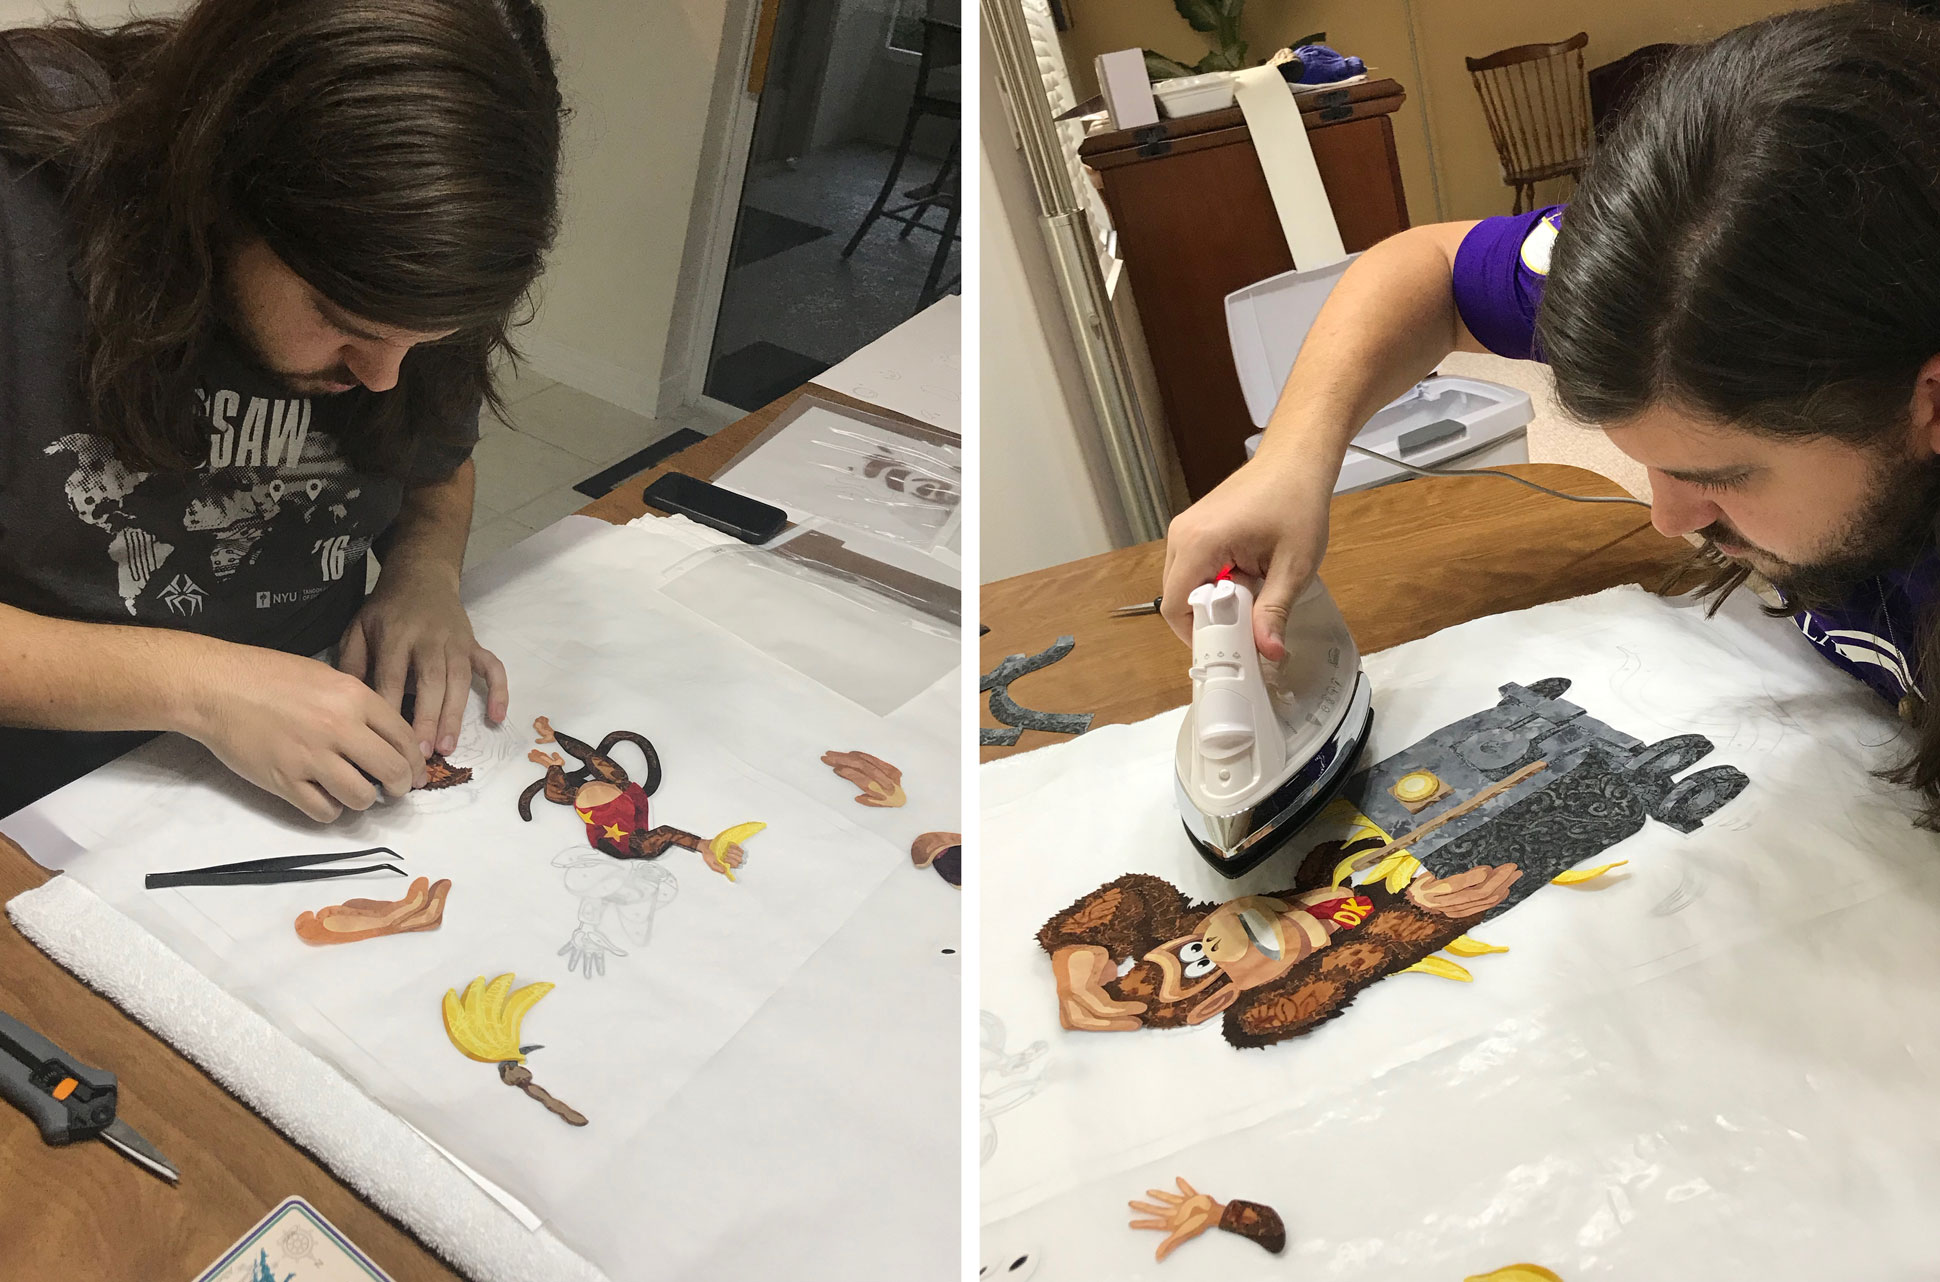
Each piece of fabric gets its own number that matches up to the same number on my template. It's sort of like an applique-by-number that I've designed myself. I use an iron to melt the fusible on the back of each piece, ultimately holding the entire design together. My husband wanted to assemble his quilt, and here is a photo of him putting Diddy and DK together:
I also recorded myself when assembling Donkey Kong and Diddy Kong for the other two quilts:
Step 5: Sew It Together
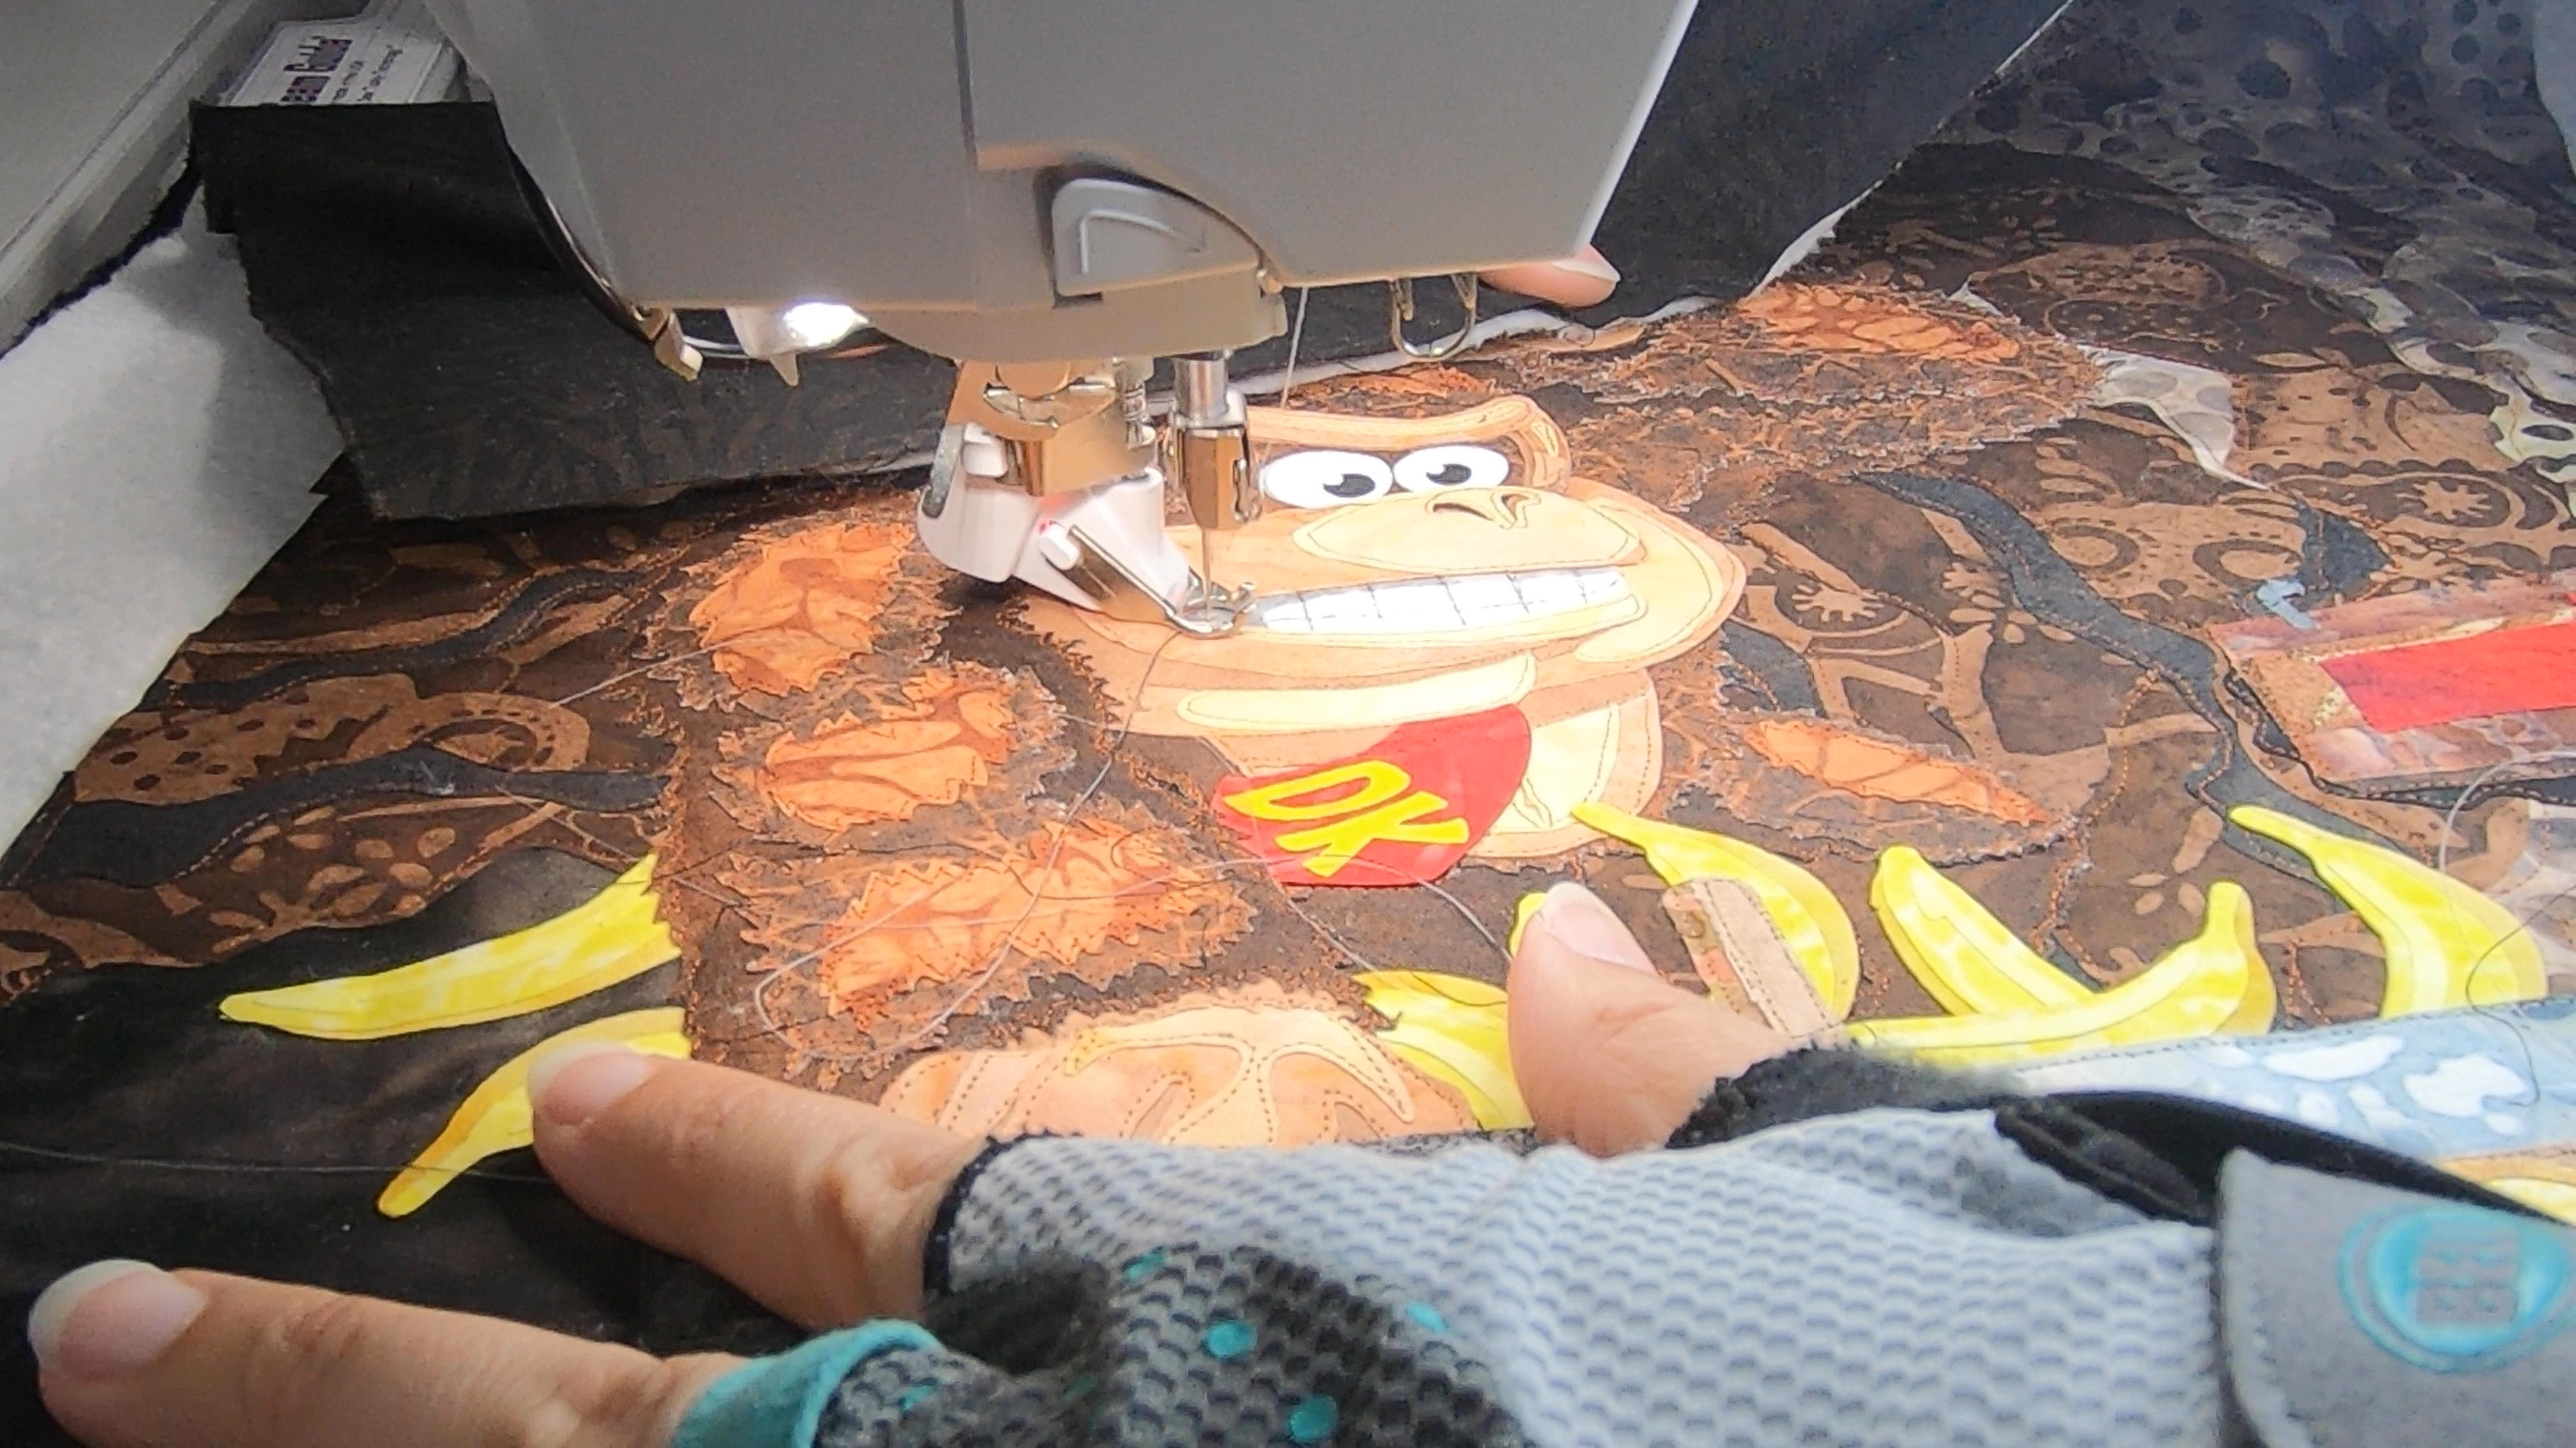
I freemotion quilt my designs using 100wt thread in a raw-edge applique style. That means I use my hands to move the quilt under the needle in a way that causes the stitching to follow the edges of the cut pieces of fabric. Here's what it looks like:
Step 6: Binding, Hanging Sleeve, and Signature
Last but not least, I finished the edges with a black binding and added a 4" sleeve to the back. I also embroidered my signature in the bottom right corner.
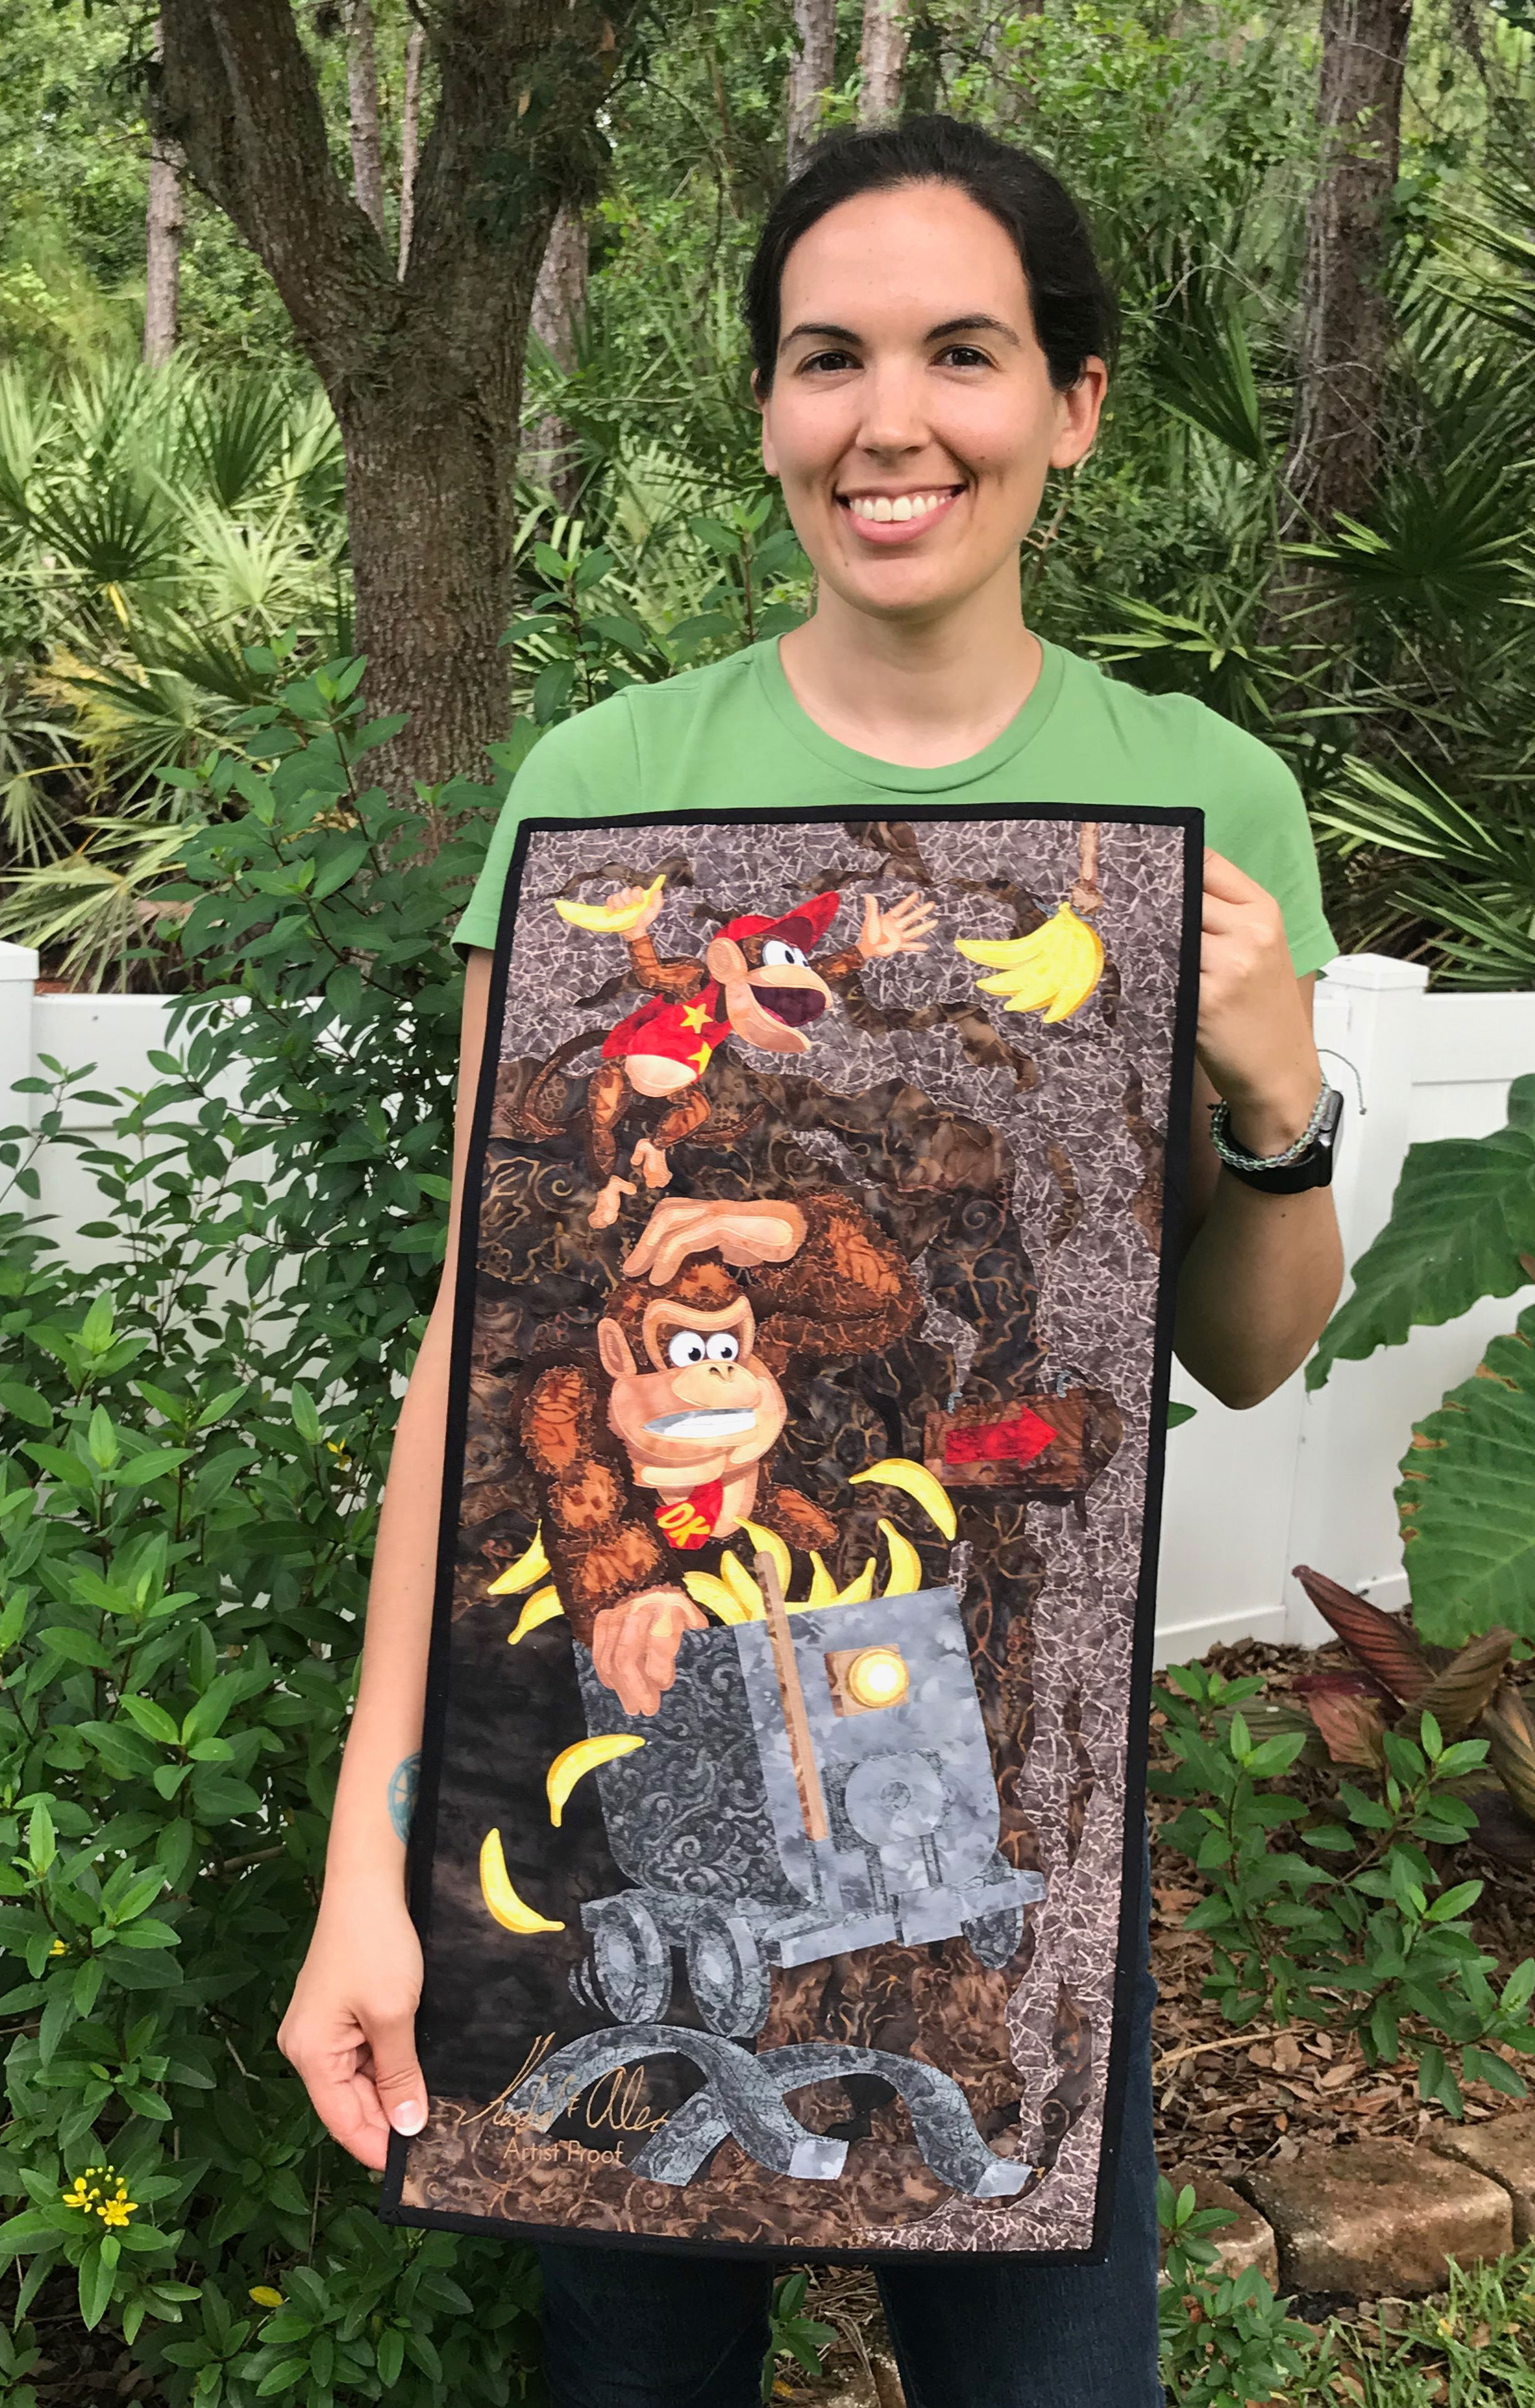
This is my husband's finished quilt:
Limited Editions
I mentioned at the beginning that I made a total of three quilts: one Artist Proof and two Limited Editions. The first limited edition (01/10) is a donation for Games Done Quick (GDQ). GDQ is an organization that hosts speed-runs of video games and raises money for charity.
The second limited edition (02/10) has been submitted to Art of Fandom 2019, a juried art show run by Imurj, a gallery in North Carolina.
