The Last Call Process
- Published:
- Length: 1412 words
- Reading Time: 8 minutes
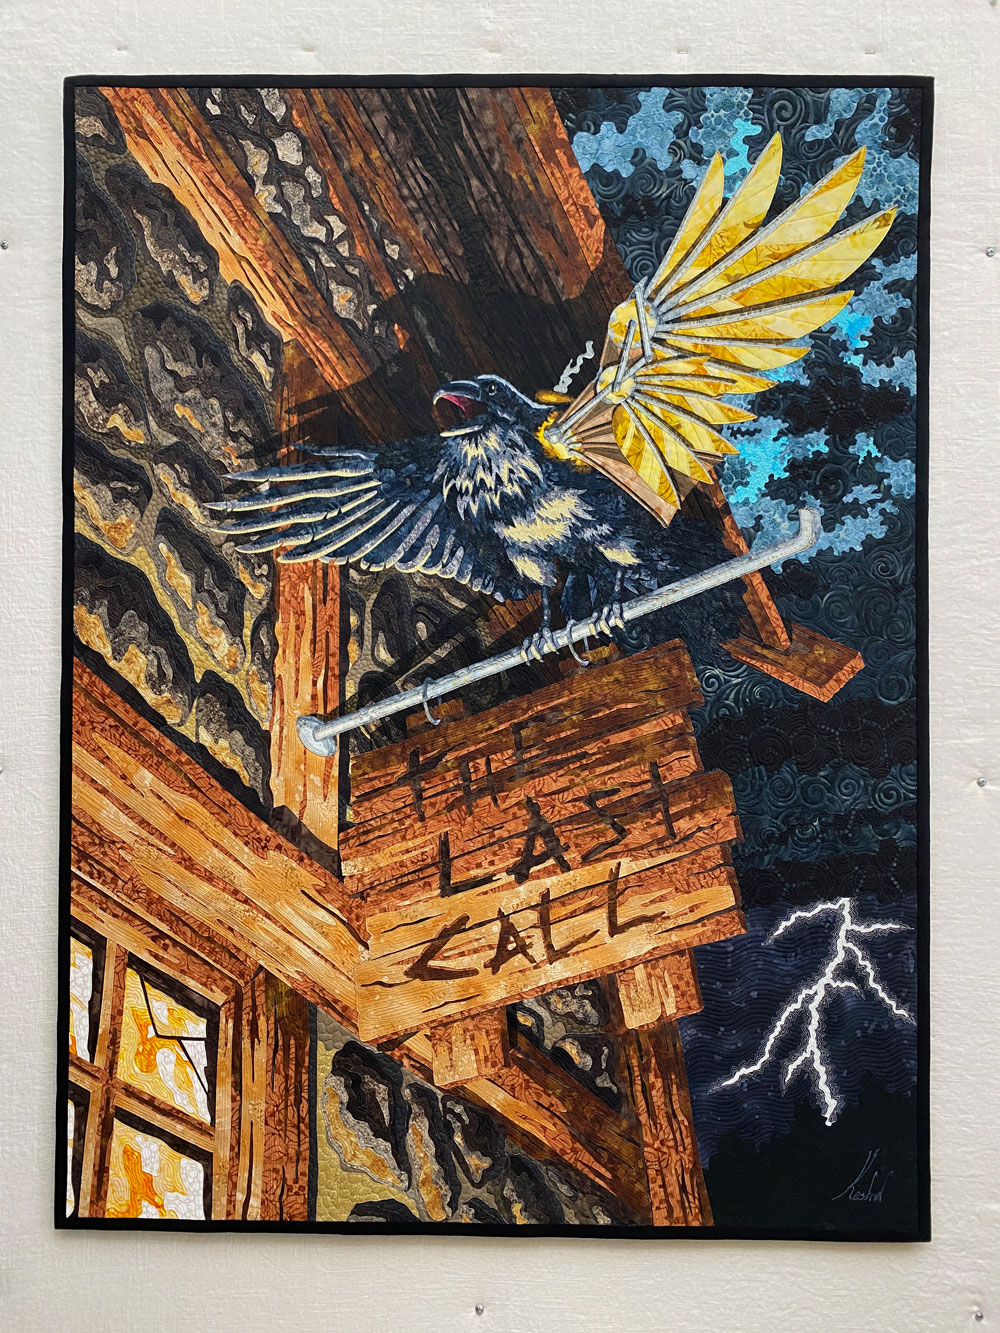
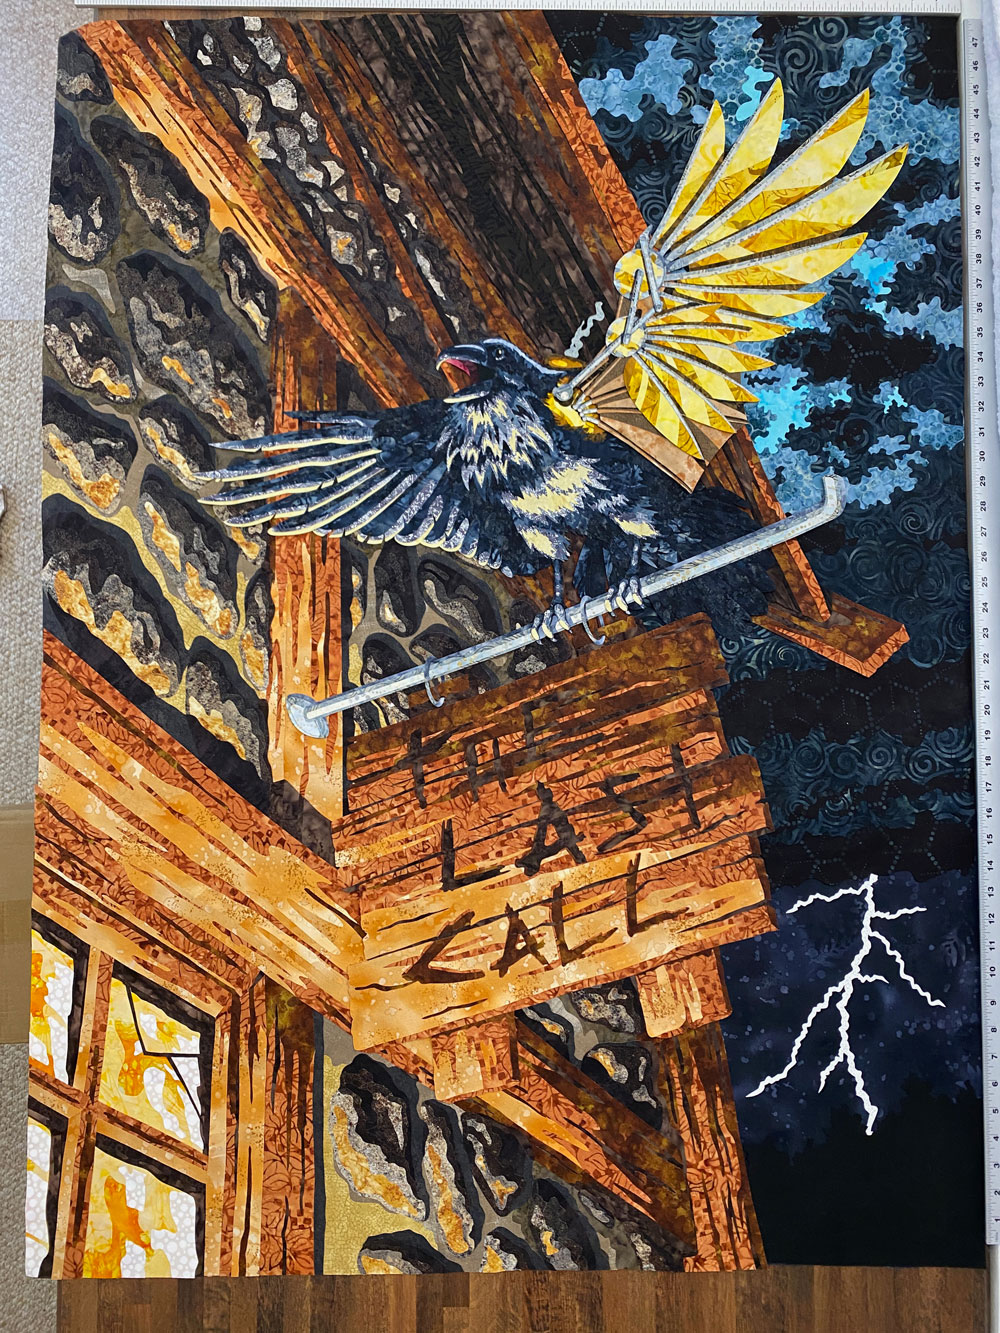
My quilts usually start with a goal in mind, whether that's wanting to convey a specific emotion to the viewer or a personal challenge to do something I've never done before. For this quilt, I asked myself, "What does 'I have a bad feeling about this' look like?" In other words, I wanted to try illustrating the intangible concept of a sixth sense or gut feeling. And The Last Call is the quilt I created to answer that question.
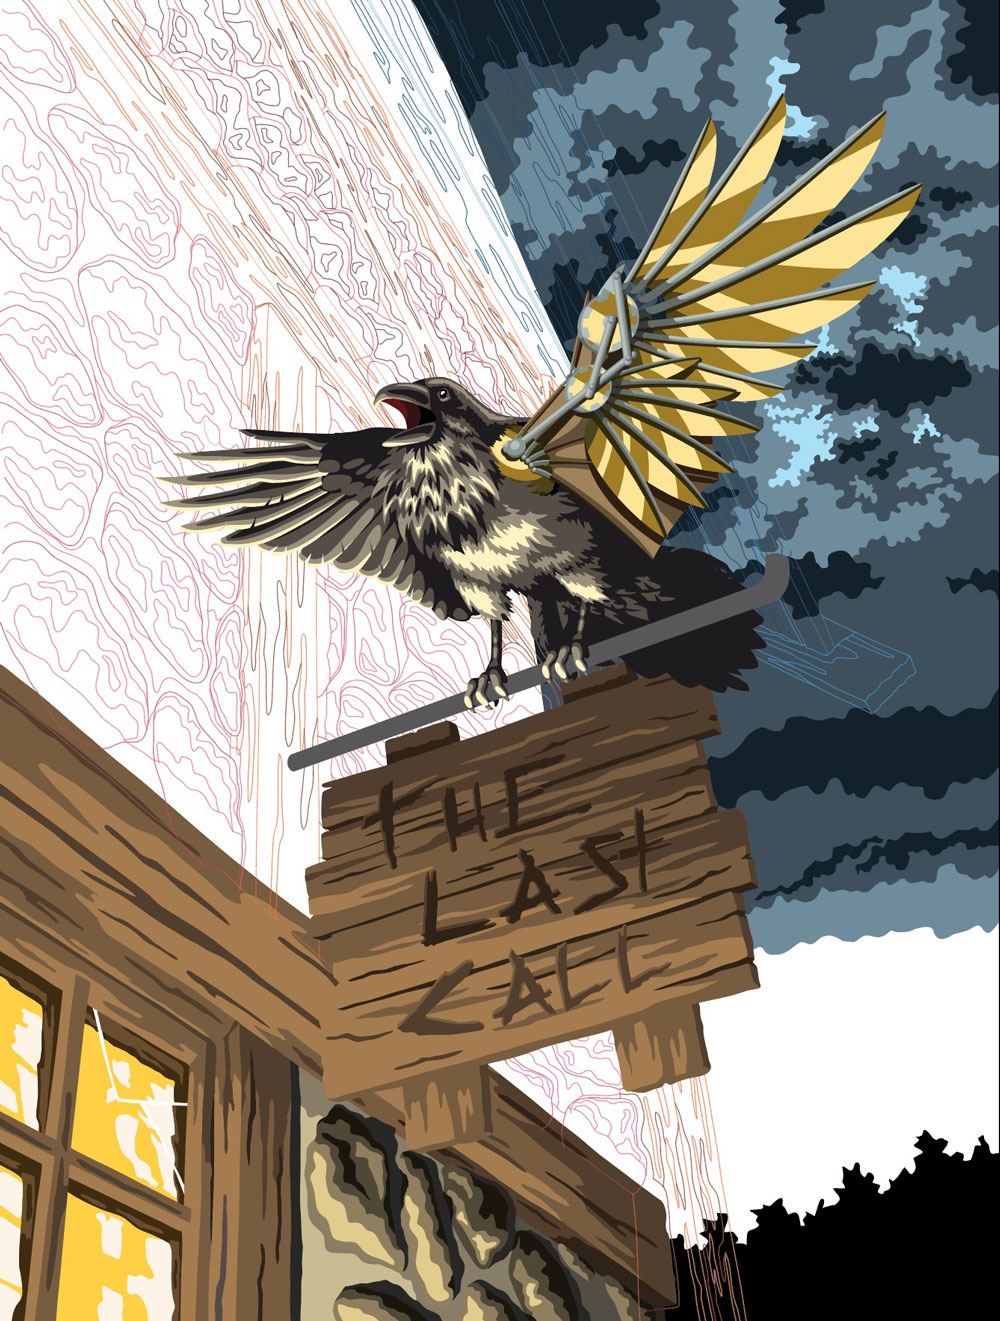
Everything about this quilt was designed to convey an unsettling sense of impending doom. It's a dark and stormy night. The building is weatherbeaten and unkept. The sloppily hand-carved sign hangs on a metal pipe attached to the wall. The lighting is fire-warm and comes from below, causing the raven's shadow to loom up to the roof. The name of the bar implies “the end is coming”. And even the raven is a symbol of death. All of these elements work together to give viewers that gut feeling of "something bad is coming".
Start with Design
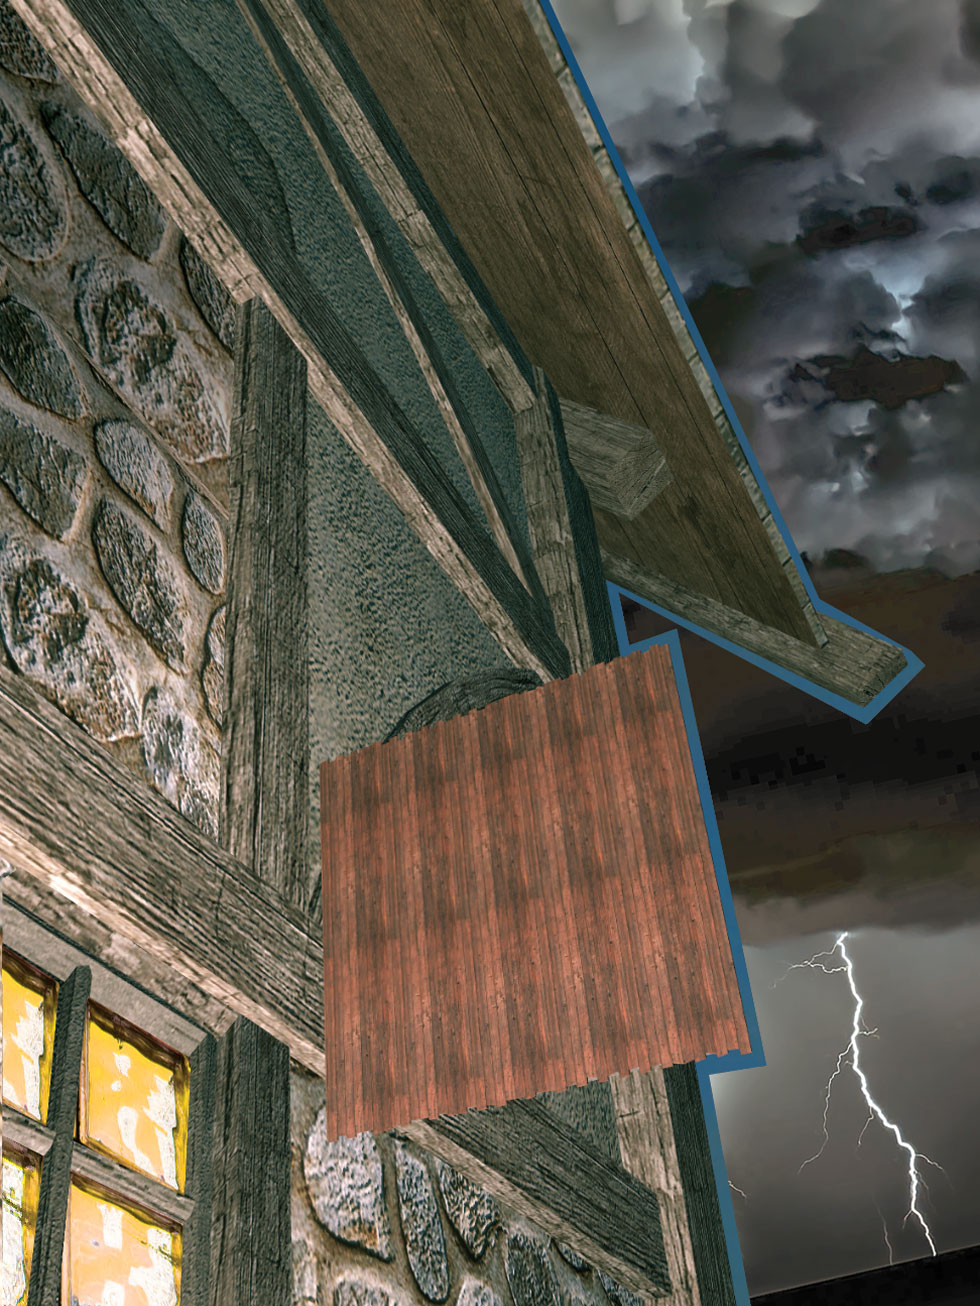
This design was going to require a very unusual camera angle and dramatic three-point perspective, so I once again turned to FlowScape to make a reference. I built the scene in FlowScape and took a screenshot with the camera pointed in the correct direction. I then overlaid the building in the screenshot on a photograph of a thunderstorm. This is the image I used as a basis on which to draw my template.
The raven, Jacques, came from a past design, with some changes. Jacques first appeared in Jason's quilt. But although he was at mostly the correct angle, the lighting was all wrong. I ended up re-drawing Jacques from the Jason quilt with the correct lighting and gave him an entirely new wing in the process.
Create the Template
I drew my design in Concepts. This was tricker than usual when it came to the building. The stones making up the wall of the bar look flat in the screenshot up above. They have some highlight and shadow, but no dimension. That's because they're "textures" (ie. 2D artwork applied to a 3D object). They're an optical illusion.
For me, it meant I had to draw my stones actually 3D and not just as textures. I also had to draw stones where there aren't any in the digital building. Finally, I had to make up new lighting for the stones, since the stone texture was drawn with overhead lighting and I needed my lightsource to be "off-page" to the bottom left.
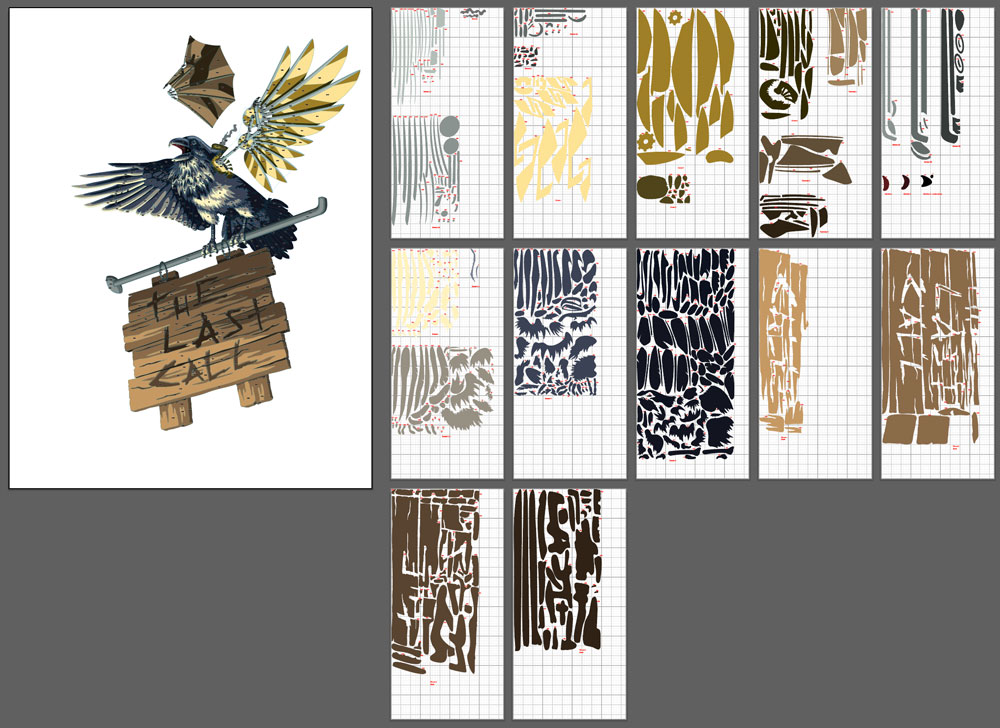
Here is the full drawing before I started adding color in Adobe Illustrator.
This screenshot shows part of the drawing with color.
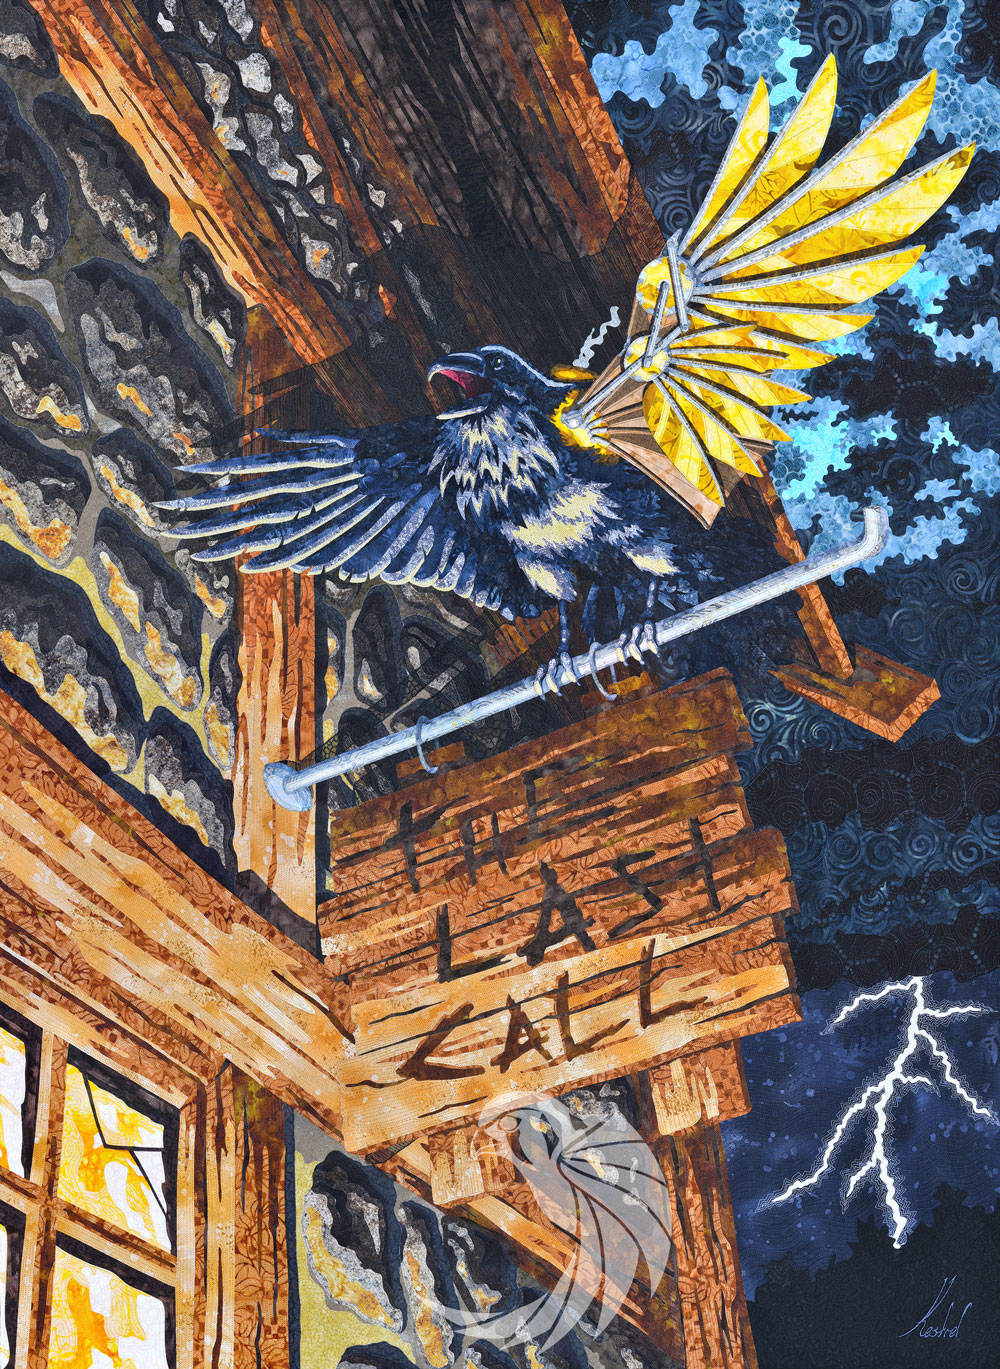
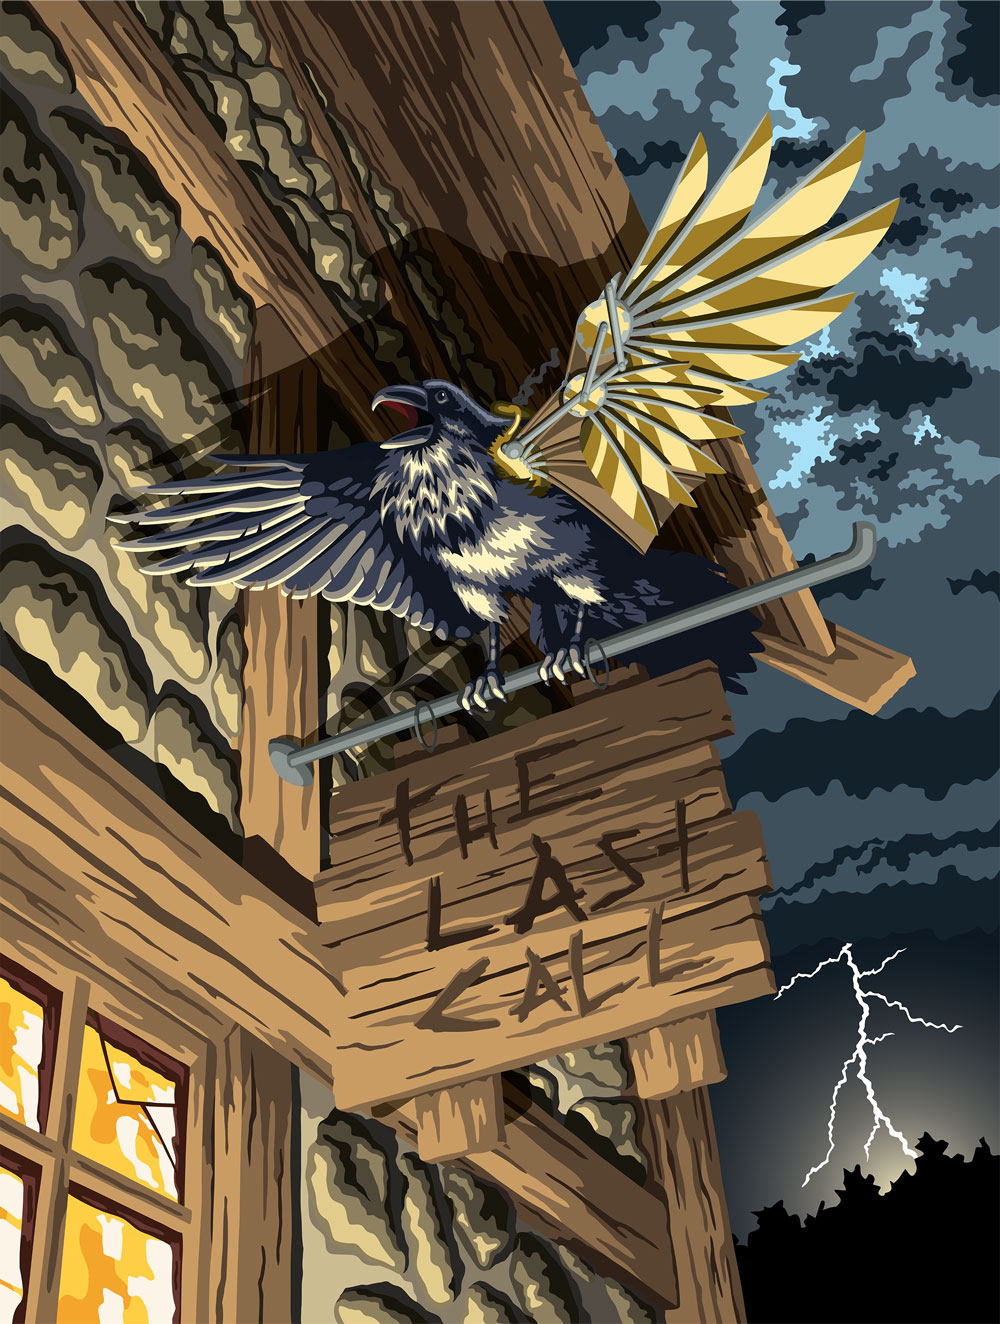
And here is the finished, full-color template.
Add Overlap
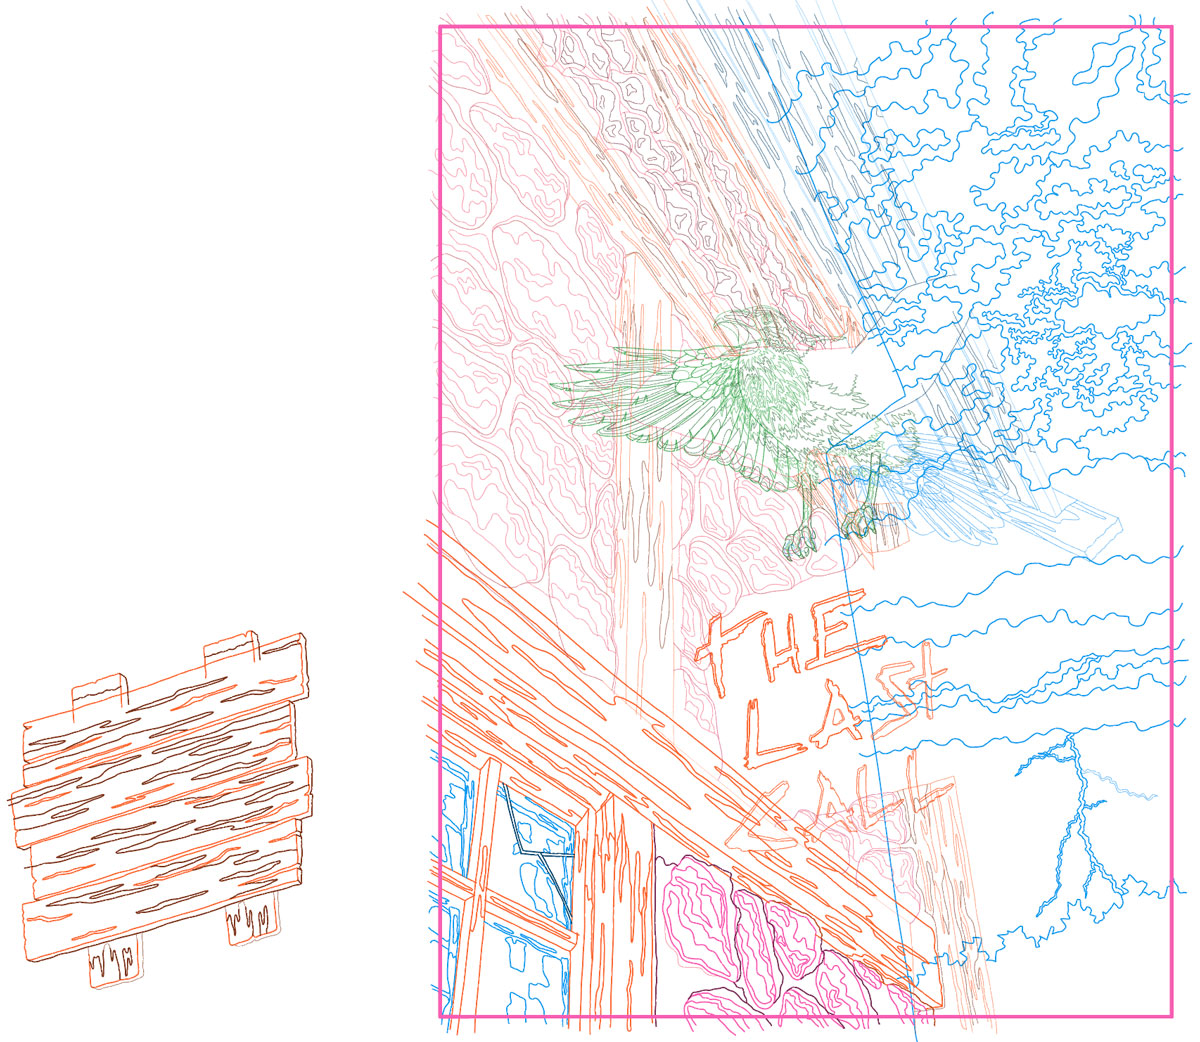
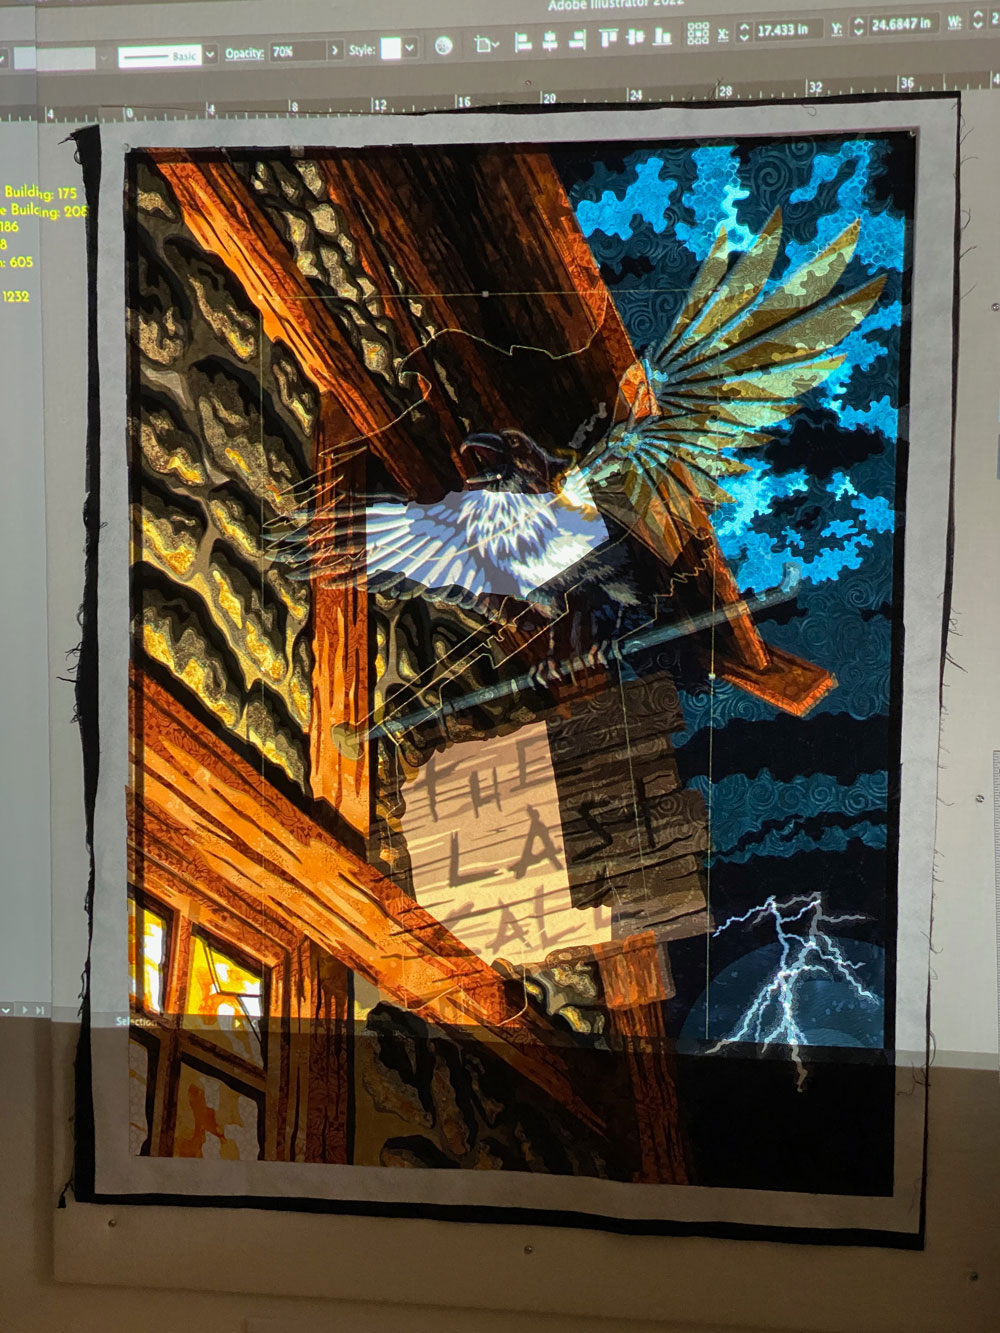
At this point, my design is finished, but not yet ready to cut. The template above is like a jigsaw puzzle: Every edge perfectly meets its neighbor. There's no overlap. Take a look:
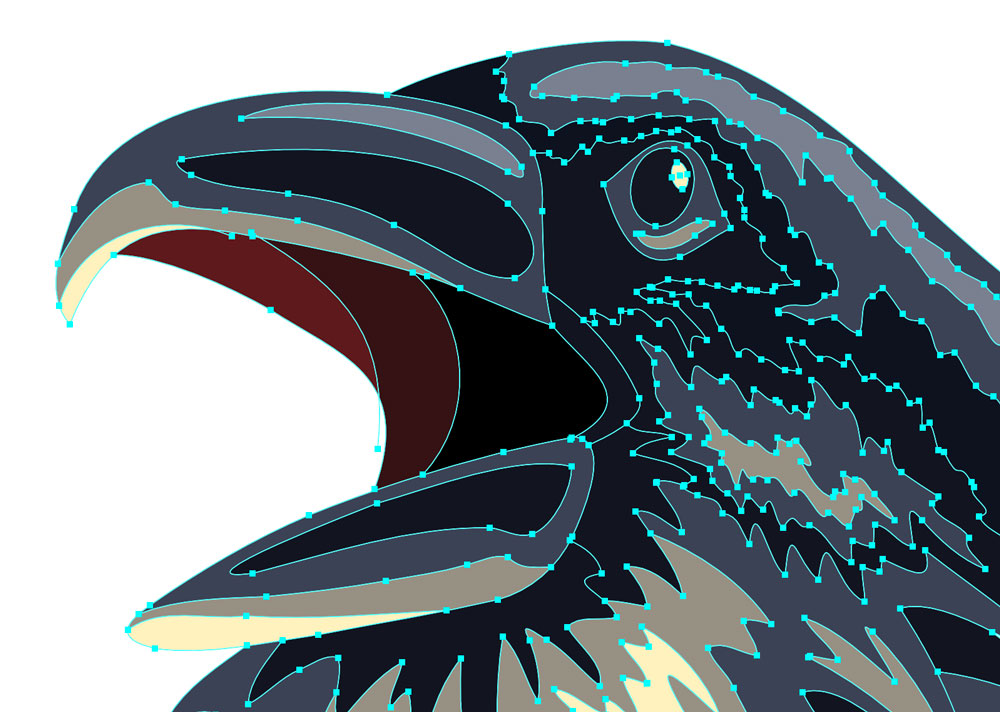
See the bright blue lines outlining each shape in the image above? Each shape perfectly meets its neighbor, just like the pieces of a jigsaw puzzle perfectly fit together. Unfortunately, my fused appliqué quilting technique requires cut pieces of fabric to stick together...and that means the pieces have to overlap. It's up to me to go through the entire digital design and add that overlap, piece by piece.

Now those blue lines are all over the place. They're still outlining each shape, but the pieces have been expanded to over- and underlap each other.
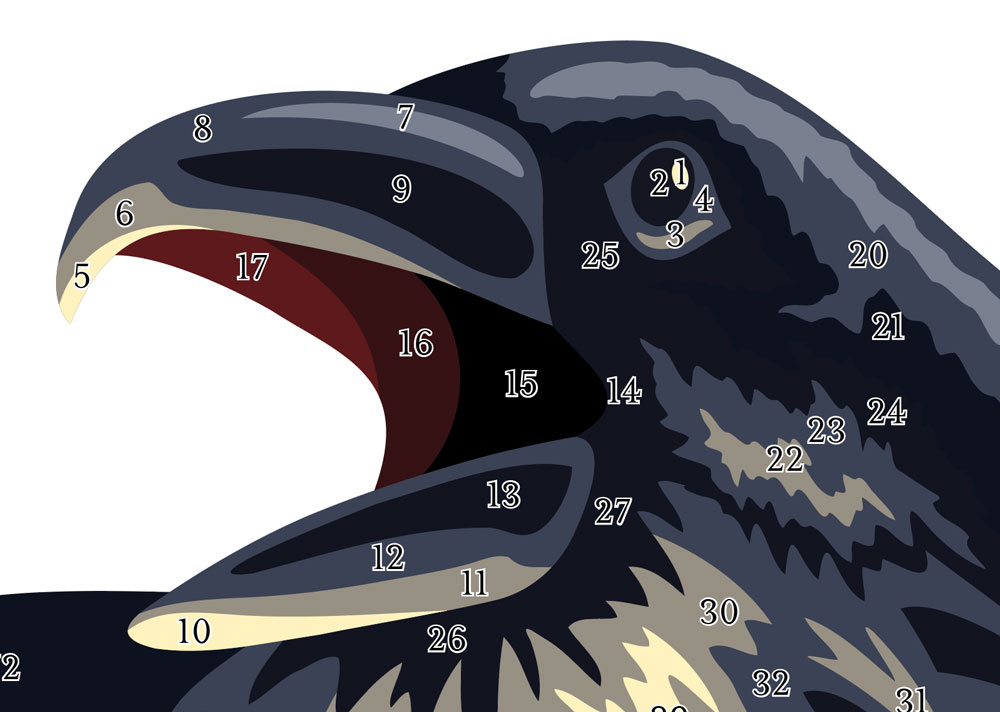
During that process, I also assign each piece its own number. This will let me assemble the cut pieces of fabric by matching the piece to its precise location on the template.
Last but not least, all of those pieces have to be arranged without touching so my Cricut machine can cut them. I re-organize the pieces by color onto separate artboards that match the size of a sticky cutting mat. These artboards are the files I upload to my Cricut software for cutting.
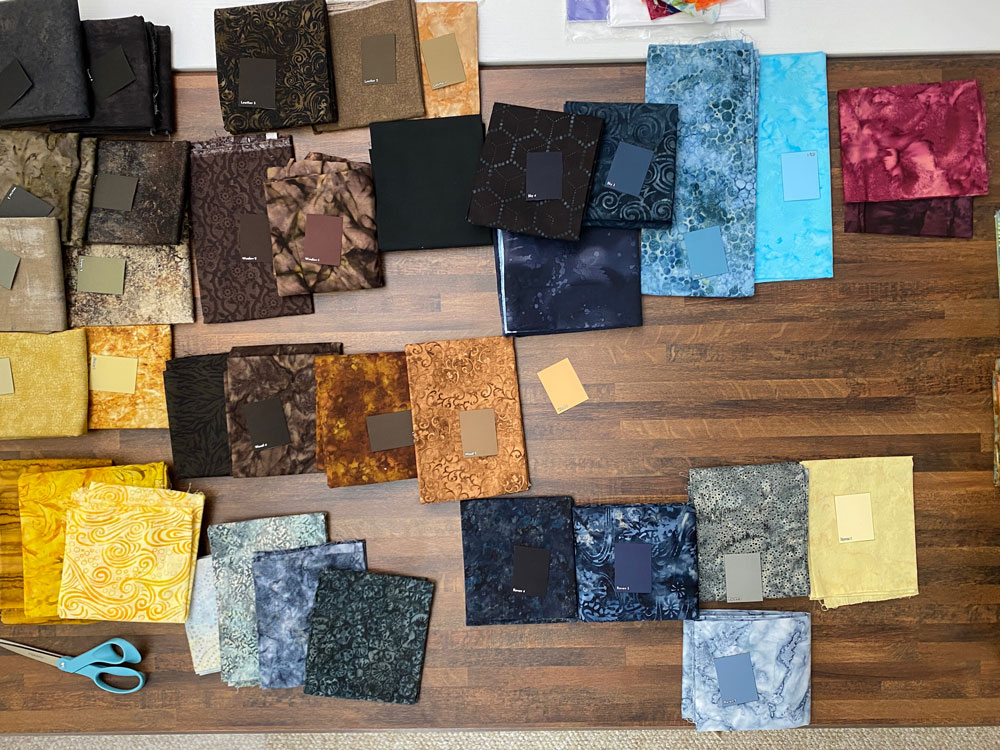
Pick and Print the Fabric
All but one of the fabrics used in this quilt were off-the-shelf prints and batiks purchased at several local quilt stores. I take the colors in the template, print paper tickets, and use those tickets as reference to pick the fabrics. This is how I get my digital design out of my computer and into the real world.
Treat and Cut the Fabric
I use Wonder Under fusible and treat all of my fabric with a diluted Mod Podge solution to prevent fraying. Once the fabric is wet, I let it dry overnight in the A/C and then it's ready to cut.
I use a Cricut Explore Air 2 cutting machine to cut all of my fabrics because it's significantly faster and more accurate than I ever could be with scissors. For The Last Call, I streamed the process of cutting to my Patrons during one of our monthly LiveStreams. Here is a screenshot from that event:
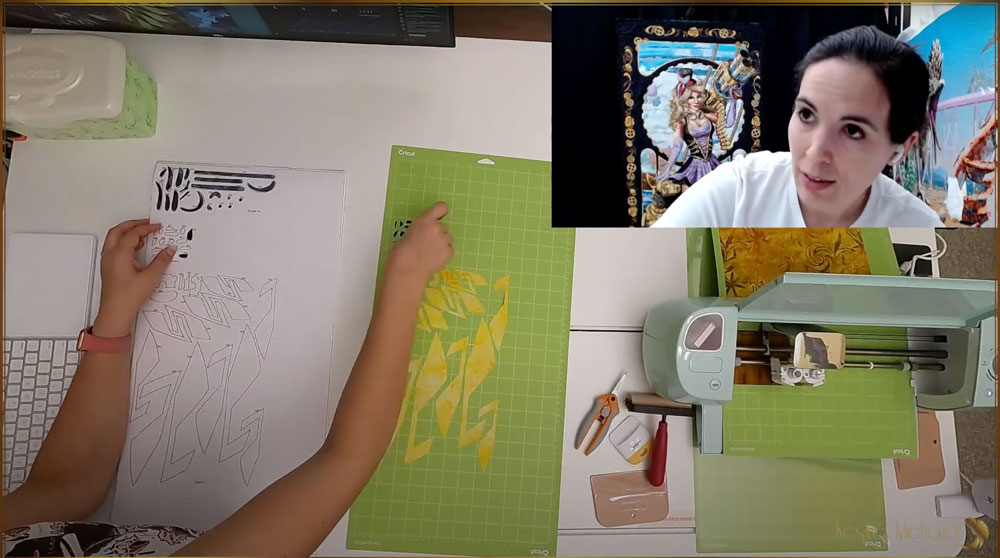
I always work with two sticky mats at a time — one runs through the machine for cutting while I remove already-cut pieces from the second. In the above image, I'm in the process of transfering cut pieces of fabric that will make up the raven's wing to a number match sheet for temporary storage while my Cricut cuts the next mat.
Assembly
Once all the pieces are cut, it's time to assemble the artwork by fusing them together. I take a full-size printed template and place it under a clear, non-stick pressing sheet. Then I line up each piece according to the number on the template and iron it in place, one by one until the entire picture is finished.
Here's a close-up of the raven's head. I'd just started putting him together. The printed template is visible through the translucent pressing sheet.

I recorded a time lapse video of assembling the raven and his mechanical wing. This took about 5 hours in real life, but the video is condensed into a little more than 6 minutes.
This is a photo I took after finishing the assembly. The raven's shadow, which was made from tulle, is not yet in place and no stitching has been done.
Time to Sew
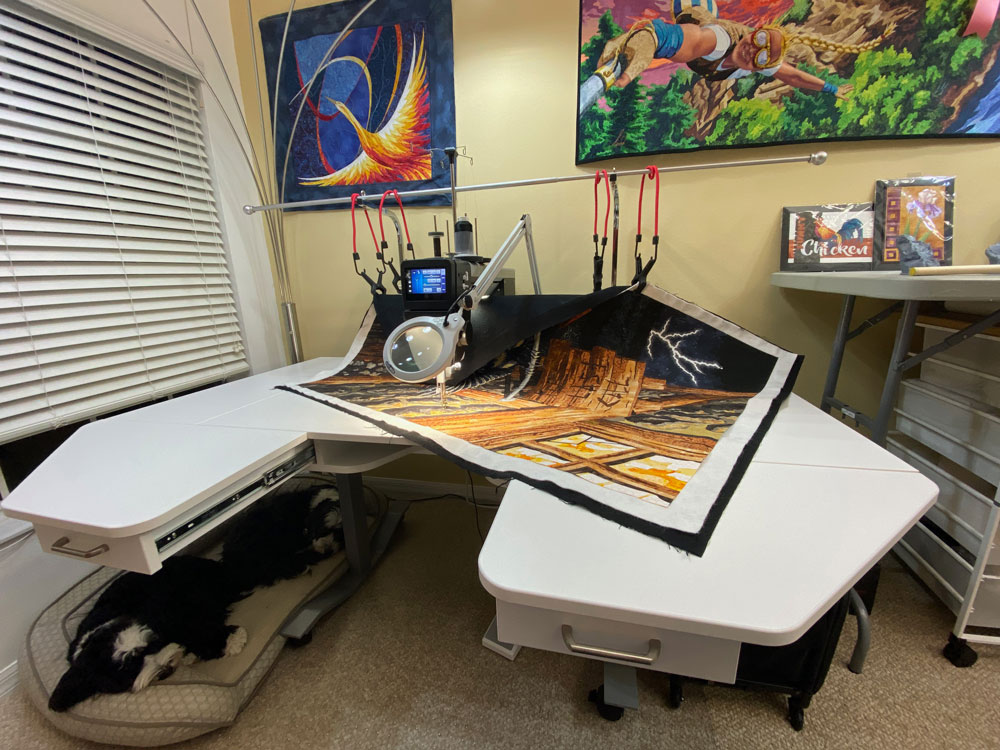
This quilt was stitched entirely by free-motion on my sit-down Q20.
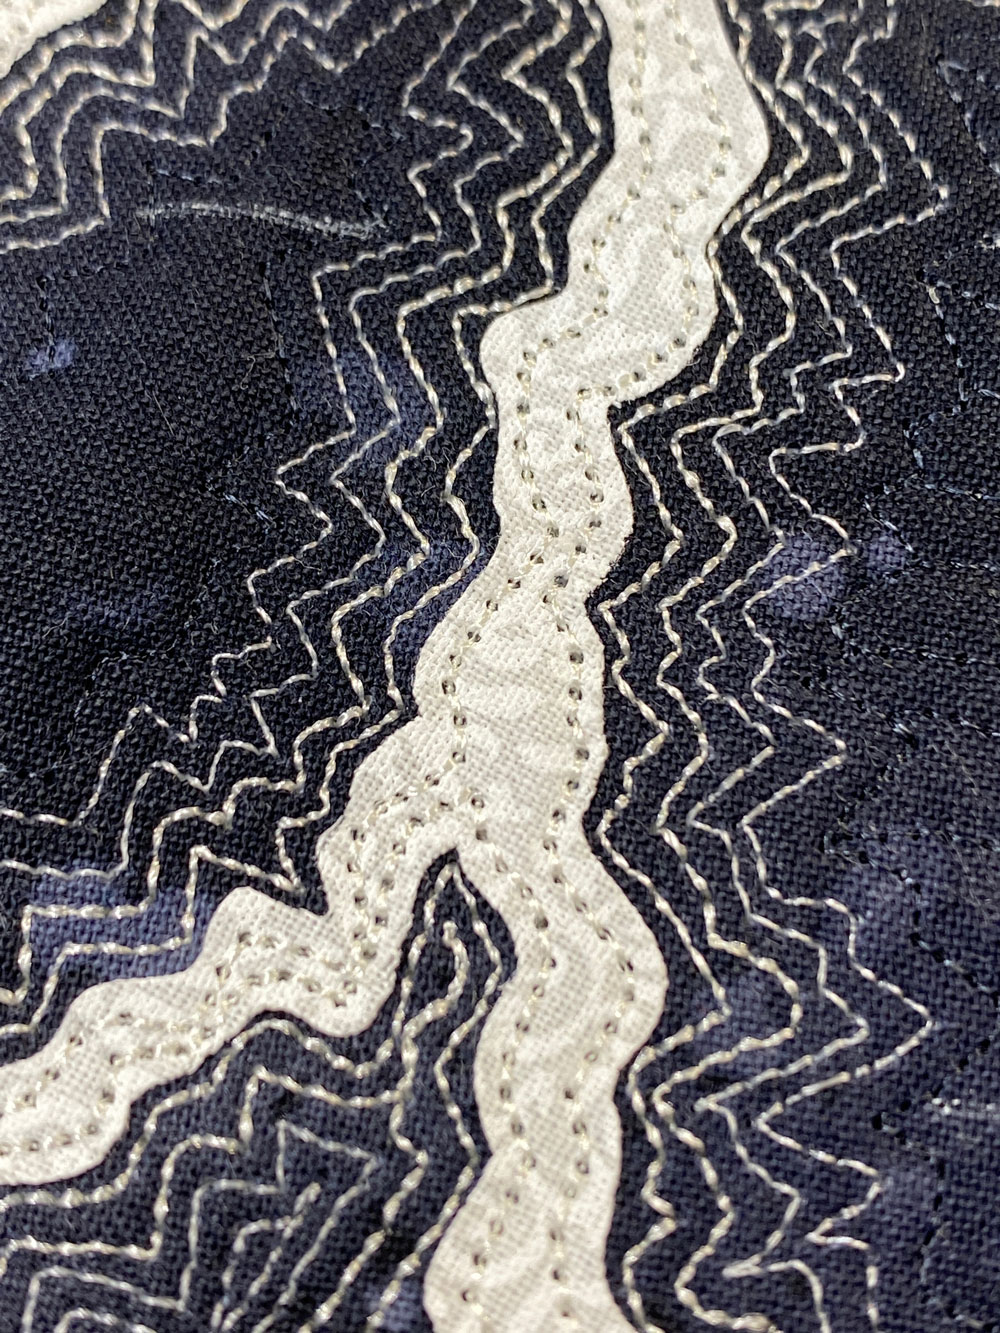
To make the lightning feel electric, I quilted echoing lines of consecutively thinner thread around the bolt, with 40wt thread closest to the bolt and 100wt thread furthest away.
To make the raven's shadow, I pinned the quilt sandwich to my design wall and projected the template onto the fabric. I used a heat-sensitive fabric pen to trace the outline of the shadow onto the quilt sandwich.
Then I placed four layers of black tulle over the shadow area, stitched the drawn outline of the shadow to hold the tulle in place, and quilted the tulle with 40wt black thread.
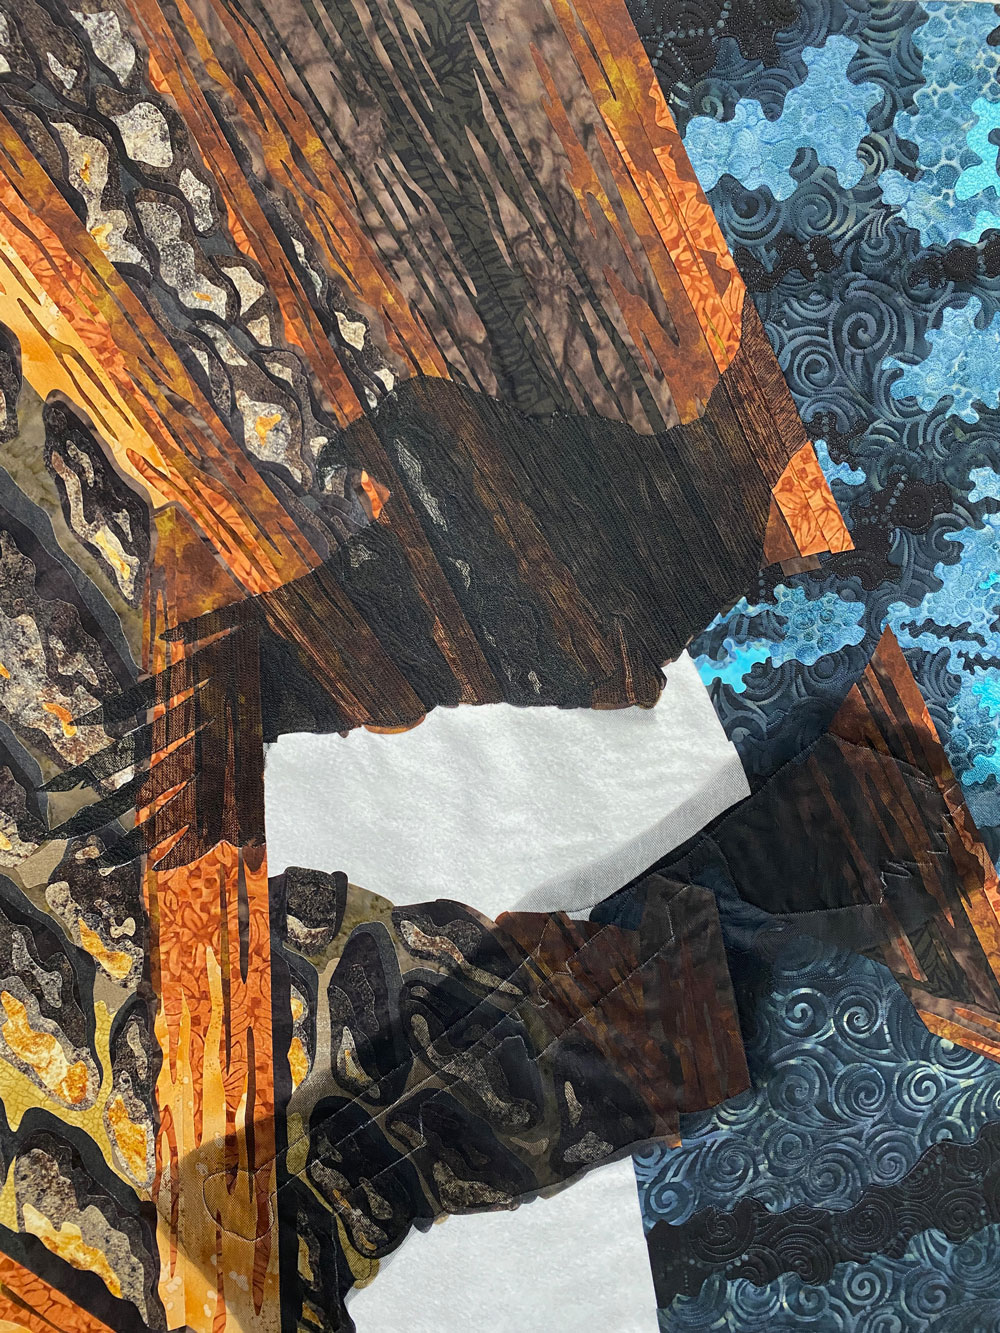
In this photo, the upper portion of the shadow has been quilted and trimmed. The lower portion of the shadow has not yet been stitched.
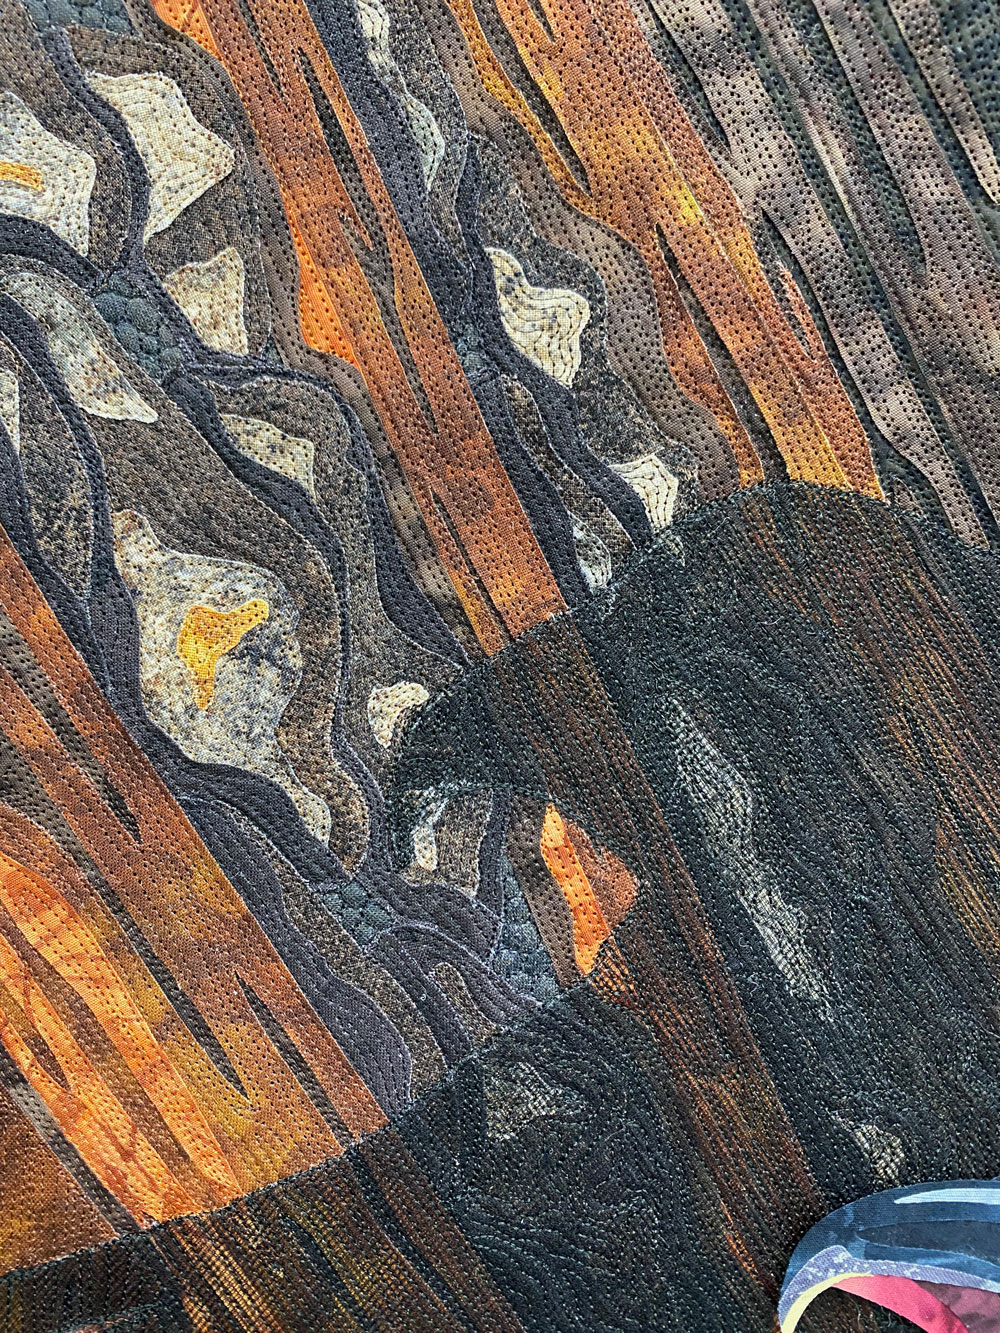
Other than the lightning bolt and shadow, the rest of the quilt was stitched with 100wt polyester thread. Here's a detail of the quilting on the building meeting the shadow behind the raven.
All done!
Once the binding and hanging sleeve were added, this quilt was done!