Making a Patch
- Published:
- Length: 335 words
- Reading Time: 2 minutes
While assembling (ie. ironing the fusible fabric pieces together) my latest quilt, Bremen Town Musicians, I realized I'd made a mistake. This particular mistake is one I've encountered before, but this time I grabbed my camera and documented the process of fixing it.
Mistakes Were Made
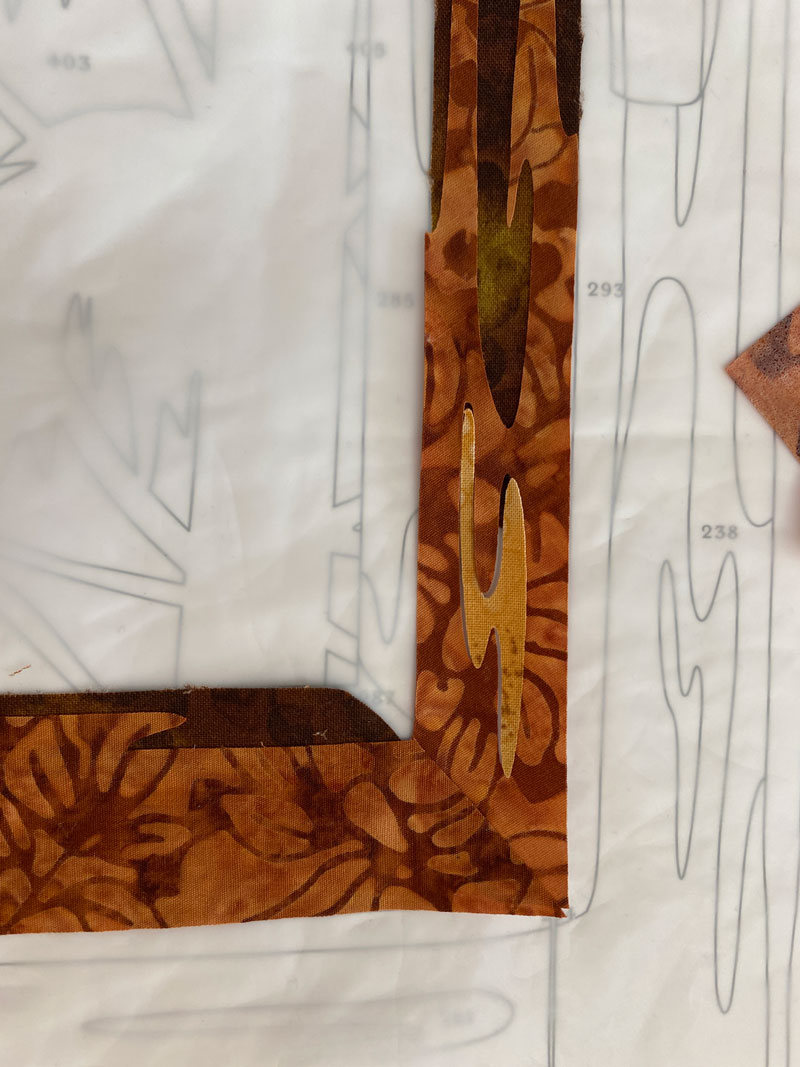
The area in question is part of the wooden frame for one of the windows. The specific problem is the squiggly hole, which you can see in this photo:

There was a separate piece, #277, that was supposed to go exactly in that spot. Like this:
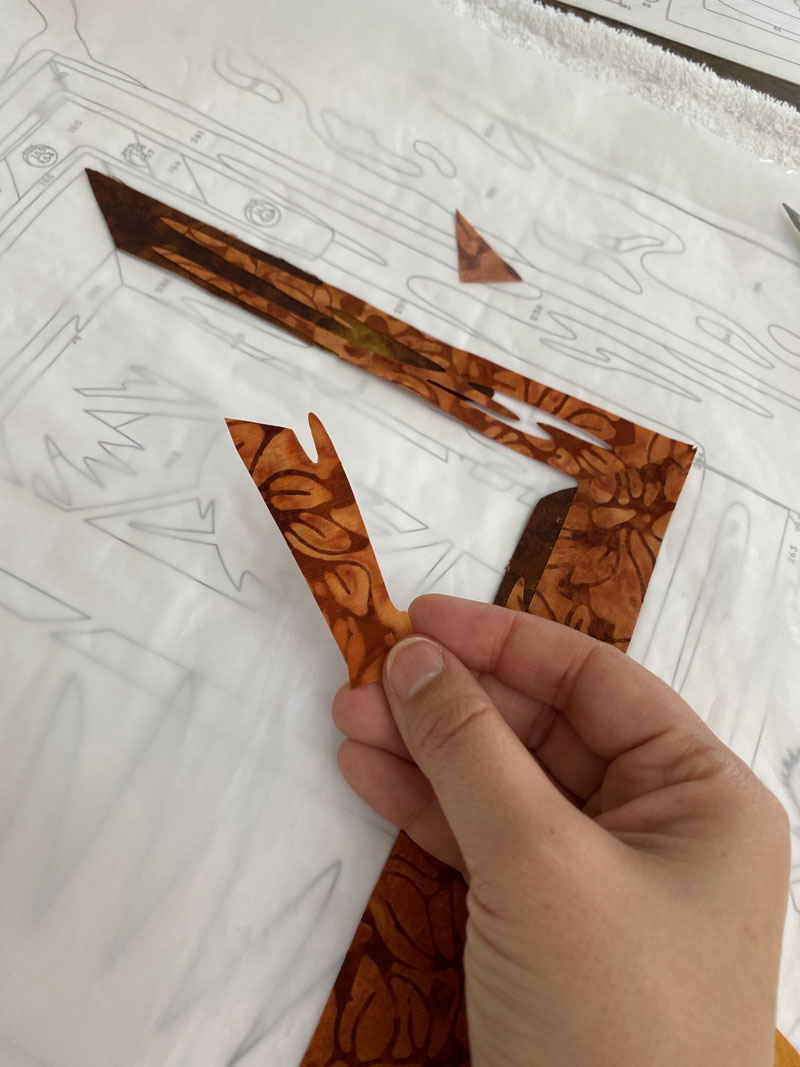
Because I forgot to remove that line from the cutting file for the piece above, I now had a piece that fit perfectly in the gap. This was a problem because both pieces fit together like a jigsaw puzzle; there was no way to fuse them together, since that would have required overlap.
The Fix
The way I fixed this problem is by patching it. I cut the patch from the fabric scrap leftover after I used my Cricut to cut that particular material, so this little section was already backed by fusible and treated with Mod Podge.
Next, I placed that patch directly under the errant hole and ironed it in place.
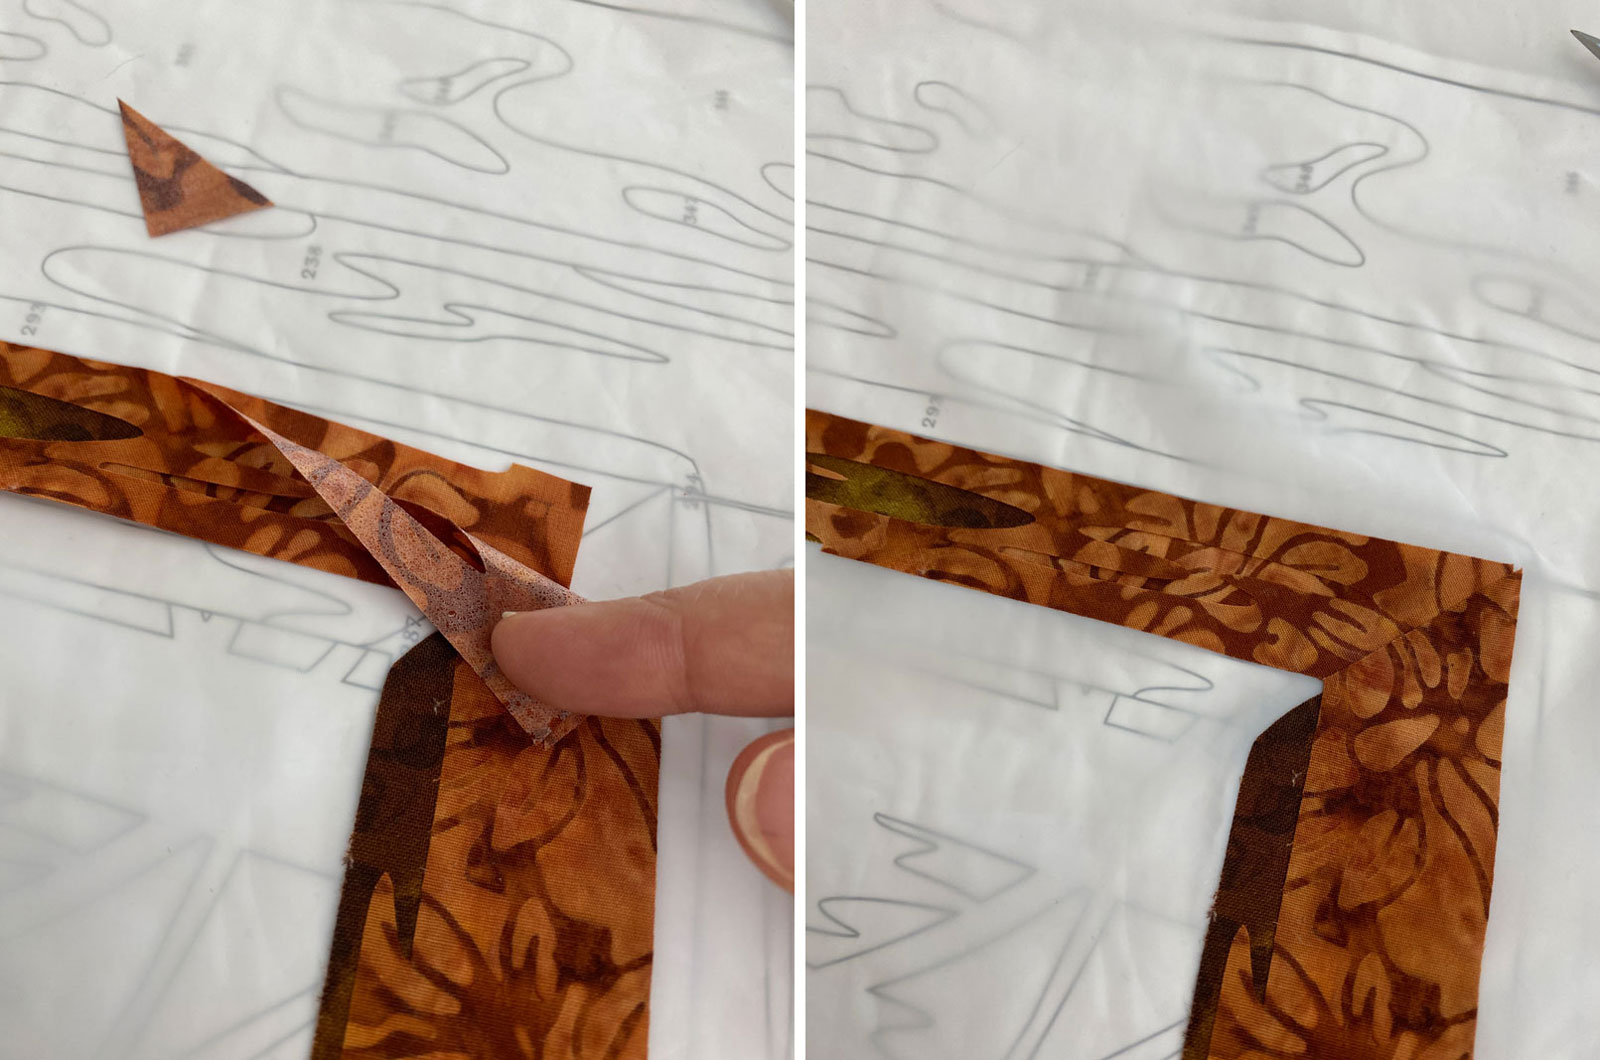
Last but not least, #277 was ironed in its spot on top of the patch. It fits perfectly inside the hole, so the patch isn't visible, and no one will be the wiser to my fix.

It's always better to not make a mistake in the first place, but sometimes, despite our best efforts, they happen anyway. Having a plan for repairing easily-fixable boo-boos can keep a project rolling without too much frustration.
