Planning Stages
- Published:
- Length: 1316 words
- Reading Time: 7 minutes
One of my Patrons, Donna M, recently asked me about my planning process. She said:
In watching your videos, on a number of occasions you've said things like, "I knew I wanted his skin to be bumpy so I picked a pretty non-textured fabric. and planned to quilt with pebbles". I am curious about your project planning process. Do you just remember your ideas? Make random notes to yourself as you think of them and hope you can find them all as the time comes? Have a relatively formal planning process before you cut fabric? And down to what level of detail?
This month's post is intended to shed some light on my design process. It will not be a step-by-step breakdown of the steps taken to create my quilts. I've posted about that before. Instead, I've tried to focus on elements of my process that aren't a physical step yet nonetheless have an impact on the final quilt design.
One project (maybe two) at a time
I prefer to work on one project, from start to finish, at a time. This allows me to keep all planning thoughts in my active memory without needing to keep written notes (more on this below). Although I keep a long list of ideas, once I decide to work on new design, that's all I work on until I've finished quilting.
Since starting my Patreon , I've expanded my "active projects" to two. The first is my own, personal quilt project, usually my next show quilt. The second is the quilt-along I'm teaching in Patreon.
List of ideas
I keep an ongoing list of ideas. It's a simple text document and each line item is a different idea. I'll usually add a sentence or two describing the picture in my head so I have some context to what I was thinking when I come back in the future.
Here's an example entry:
“Timekeeper”: Close-up of hand holding an open pocket watch. Dragon engraving on inside of watch is coming alive and wrapping around hand/watch (a la Escher’s hands drawing themselves). Pocket watch is extra fancy, more going on than just keeping time (ie. Planetary movements?).
Keeping a list serves two purposes: I only have so much processing capacity in my brain, and writing down an idea clears it from my head without losing it. This helps me focus on one active project at a time. The second benefit is if I'm ever short on ideas, I have a go-to resource to start my brainstorming.
Size is determined by complexity
Usually the size of the quilt is dictated by the complexity of the design. After 20 years of making pictures out of fabric, I have a gut feel for how many pieces of fused appliqué fabric I expect to be needed for any given design, the relationship of how large those pieces will be when cut from fabric, and therefore how large the overall quilt design must be.
I have a firm size limit in the small direction — I can't make any pieces smaller than about 1/8" or they will be destroyed when quilted. But there isn't really an upper size limit, so when in doubt, I always scale up (make my quilts larger).
Generally speaking, though, I know which designs will require a larger size to execute successfully. Not Today, for instance, had over 2,000 pieces of fused appliqué fabric; it's 39" x 51".

On the other hand, Luke here only has about 150 pieces in it, and therefore did just fine as a 12" x 12".
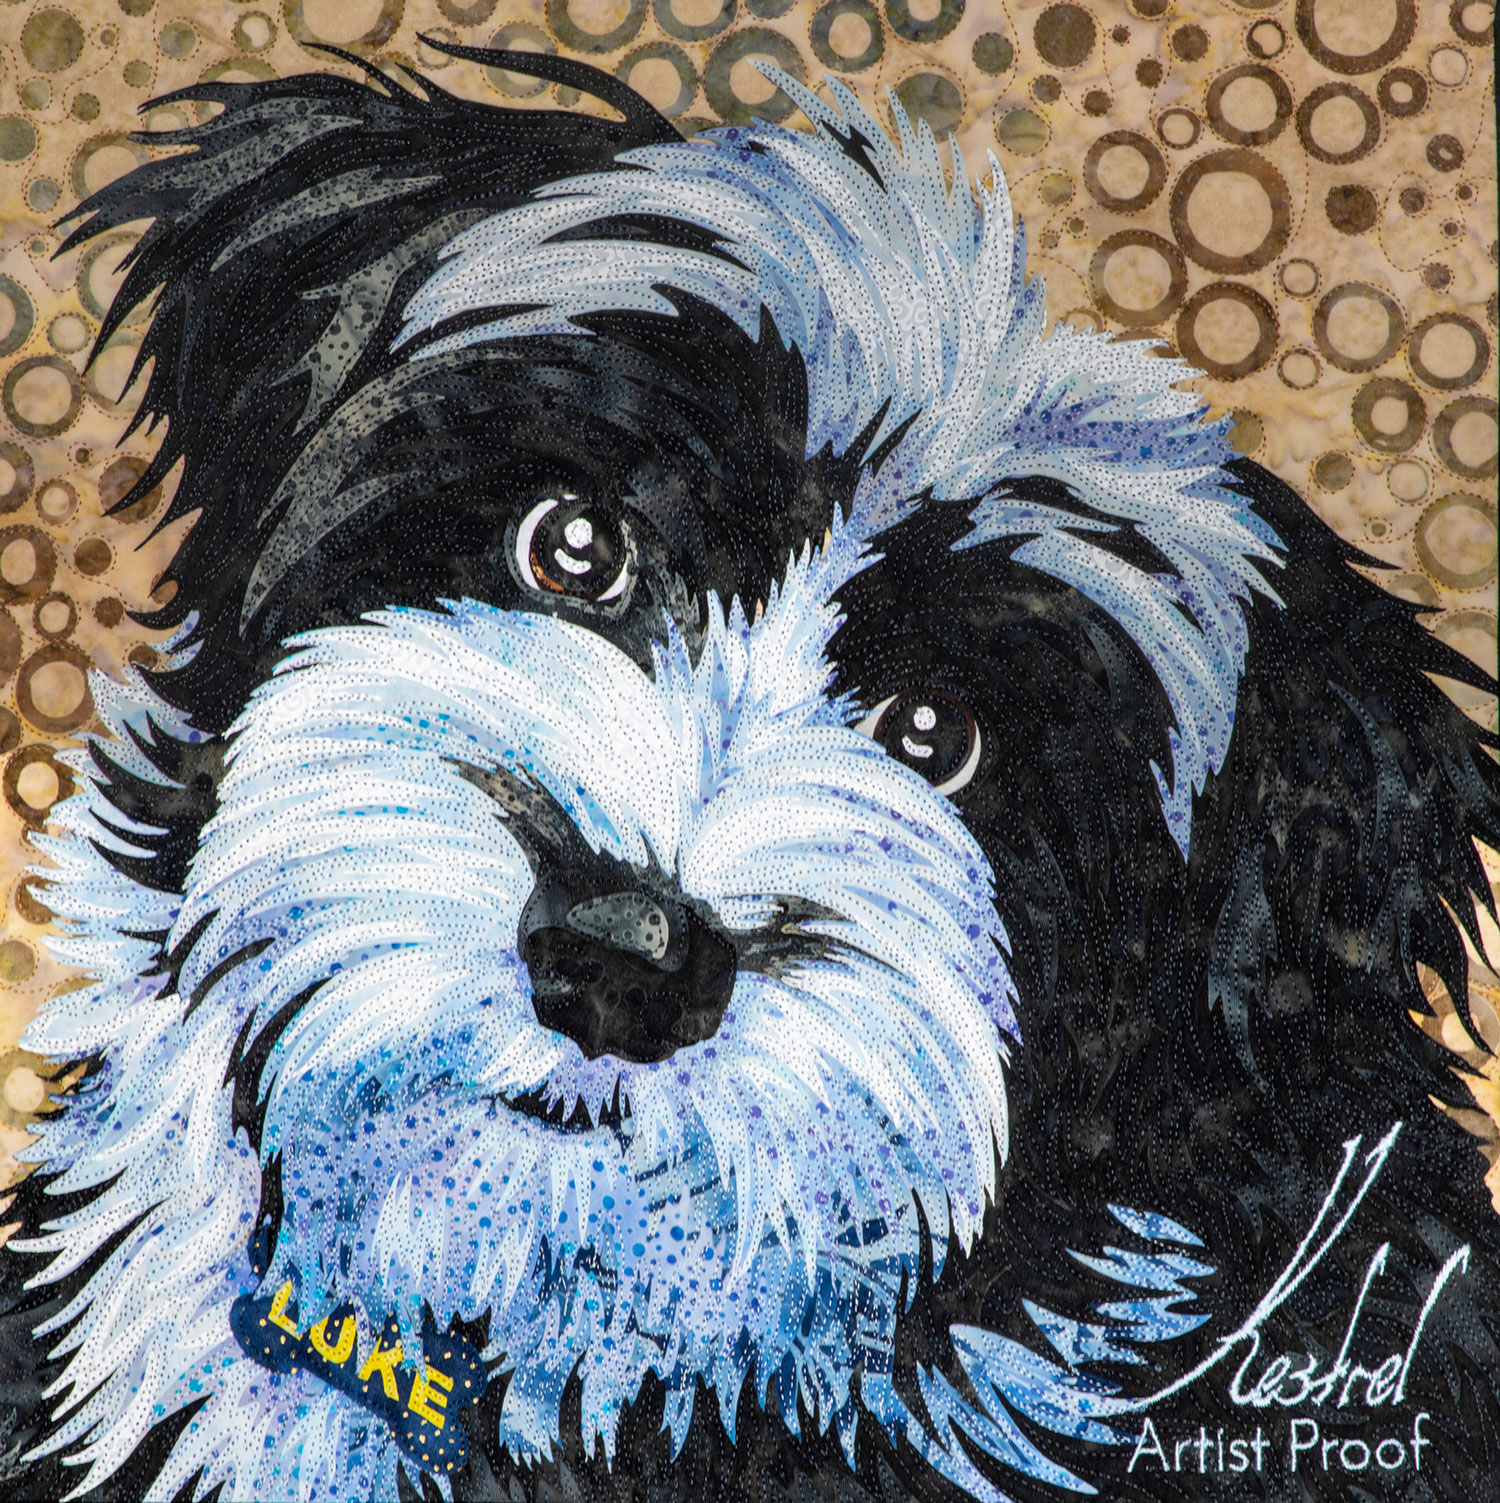
Here is a side-by-side image to show how they compare in physical size.

On rare occasions, the design itself is determined by the size of the quilt — usually if I'm planning to enter a show that has a firm size requirement. I initially started doing pet portraits as donations for the SAQA Benefit Auction because the size requirement is a firm 12" square, so anything more complicated than my dog's face wouldn't work.
Formulaic process
The process I use to make my quilts is formulaic by design. Every step has rules or guidelines. I know that following my rules will result in a successful design on a show-quality quilt.
One of the rules I've made for myself is about the fabrics I use. Fabrics will very strong textures are only used in the foreground. Fabrics with minimal or no textures (solids) are used for the background. Doing this helps create the illusion of atmospheric perspective.
Because I have this series of rules, there's no need for me to do any technical planning up front. I have confidence in my process that it will result in a quilt I'm proud of regardless of subject. It's very reassuring. But it could also get boring, which is why I also like to add challenges for myself.
Add a "challenge"
A "challenge" is something I haven't done before and is often an experiment. It could be using a new material or trying a new design, as long as whatever it is is new. I have to figure out how to work this new thing into my existing process of fused appliqué design.
I like to give myself challenges for two reasons:
- It keeps things interesting
- They help me learn more about my chosen medium (which I'm calling "fabric" but really includes everything associated with making a quilt, such as thread, fusible, batting, etc.)
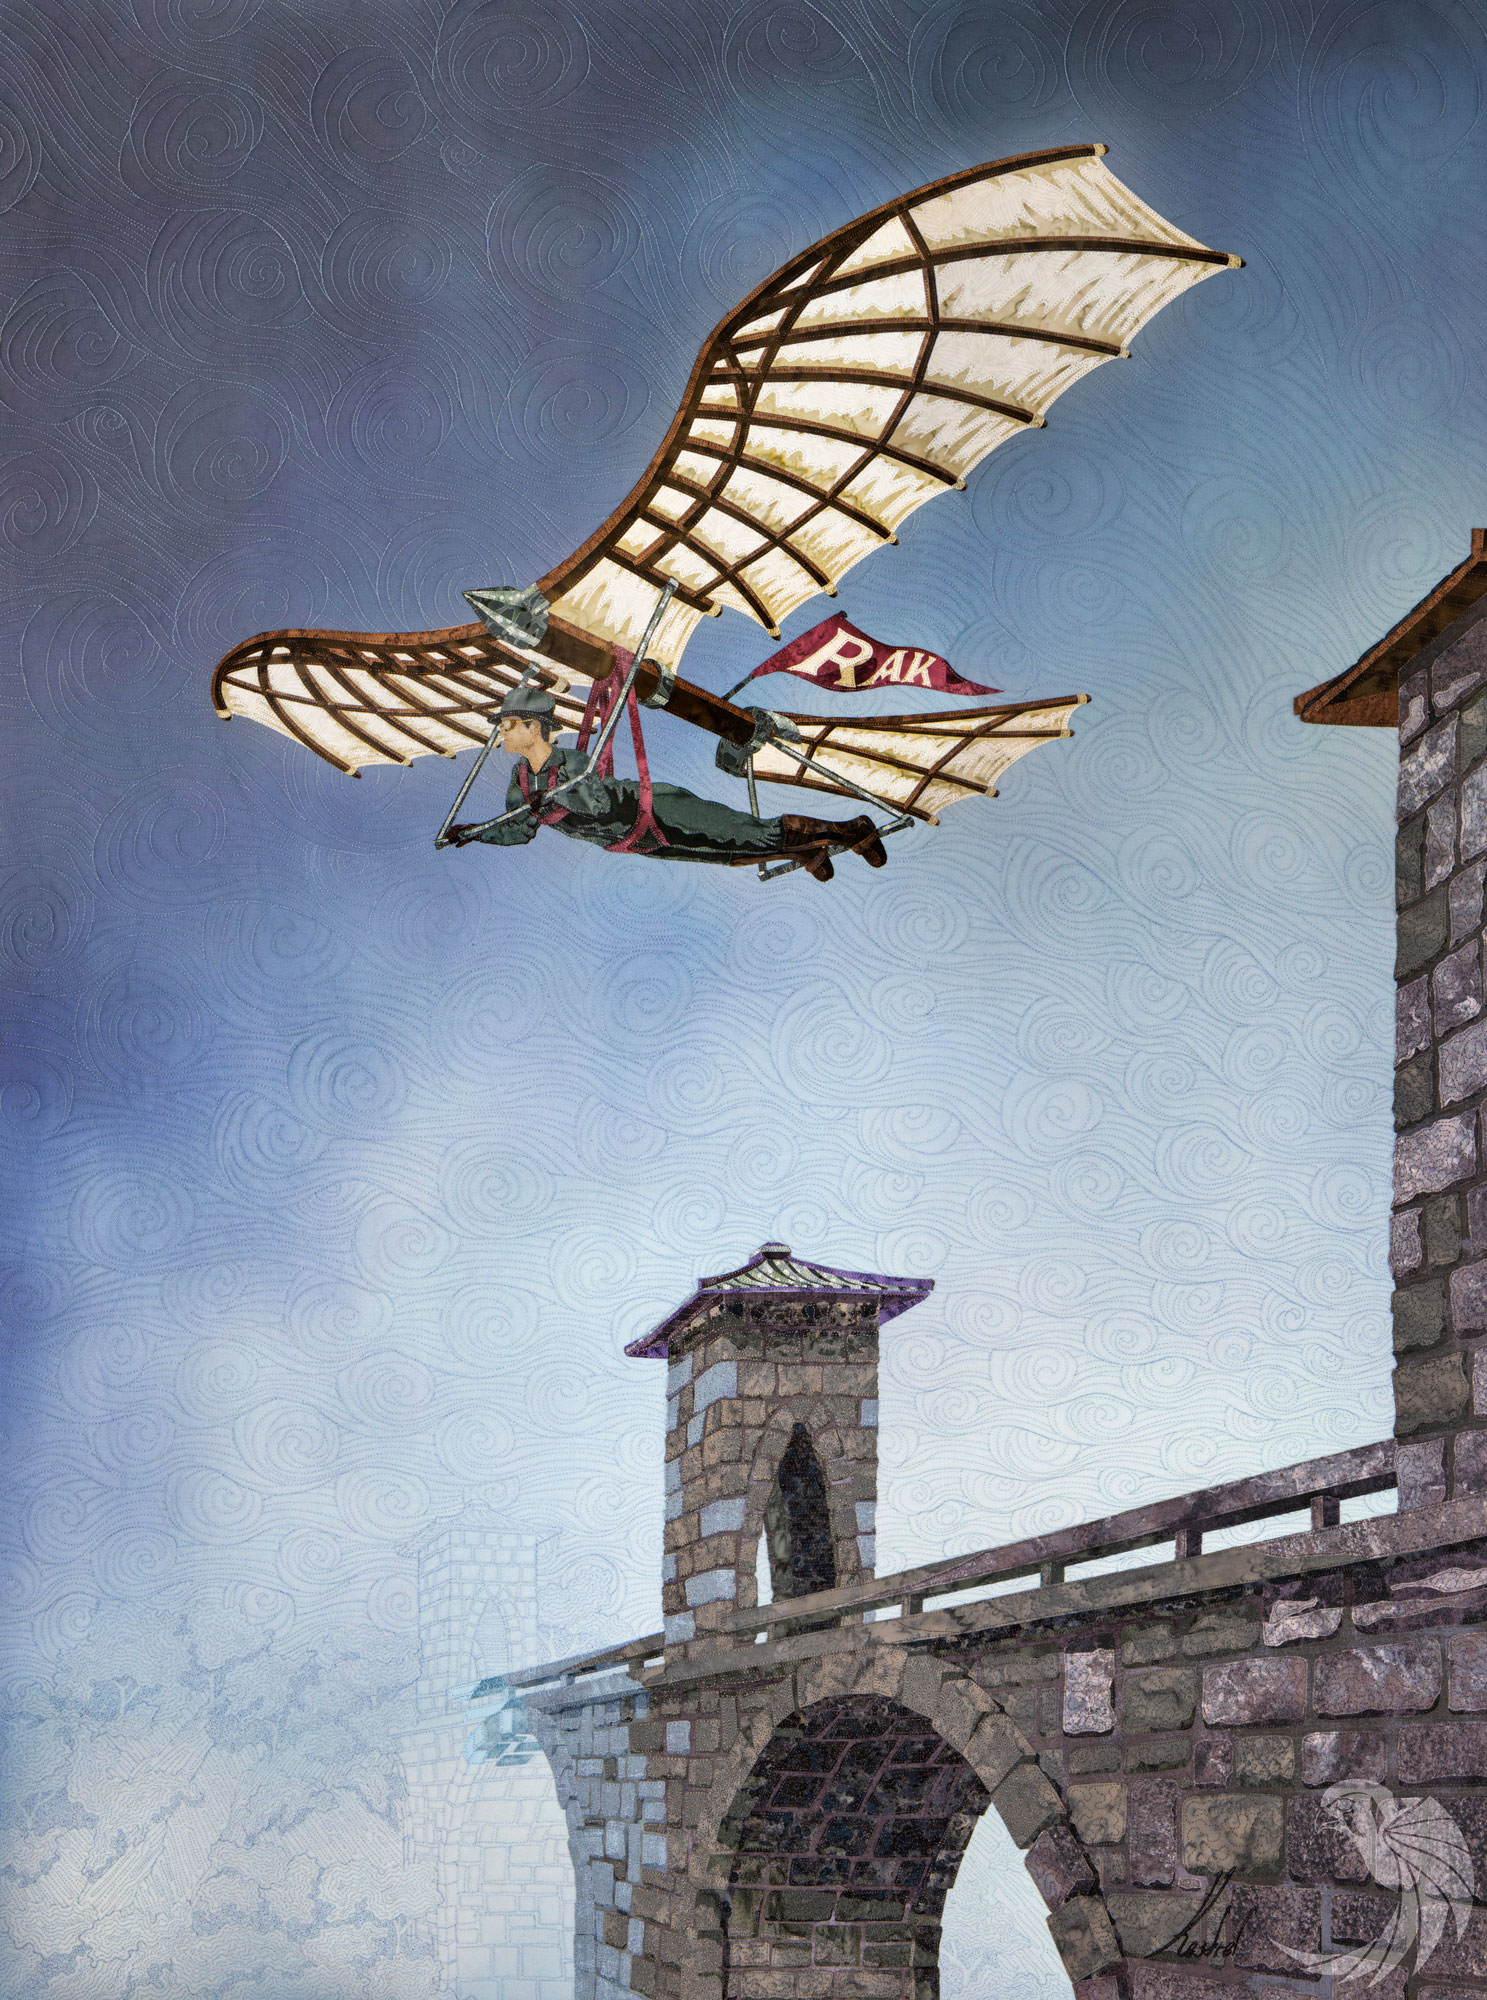
Here's an example: I learned about wholecloth style quilts, which are seemingly a direct opposite to my own style of making quilts. A wholecloth quilt is one single piece of fabric as the quilt top, whereas my designs are made from layers of hundreds or thousands of pieces of fabric. As a challenge, I asked myself, "How can I do a wholecloth design and still make it look like my own style?"
The result was Morning Commute. The man, flying machine, and bridge are made from about 1,000 pieces of fabric. The entire sky is wholecloth-style and all the detail comes from the quilting.
Planning the stitching
Thanks to having a formulaic process, I don't usually focus on anything other than the current step of my process. This includes the quilting. I worry about the quilting when all the fabric is cut and ironed together — in other words, I worry about quilting when I'm ready to start quilting.
The exception is if the quilting is the challenge I set for myself. An example is the sushi quilt, Date Night.

The challenge I set for myself in this quilt is how to do the lace. I debated between cutting the lace from fabric or using a heavyweight thread — like a 20wt cotton — to actually stitch the lace onto the quilt sandwich. I was thinking about this right from the beginning.
My decision on what to do was made for me when I started cutting the fabric. Upon seeing the physical size of the fabric pieces I was cutting, I realized that even the thickest thread would not be in proportion to how lace would look next to the rest of the design (this quilt design is about 3x larger than life). I didn't want to try couching, so my only choice was to quickly do up a design for the lace to be cut from fabric. I did still quilt the fabric lace with the 20wt cotton thread. Here was the result:

In contrast, the thread used to quilt the silver tray was a 50wt silk.
