The One That Got Away Process
- Published:
- Length: 1467 words
- Reading Time: 8 minutes
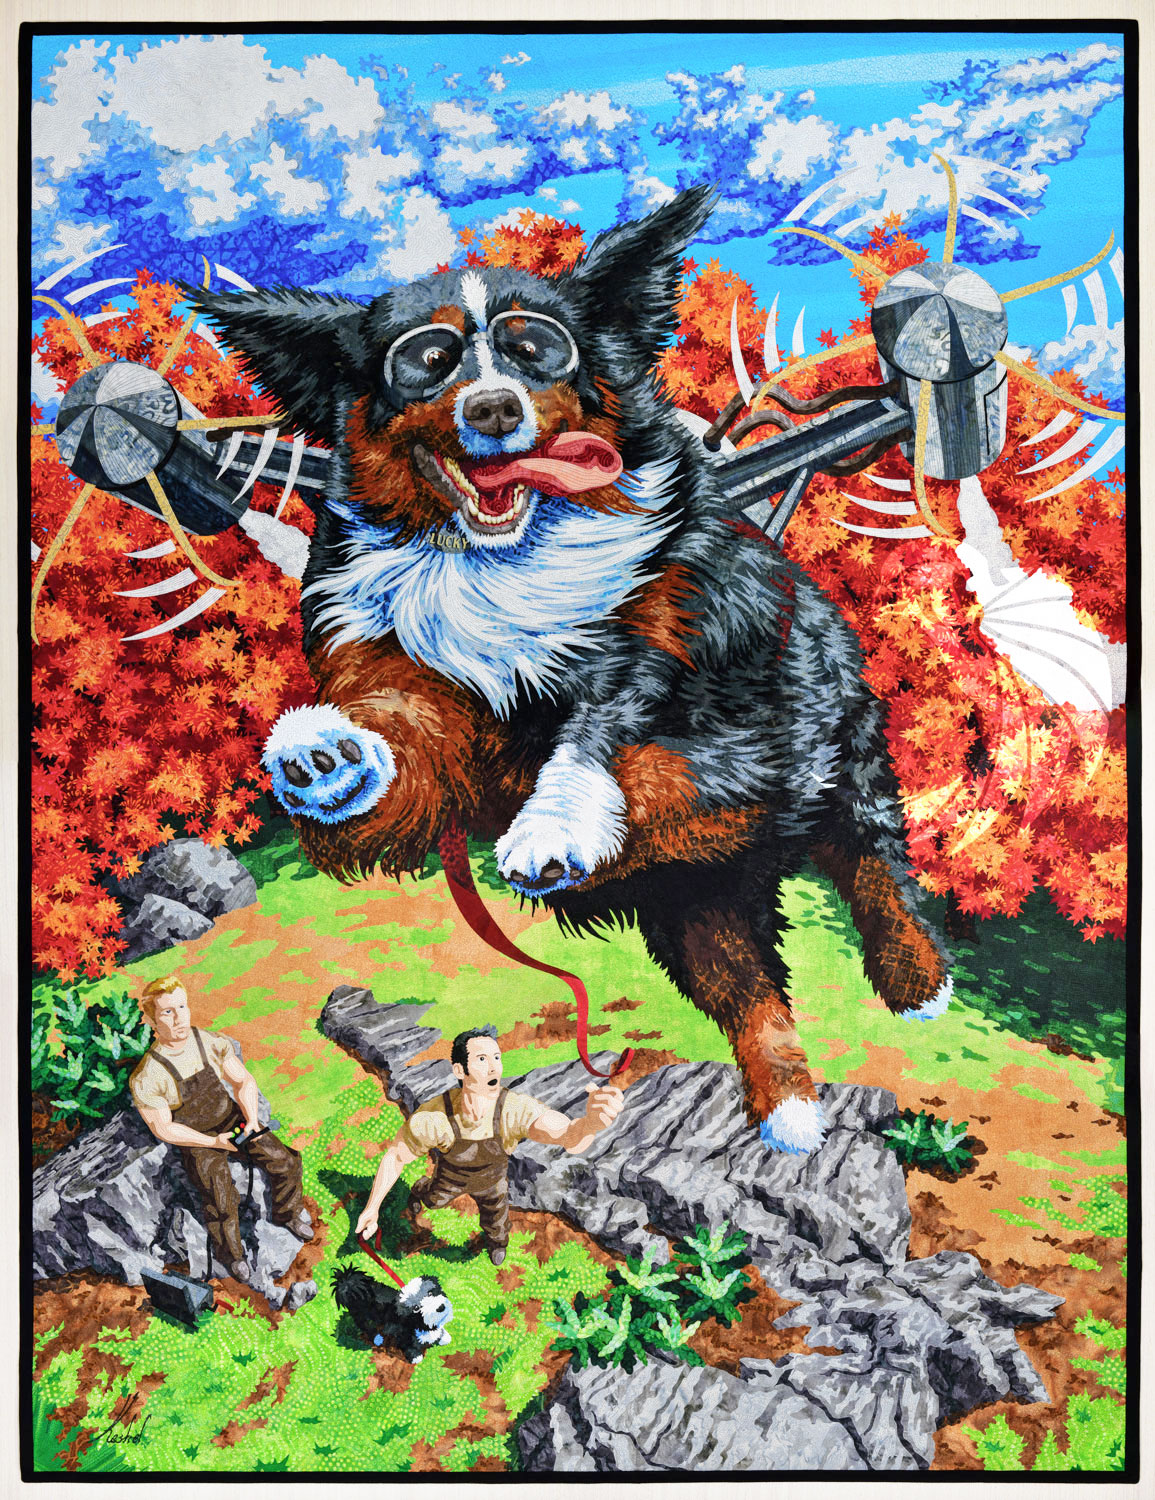
The One That Got Away is a quilted snapshot from the life of Lucky, a happy, fun-loving dog, and his two not-so-bright owners.
It's a big quilt; at the time it was the largest quilt I'd ever made (although there are plans in the works to change that!) And as per usual, I documented the entire creation process from start to finish. So sit back, relax, and enjoy some behind-the-scenes photos showing how I made this crazy quilt.
Start With a Drawing
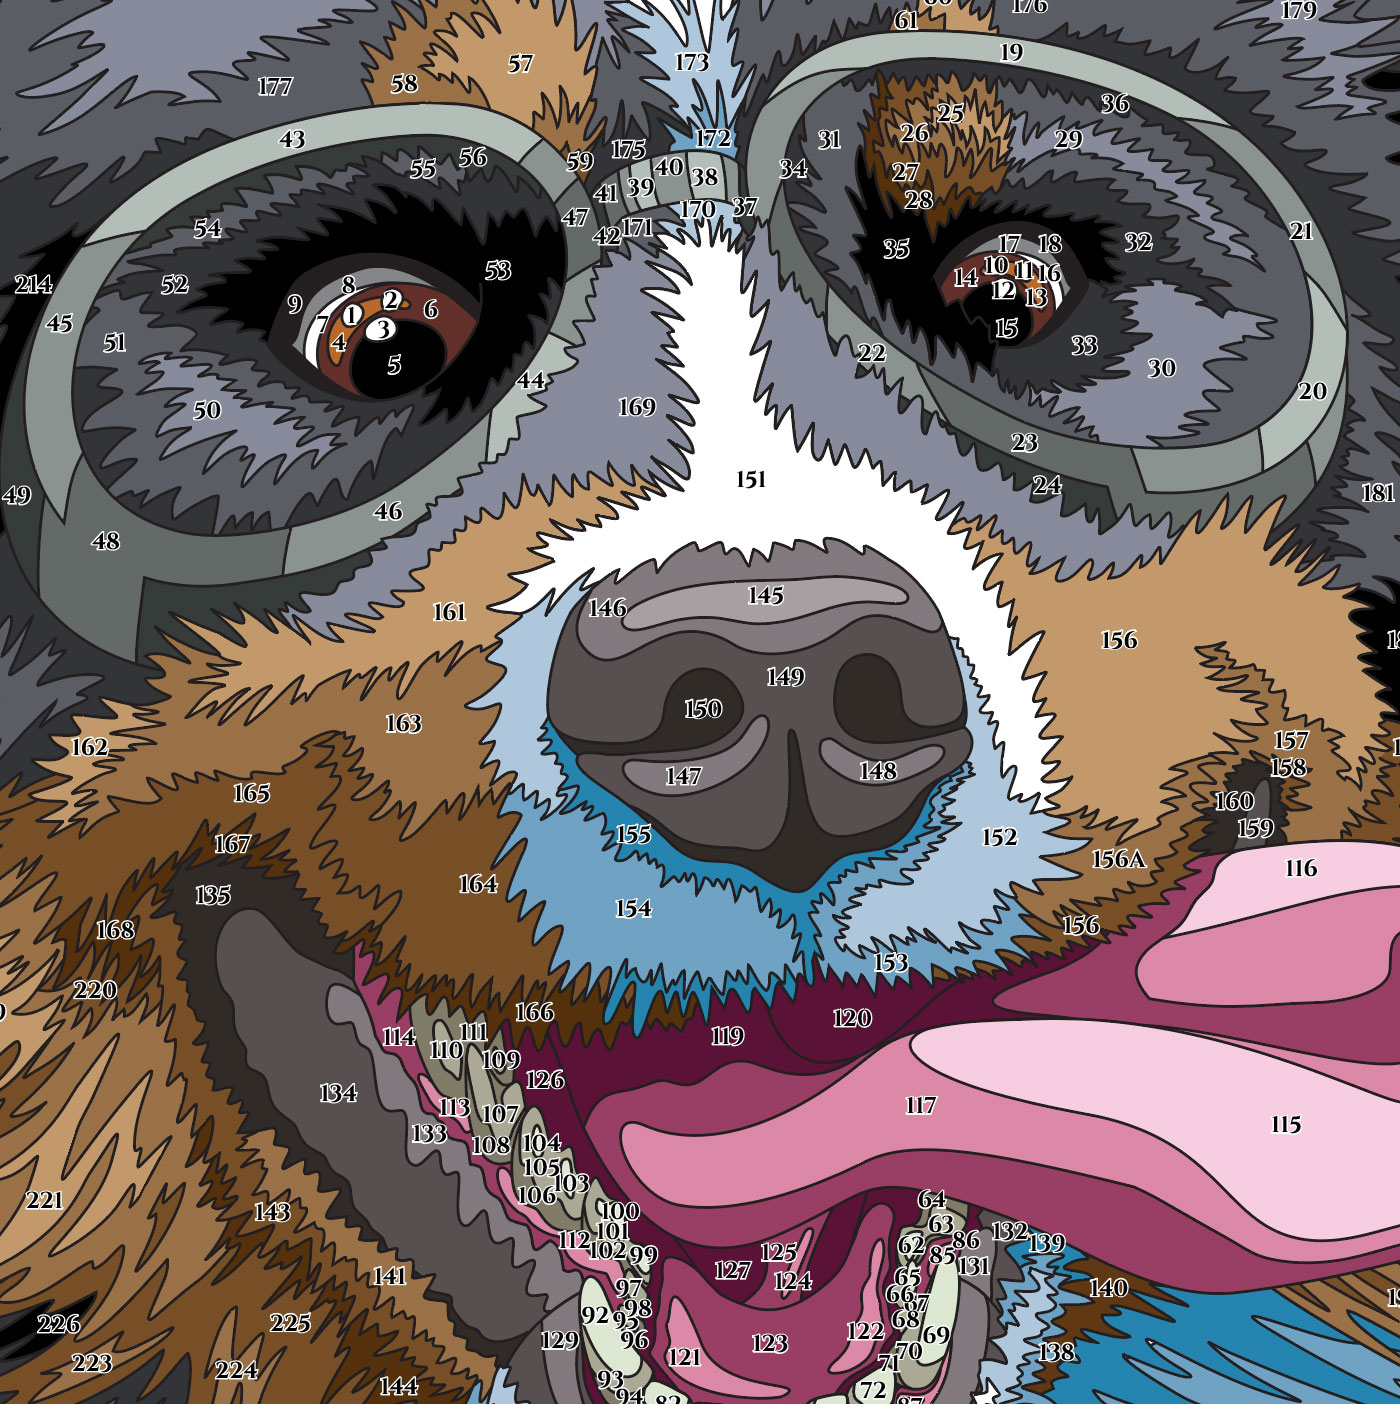
I use an app called Concepts on my iPad Pro to draw all of my quilt designs as digital vector art, and The One That Got Away was no different. I drew every part of the picture in Concepts, but here is a close-up of Lucky to show the level of detail I was including:

The colored lines helped me keep track of which areas were which colors. The pink lines represented white. The teal lines represented brown. The purple lines were for black. The yellow lines were for Lucky's open mouth and the dark orange were for his tongue.
Create the Template
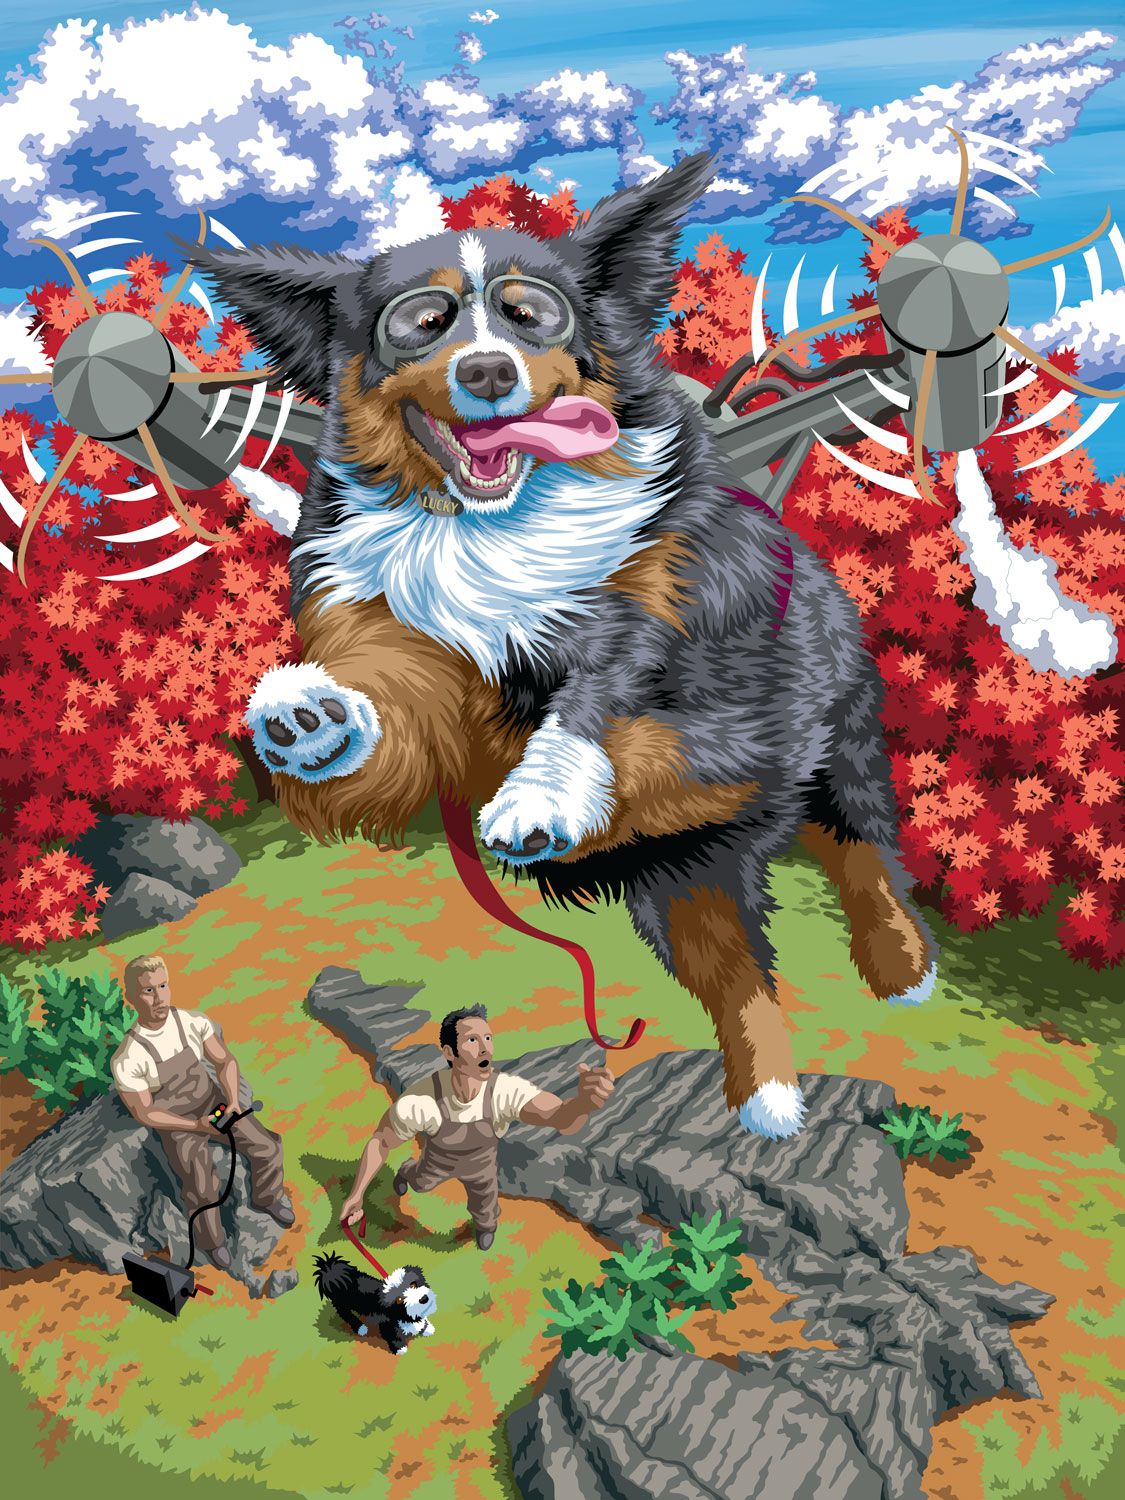
I use Adobe Illustrator to make a full-size, full-color version of the drawing from Concepts. Usually I like to work back and forth between the two programs: I'll draw an area in Concepts, take it in to Illustrator and add color, before going back to Concepts. In the photo above, the lime green lines were added after I added color in Illustrator, realized I needed more detail, and went back to Concepts.
Eventually, I'll have drawn and colored the entire design, and it's this full color rendering that I call the template. Here is the template for The One That Got Away.
Design Overlap
My quilts are made using a technique called fused, raw-edge appliqué. Let's break that down: Appliqué — in a nutshell — means small pieces of fabric are layered over each other and attached to a larger background in order to form a pattern or picture. The "fused" part means each of those pieces of fabric is backed by fusible — a heat-sensitive glue. They're ironed together, which melts the glue and attaches the fabric pieces together after it cools. Lastly, the "raw-edge" term means the edges of each piece of fabric are visible in the finished quilt; they are not turned under or otherwise hidden.
In other words, The One That Got Away is made from hundreds of pieces of fabric — more than 2000, actually — that are all backed by fusible, and I iron them on top of each other in such a way that they collectively form the overall design.
Unfortunately, there's a catch: The template I designed in the previous step does not have any of this overlap. The pieces fit together perfectly, like a jigsaw puzzle. In order to get them to overlap, I have to manually design in the overlap for each and every piece.
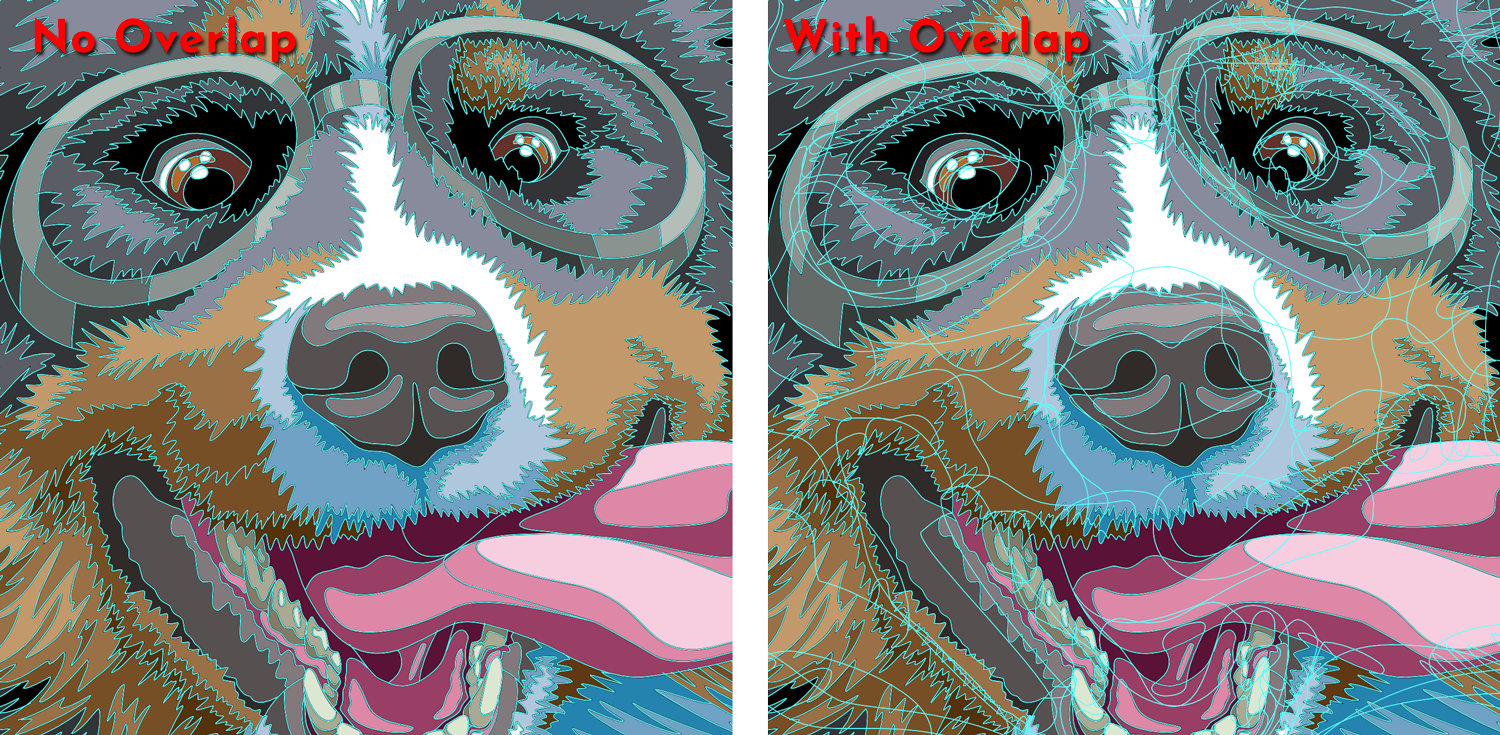
Take a look at the images below. On the left is a close-up of Lucky before I added overlap. The bright blue lines indicate the outer edges of each piece making up the design.
Now look at Lucky on the right. This screenshot was taken after I had gone through and added overlap. Now the bright blue lines are all over the place. That's because they're showing the outer edges of each piece, and the pieces now overlap each other.
Add Numbers
At the same time I add overlap to the template, I also assign each piece a number. The number acts as a guide, telling me where to re-align each fabric piece after I cut it from fabric.
Here's another look at Lucky, now with the numbers for each piece. Lucky himself is made from over 600 pieces of fabric total; his entire quilt has more than 2,000.
Prepare for Cricut Cutting
The last part of my digital design process is to prepare my pieces for Cricut cutting. I use a Cricut Explore Air 2 to cut all my fabric pieces, and that requires arranging my pieces by color on specific artboards (pages) that match the size of a sticky cutting mat.
In the image below, Lucky's full-size template is on the left. All 600 or so pieces that make up Lucky have been arranged in groups according to color on the tall, skinny artboards to the right. Those artboards get exported as SVGs and are the exact files I upload to my Cricut software for cutting.

By this point in the process, I'm 40-50% finished with the entire project, and I'm finally done with the digital stuff. It's time to start looking at fabric.
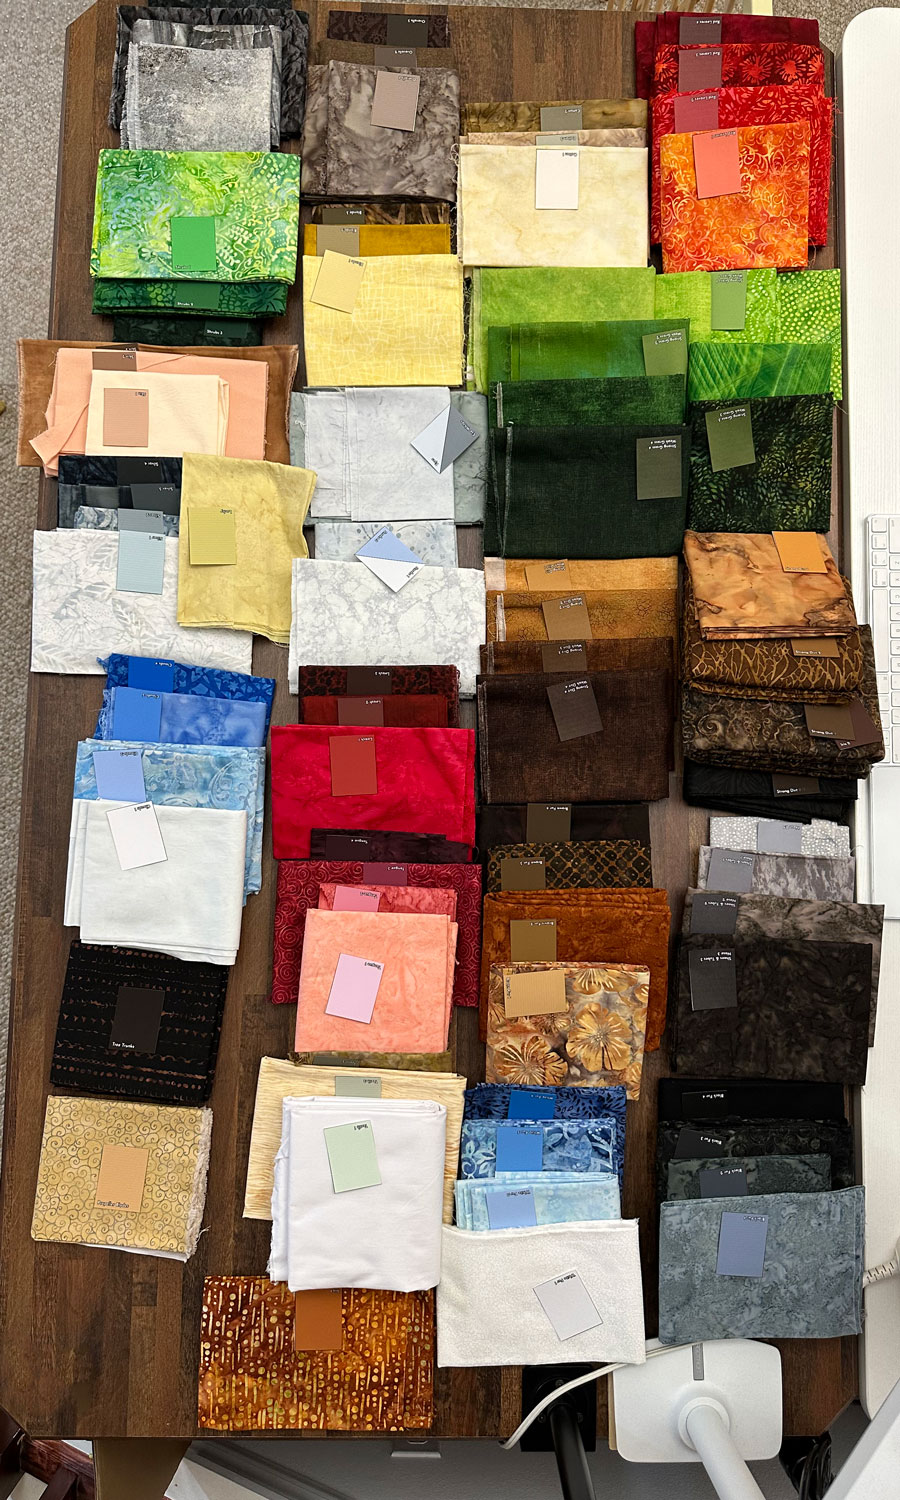
Picking Fabric
Because I design a full-color template, I know exactly what colors I need to find in fabric to make the quilt. I print my own color swatches and match those swatches to fabric in order to make my selections. Here are the swatches and fabrics I chose for this project:
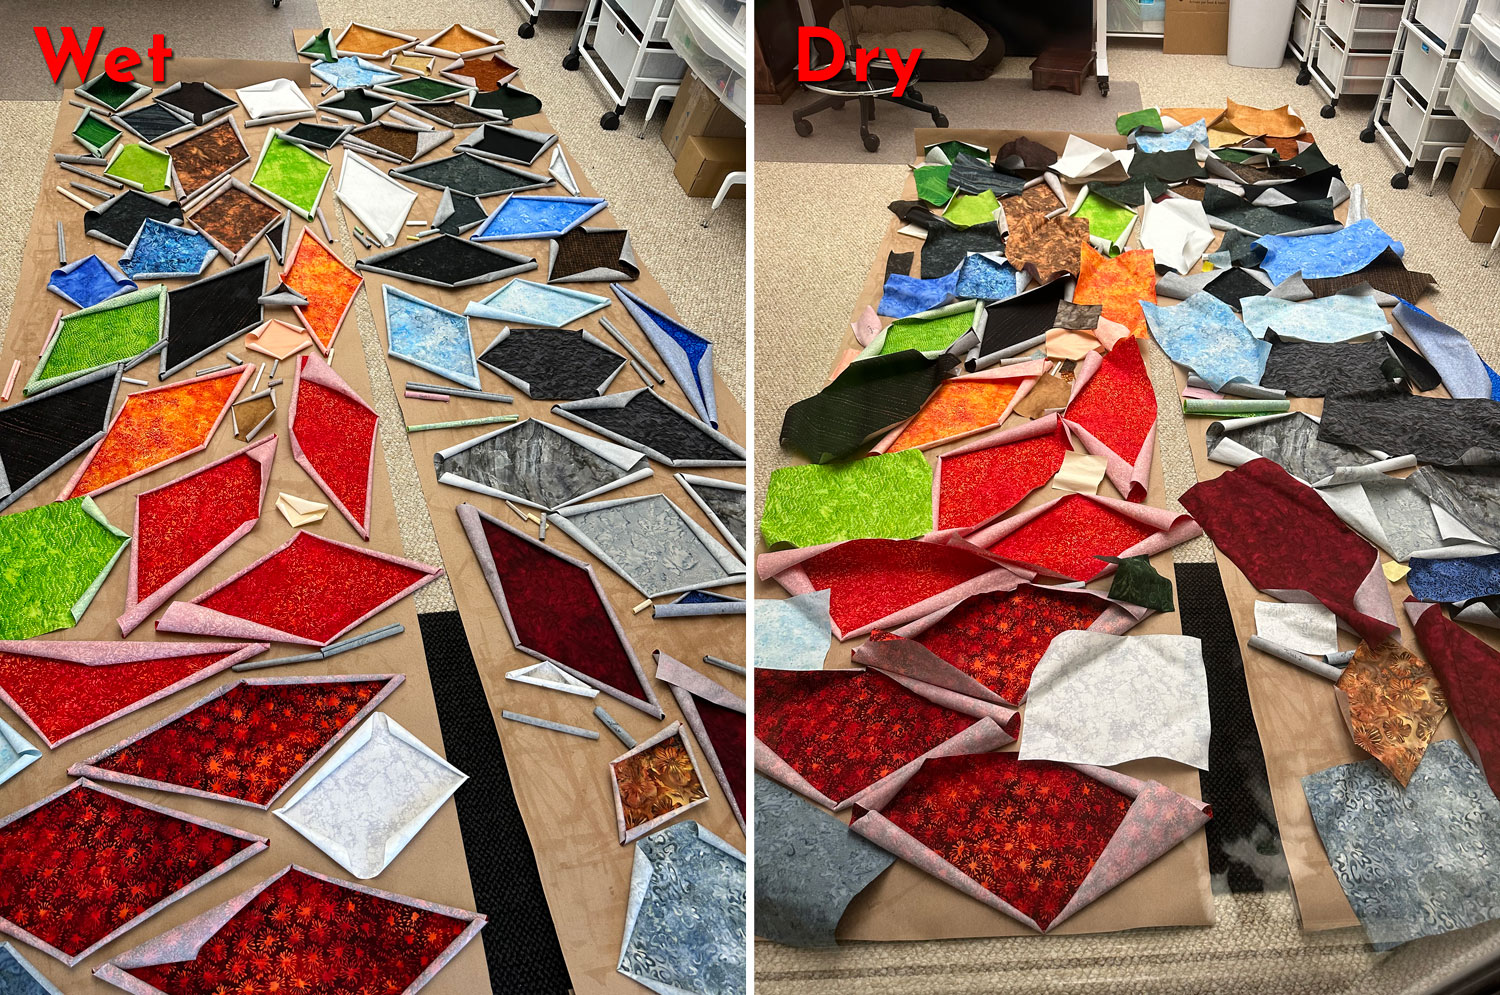
Prepare the Fabric for Cutting
I use a diluted Mod Podge solution to prevent my fabrics from fraying. After coating the fusible-backed fabrics with the solution, I spread them out on the floor of my studio to dry overnight.
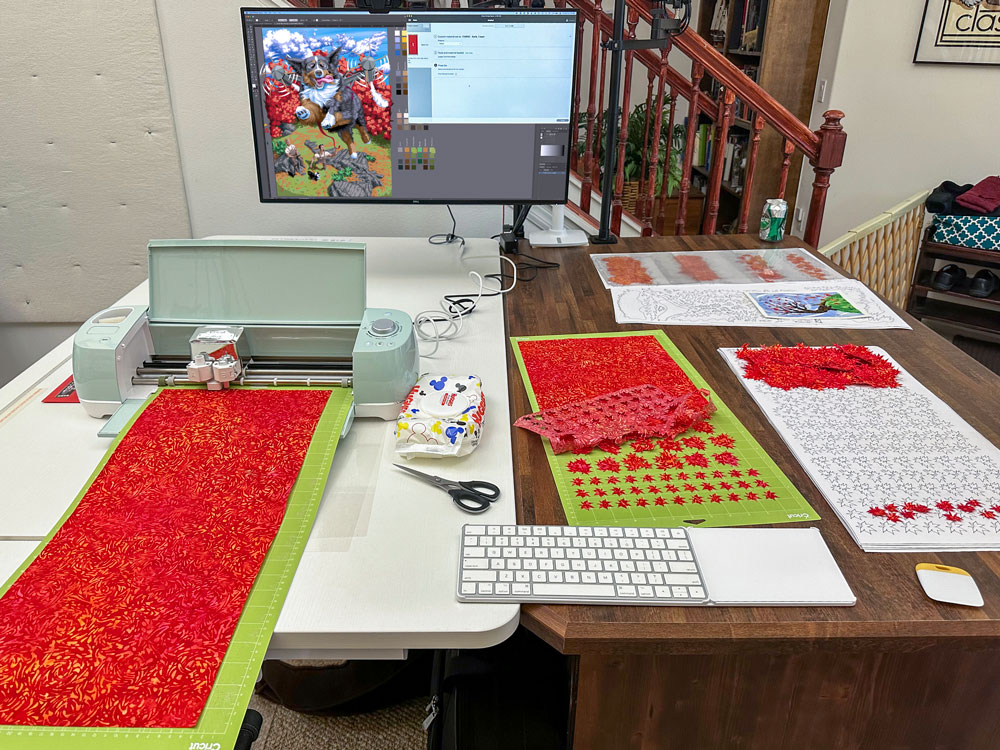
Cricut Cutting
Finally time to cut! I upload the SVGs I exported back in the "Prepare for Cricut Cutting" step to my Cricut software. Those SVGs are the exact layouts that my Cricut Explore Air 2 will cut. Here I'm in the process of cutting some of the leaves for the trees behind Lucky:
And here's a close-up of some of Lucky's freshly-cut fur. As you can see, the Cricut does an amazing job, and the Mod Podge solution really keeps the edges nice and clean.

Assembly
I print my numbered templates full-size and place them on my ironing table underneath a clear, non-stick Teflon sheet. Then I match each cut piece of fabric to its number on the template before ironing it in place. I also always have the template visible on my computer screen for extra reference. In this photo, I'm working on assembling Lucky:
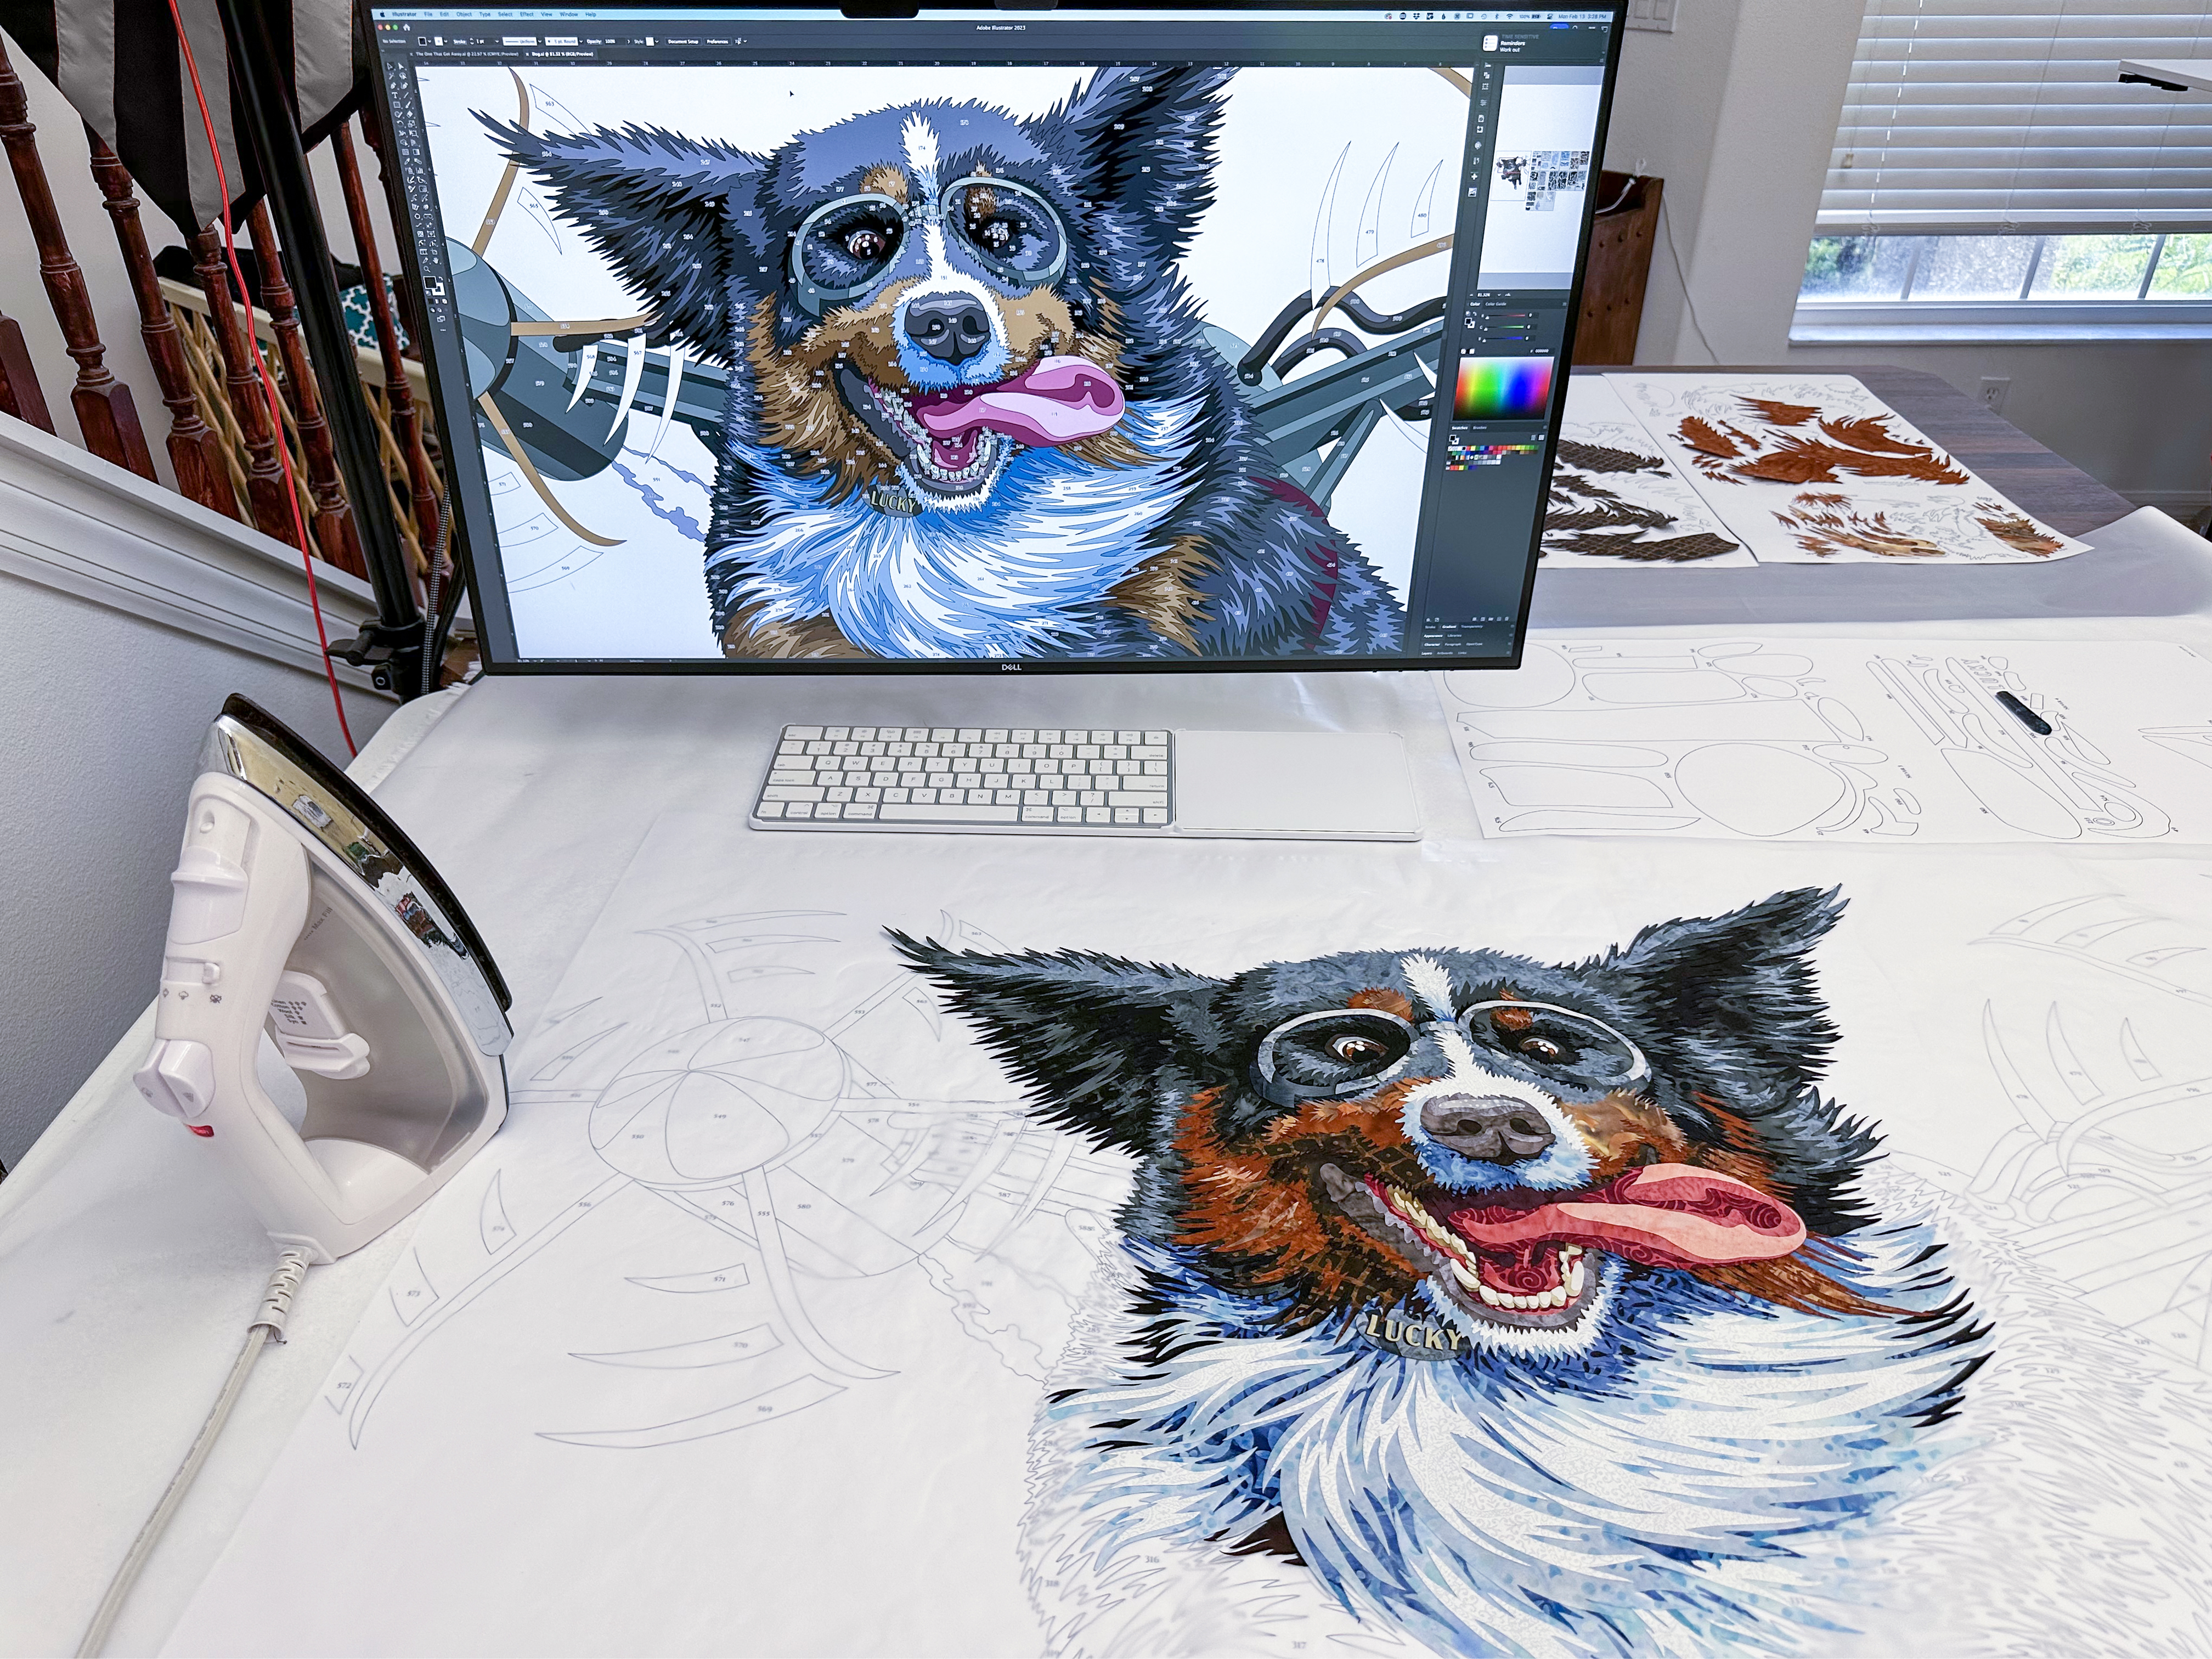
This is my favorite part of the entire process. I love seeing how the artwork I designed on my computer comes together in fabric.
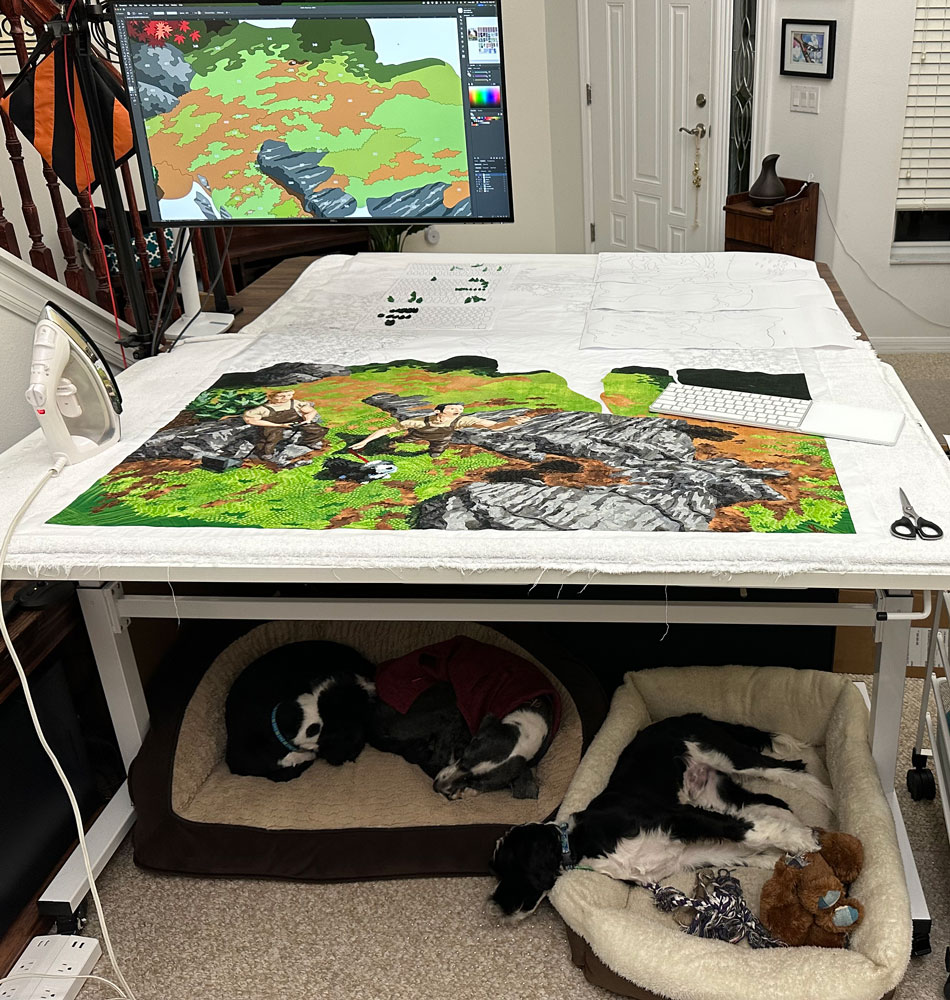
Here's one more photo, complete with three fuzzy "assistants" sleeping on the job:
Stitching
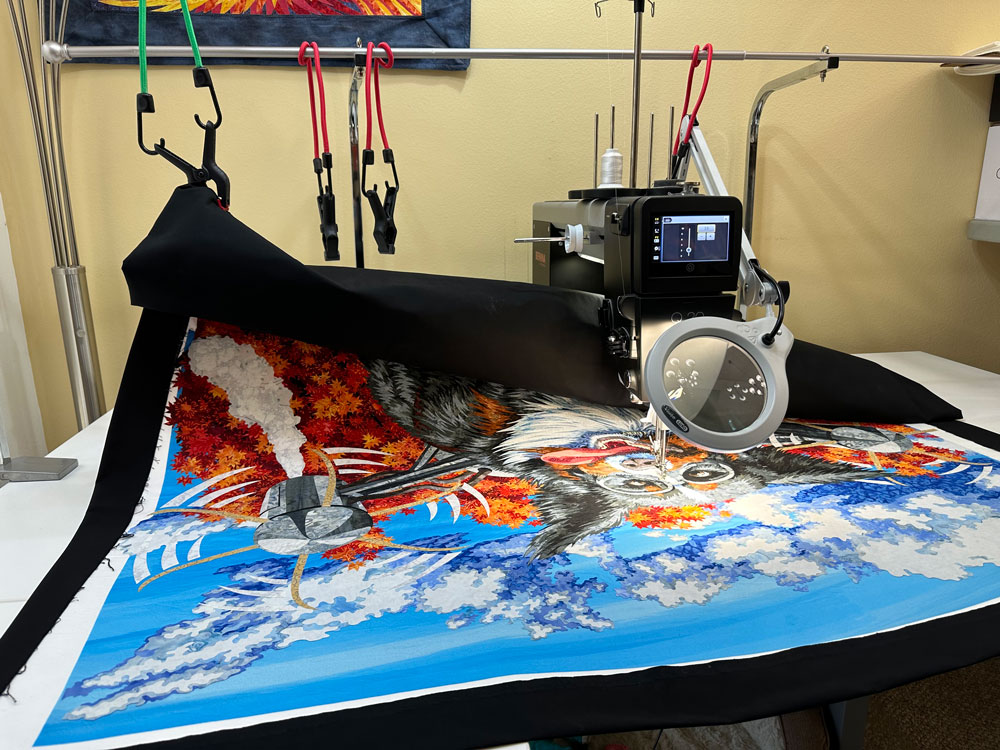
The final step of the process is to add stitching. I use a Q20 sit-down sewing machine for all of my free-motion quilting. I also have a magnifier that makes it easier to see the needle:

Here's a wider view of The One That Got Away on my quilting table. I use a suspension system made from a curtain rod, clamps, bungee cords, and dog grooming arms to support the weight of the quilt while stitching.
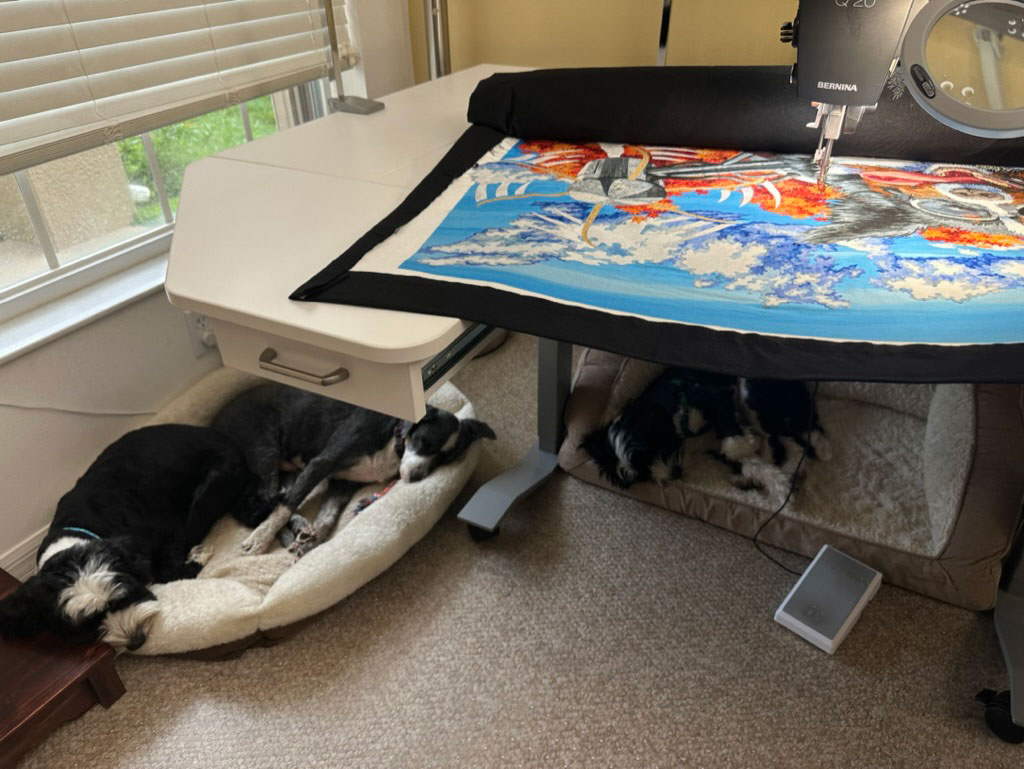
And of course I have to have even more beds under the sewing table. These guys follow me around the studio. (It's the best.)
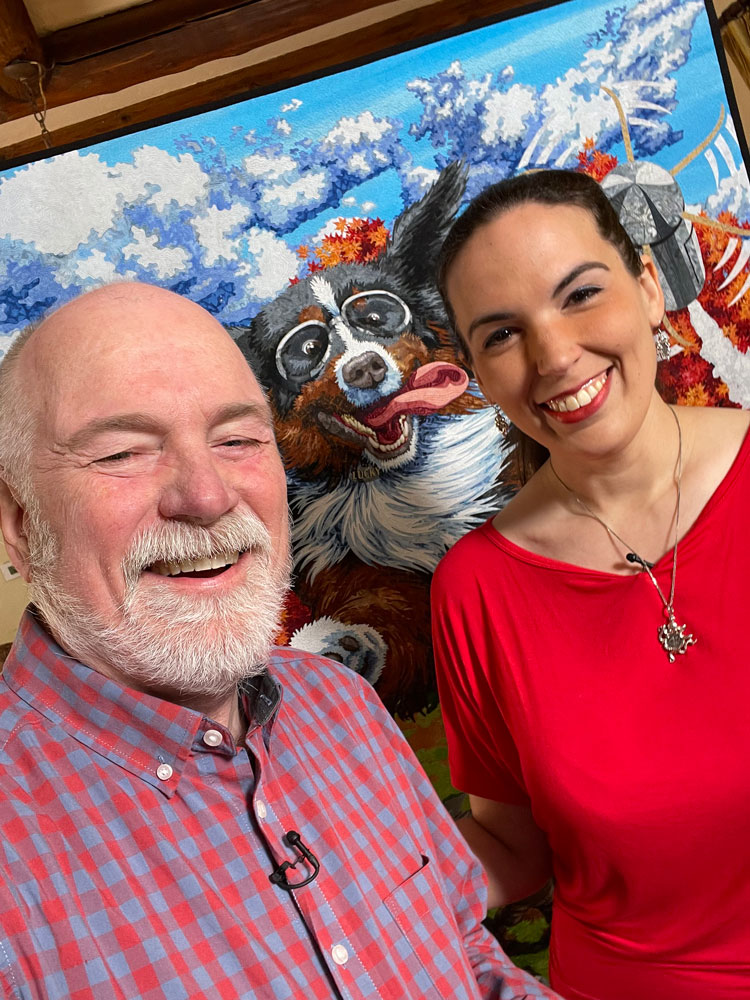
The Quilt Show
I finished The One That Got Away just in time to take it with me to the recording of The Quilt Show with Ricky Tims. My episode is #3303 and it debuted on July 30. You can watch it today at this link although a membership is required. (A 7-day free trial is available to new members.)